
For most vehicles, you’ll need a six-point socket between 13mm and 17mm for metric models, or 3/8-inch to 7/8-inch for standard applications. Always use the exact size to prevent stripping, and pair it with a quality 3/8-inch or 1/2-inch drive ratchet. Check your vehicle’s manual for specific sizing, and remember to torque the plug to manufacturer specifications (typically 20-30 foot-pounds). Understanding proper technique and tools will guarantee successful oil changes for years to come.
Quick Tips
- Most oil drain plugs require a socket between 13mm to 17mm for metric vehicles or 3/8-inch to 3/4-inch for standard applications.
- Always use six-point sockets instead of twelve-point sockets to prevent stripping and ensure better grip on the drain plug.
- Check your vehicle’s manual for the exact socket size and torque specifications, typically ranging from 20-30 foot-pounds.
- Inspect the drain plug threads before installation and avoid overtightening to prevent damage to both plug and oil pan.
- Apply light oil to threads and use a torque wrench for proper tightening, ensuring a secure seal without stripping.
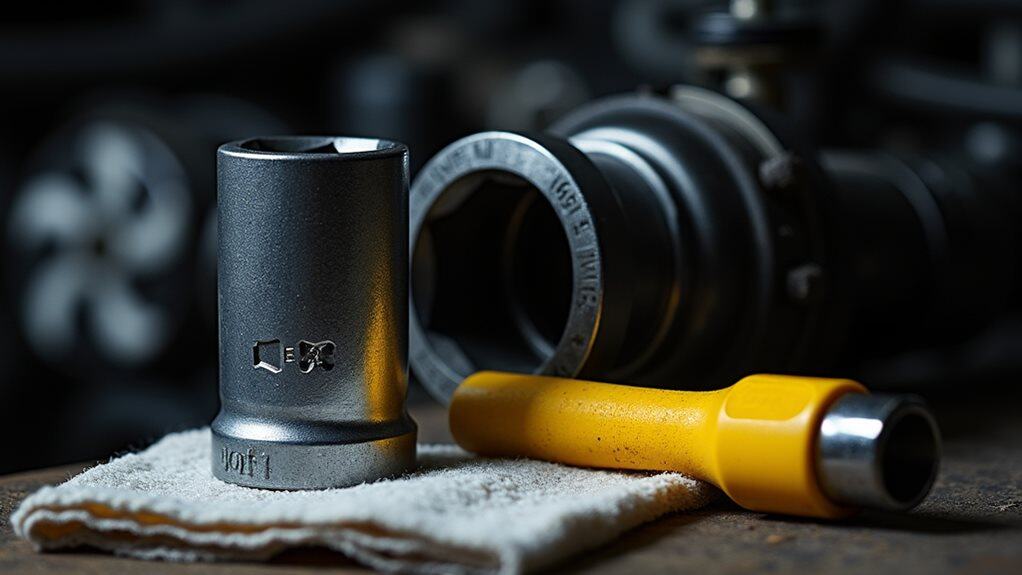
Common Socket Sizes for Oil Drain Plugs
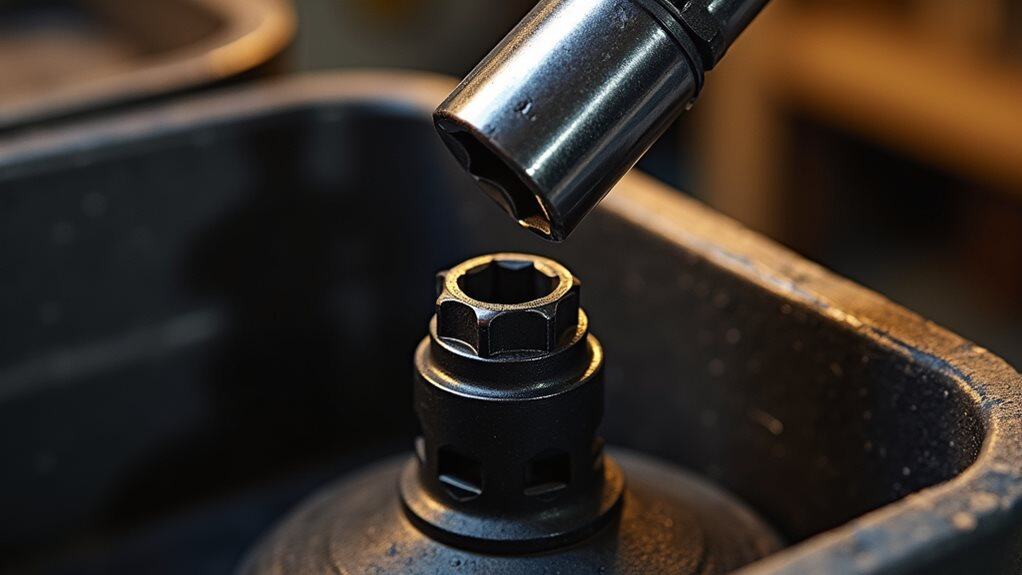
Three common socket sizes dominate the world of oil drain plugs, with 3/8 inch and 13-15mm metric sizes being the most frequently encountered.
Using six-point sockets provides the best grip and prevents rounding off bolt heads during removal or installation. Specialized installation tools help reduce the risk of stripped threads and streamline the installation process.
You’ll also find larger metric options, including 17mm, 18mm, and 19mm, for specific vehicle models.
For heavy-duty applications, you might need a 7/8 inch (22mm) socket.
It’s essential that you select the exact size to prevent stripping the plug during maintenance.
Vehicle-Specific Drain Plug Requirements
When selecting an oil drain plug for your vehicle, it’s essential to understand that different manufacturers design their drain plugs with specific requirements in mind.
You’ll find variations in thread sizes like M12, M14, or M18, and hex key dimensions often ranging around 14mm. Some brands, such as Audi and Volkswagen, even use specialized plastic plugs, while others require magnetic or pilot point designs. For proper installation and maintenance, using a correct torque key is crucial to prevent damage to both the plug and crankcase. Additionally, it’s important to follow manufacturer’s guidelines for oil filter and oil changes to ensure optimal engine performance.
Understanding Socket Types and Shapes
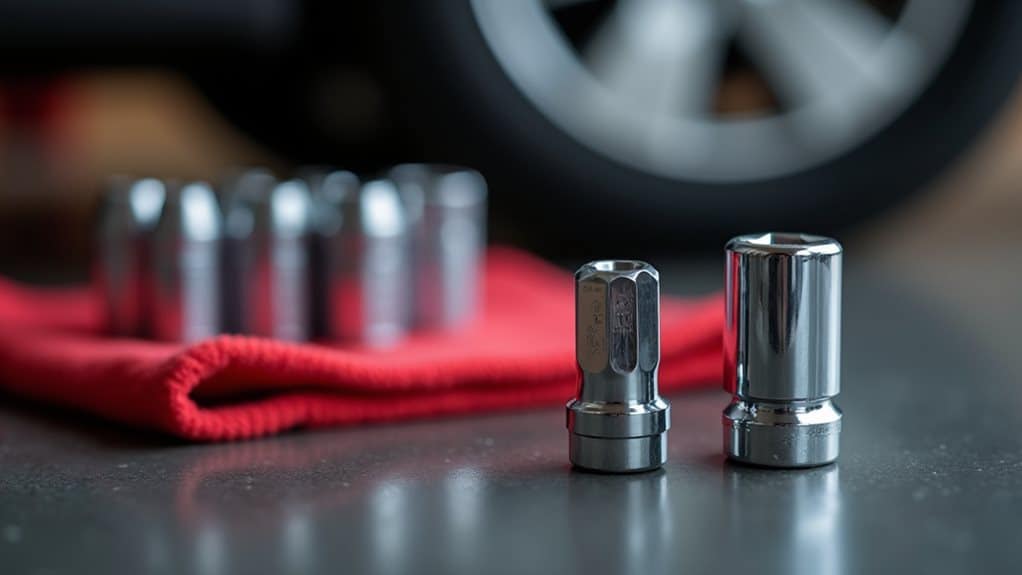
Selecting the right socket type and shape proves essential for effectively removing an oil drain plug and performing other automotive maintenance tasks.
You’ll typically need a six-point hex socket, which provides better grip and less chance of rounding off the plug.
While 12-point sockets work too, they’re less ideal for high-torque applications.
For impact tools, always use specialized impact sockets to prevent damage. Additionally, using the correct tool handling techniques can significantly reduce the risk of stripping the oil drain plug.
Essential Tools for Oil Drain Plug Removal
You’ll need an extensive socket set that includes both metric and standard sizes to properly remove most oil drain plugs.
A quality 3/8-inch or 1/2-inch drive ratchet serves as your primary tool, offering the right balance of reach and torque for most vehicle applications.
While the exact socket size varies by vehicle manufacturer, common sizes range from 13mm to 17mm for metric vehicles and 1/2-inch to 3/4-inch for standard applications, making a varied socket collection essential for successful oil changes. Additionally, using a split beam torque wrench can help ensure that the oil drain plug is tightened to the correct specifications, preventing leaks and damage.
Basic Socket Set Requirements
A reliable socket set forms the foundation of any successful oil drain plug removal.
You’ll need 3/8-inch sockets and metric sizes like 12mm, 14mm, and 17mm for most applications.
Choose six-point sockets to prevent rounding off the plug, and don’t forget that some plugs require deep sockets for their longer threads.
Make sure your sockets are made from durable materials to prevent stripping.
Ratchet Drive Size Options
Once you’ve gathered the right sockets, choosing the correct ratchet drive size becomes your next important step.
While 1/4-inch drives work for lighter tasks, a 3/8-inch drive ratchet is your best bet for most oil drain plugs, offering ideal balance between power and maneuverability.
Though 1/2-inch drives are available, they’re usually overkill for this job unless you’re working on larger vehicles.
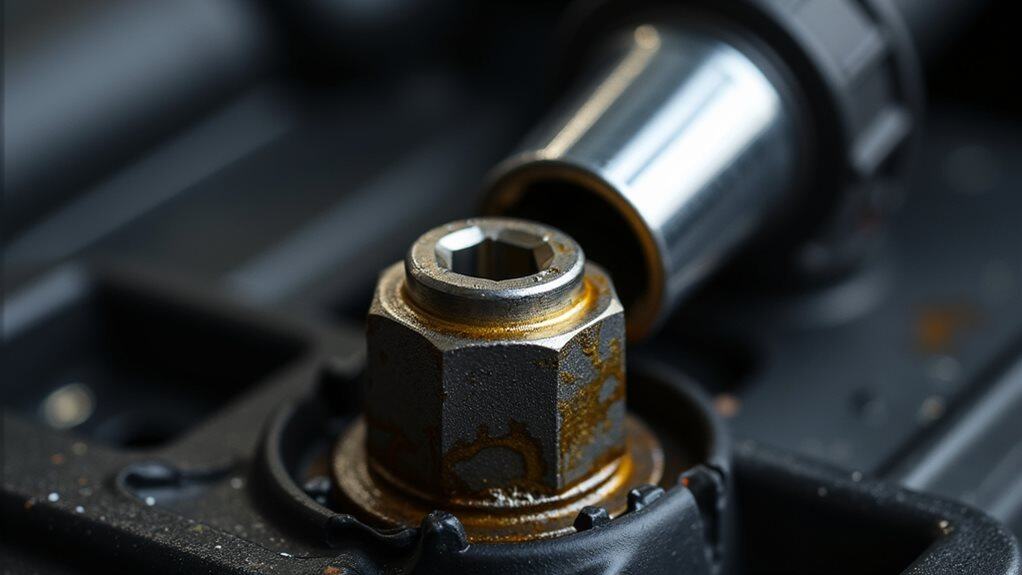
Preventing Stripped Threads and Damage
With proper technique and attention to detail, preventing stripped threads and damage to your oil drain plug becomes straightforward.
You’ll need to select a six-point socket that perfectly matches your plug size, as this provides the most secure grip.
Don’t overtighten when replacing the plug, and always inspect the threads for wear before installation.
Use even torque and maintain a firm, controlled grip while working.
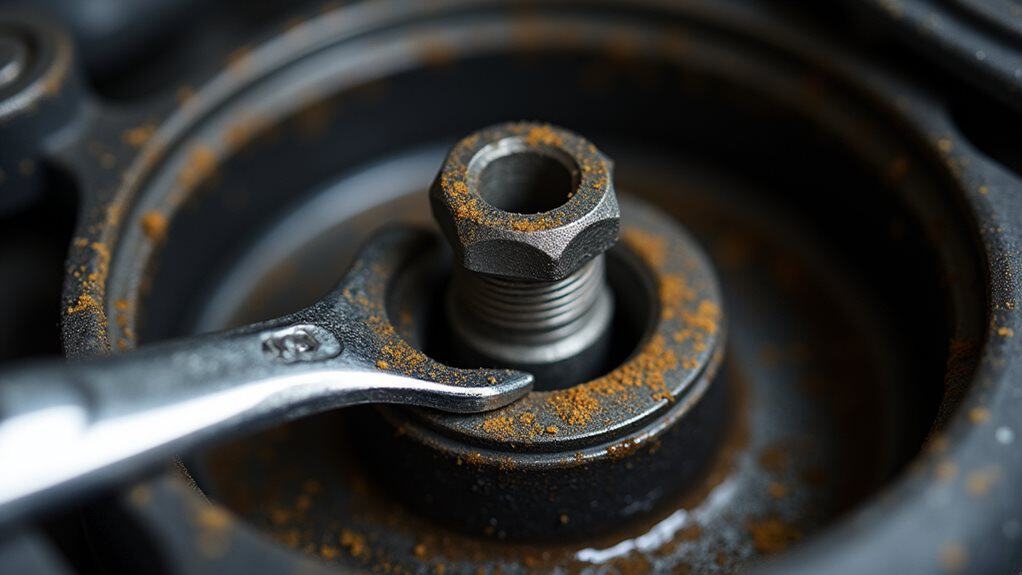
Step-by-Step Oil Drain Plug Removal Guide
Before you start removing your oil drain plug, you’ll need to gather the correct tools, including a 3/8″ or 1/2″ socket wrench, an oil catch pan, and clean rags.
Once you’ve positioned your catch pan beneath the drain plug, make certain you’re using the proper size socket that fits snugly on the plug to prevent stripping.
With your tools ready and safety measures in place, you can begin the careful process of loosening the plug by turning it counterclockwise, staying prepared for the initial rush of oil.
Preparing Essential Tools First
Successful oil drain plug removal starts with gathering the right set of tools and safety equipment.
You’ll need a torque wrench, compatible socket set, and ratchet with extension for proper plug access.
Don’t forget your safety glasses and gloves to protect against hot oil splashes.
A magnetic drain plug tool will make removal safer, while proper lighting guarantees you can see what you’re doing.
Safe Removal Step Order
Once you’ve gathered your tools and positioned your vehicle safely, following a systematic step-by-step process will guarantee proper oil drain plug removal.
Position your socket wrench on the plug and turn counterclockwise until it’s almost loose.
Hold the plug firmly while it releases, ensuring your drain pan is properly placed below.
Let the oil drain completely, waiting for the flow to slow to a drip before removing the plug entirely.
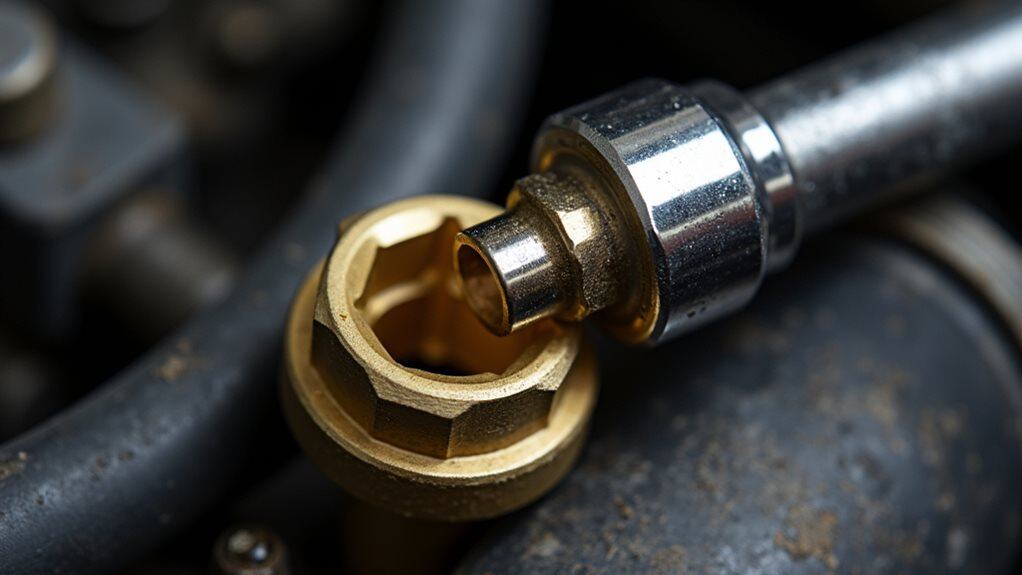
Best Practices for Socket Selection
Selecting the right socket for your oil drain plug requires careful consideration of several key factors.
You’ll want to guarantee you’re using a high-quality chrome vanadium steel socket that matches your plug’s exact size.
Choose between metric or SAE measurements based on your vehicle’s specifications, and consider whether you need a deep or shallow socket depending on your drain plug’s location.
Safety Measures During Oil Changes
When changing your car’s oil, you’ll need essential safety equipment including jack stands, safety glasses, protective gloves, and sturdy work shoes to protect yourself from potential hazards.
Your vehicle must be securely supported using both a car jack and jack stands, with the jack stands placed at the manufacturer’s recommended lifting points for maximum stability.
Before crawling under your vehicle, double-check that it’s parked on level ground and that all support equipment is properly positioned to prevent any dangerous shifts or collapses during the oil change process.
Essential Safety Equipment Needed
Five essential pieces of safety equipment are required before attempting any oil change procedure.
You’ll need protective bump caps to shield your head from impacts, durable gloves to prevent burns and cuts, safety glasses to guard against debris, heat-resistant sleeves for protection from hot components, and a work apron to keep your clothing clean and protected from oil spills.
Proper Vehicle Support Methods
Now that you’ve gathered your safety equipment, let’s focus on supporting your vehicle properly during an oil change.
Always use jack stands alongside a floor jack, never relying on the jack alone. You’ll want to park on level ground, engage the parking brake, and position wheel chocks for extra stability.
If you’re using ramps, make certain they’re securely placed with wooden blocks behind the wheels.
Torque Specifications and Why They Matter
Understanding proper torque specifications for your oil drain plug isn’t just about tightening a bolt – it’s essential for maintaining your engine’s health and preventing costly repairs.
You’ll need to apply specific force measurements, typically ranging from 20-30 foot-pounds, depending on your vehicle’s make and model.
When you use a torque wrench correctly, you’ll avoid both under-tightening, which causes leaks, and over-tightening, which damages threads.
Maintenance Tips for Oil Drain Plugs
Proper maintenance of your oil drain plug extends well beyond correct torque settings.
You’ll need to inspect the plug and gasket regularly for wear, corrosion, or damage.
While changing your oil, take time to clean the plug thoroughly and consider replacing the gasket.
Apply a light coat of oil to the threads to prevent rust, and always check for leaks after completing any drain plug maintenance.
Troubleshooting Common Oil Drain Issues
When troubleshooting oil drain issues, you’ll need to identify the root cause from several common problems that can affect the draining process.
Check for sludge build-up from extended oil change intervals, make certain you’ve removed the correct drain plug, and verify the oil filler cap is loose to allow proper airflow.
If oil isn’t draining properly, inspect for physical blockages or contamination in the drain hole.
Wrapping Up
To avoid damaging your oil drain plug and guarantee proper maintenance, you’ll need the right tools and knowledge. Remember to use the manufacturer-specified socket size, apply correct torque settings, and maintain clean threads. When you’re unsure, consult your vehicle’s manual or a professional mechanic. By following proper techniques and using quality tools, you’ll prevent costly repairs and keep your oil changes hassle-free for years to come.


