Lifters fail mainly from contaminated or degraded oil, mechanical shock, and internal wear. If you skip oil changes or use wrong viscosity, sludge and particles clog tiny passages and damping orifices, causing sticking or collapse. Post-repair debris, trapped air, or unflushed pickup lines leave abrasive metal shavings that score surfaces. Weak springs, broken check balls, or misassembled parts let oil escape and plungers seize. High‑RPM or rev‑limiter abuse adds shock loads that finish them off, and below you’ll find how to prevent and fix these issues.
Quick Tips
- Dirty or contaminated oil (sludge, metal particles, or aeration) blocks lifter passages and disables hydraulic action.
- Skipped or late oil and filter changes degrade oil properties and allow abrasive deposits to form.
- Internal lifter failures (worn check-balls, springs, or seals) cause oil loss and plunger seizure.
- Mechanical abuse (high‑RPM, rev‑limiter hits, or repeated hard driving) creates pressure spikes and rapid wear.
- Incorrect assembly, mismatched components, or poor post‑repair cleaning leave debris, misalignment, and trapped air that cause failure.
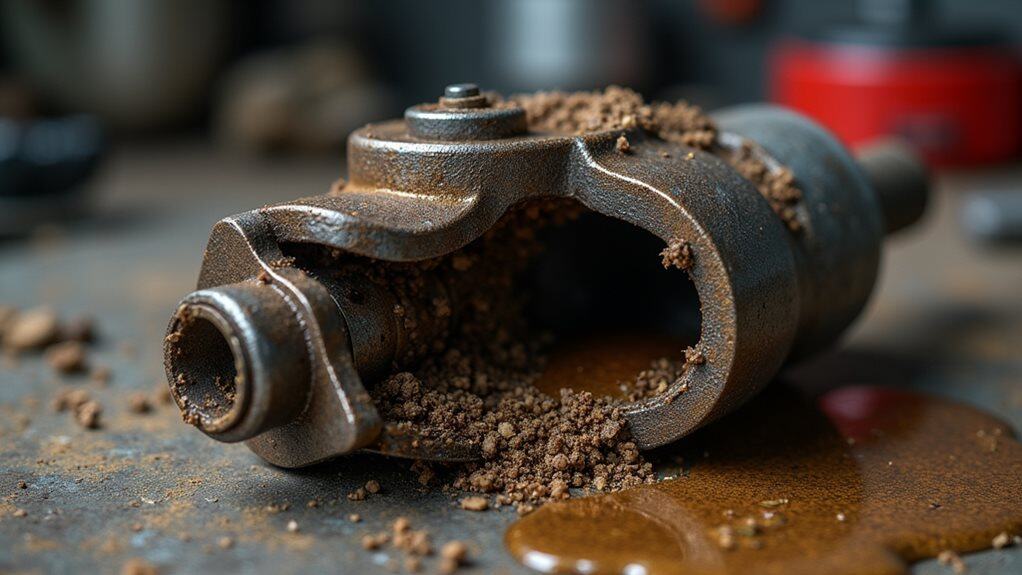
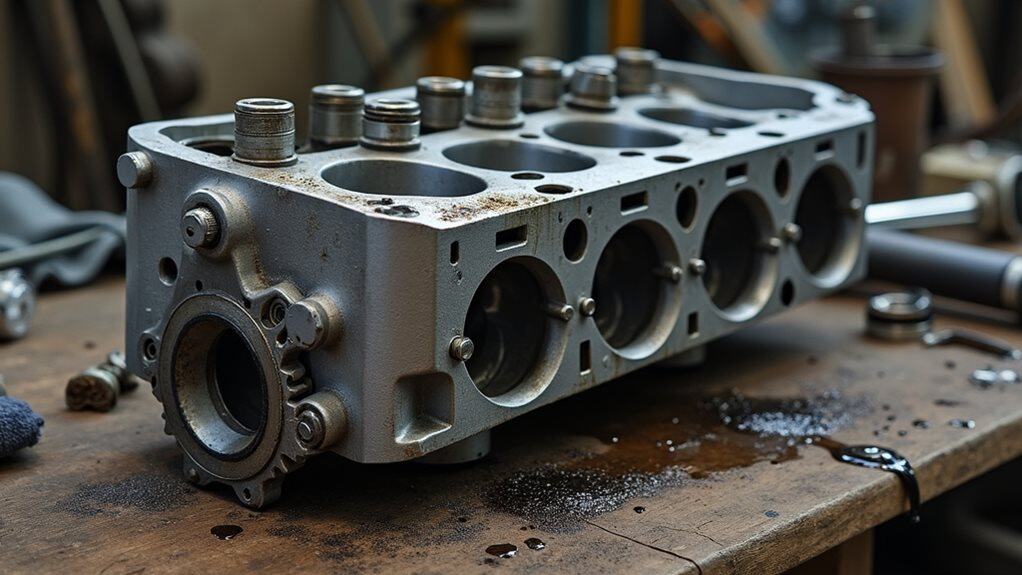
Oil Contamination and Debris Build-Up
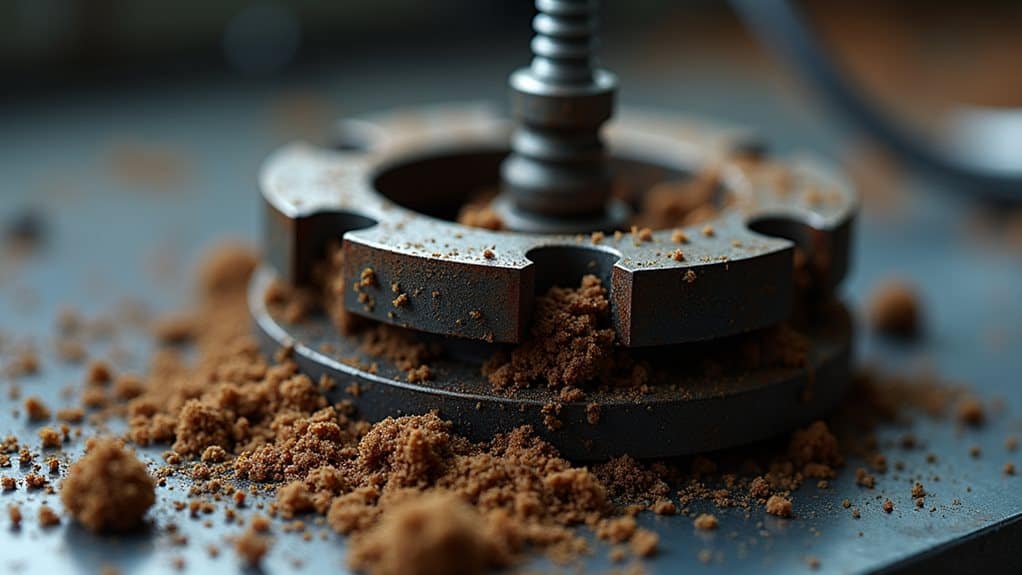
Start by recognizing that dirty oil will quickly foul hydraulic lifters, because contaminants and degraded oil directly interfere with their lubrication and hydraulic action.
You’ll find particles and sludge block tiny passages and orifices, causing sticking, tapping, or collapse.
Aerated, foamy oil weakens oil film and locking pins, misaligns lifter guides, and accelerates wear on plungers, cam lobes, and valve train components.
Hydraulic lifters can also fail when contaminated oil abrades the piston and bore surfaces, accelerating collapse and sticking.
Neglected spills and leaks on or near the engine can create fire hazards and contribute to oil contamination that worsens lifter damage.
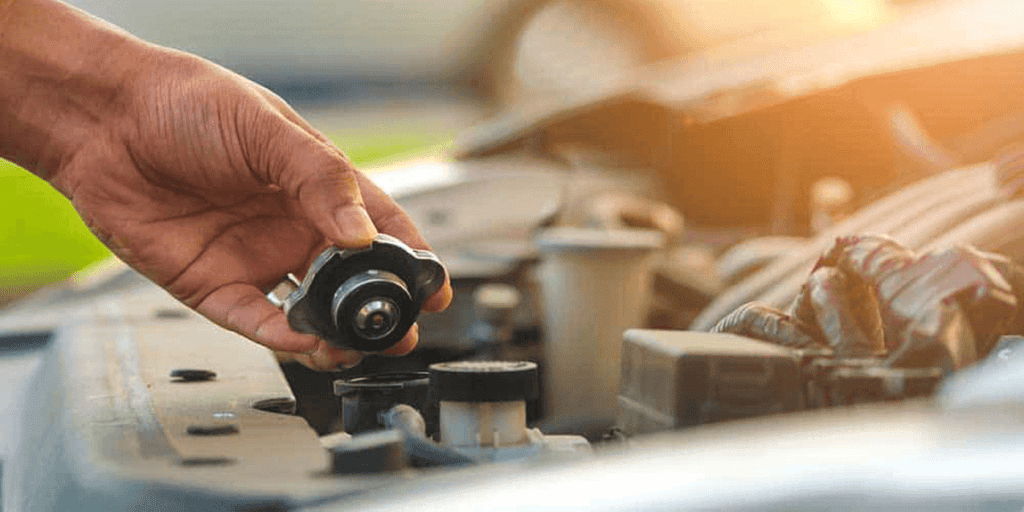
Poor or Infrequent Oil Changes
Regularly neglecting oil changes dramatically raises the risk of hydraulic lifter problems because oil is the lifter’s working fluid—when you delay changes the oil’s viscosity, detergency, and film strength degrade, and contaminants build up to impair lubrication and hydraulic action.
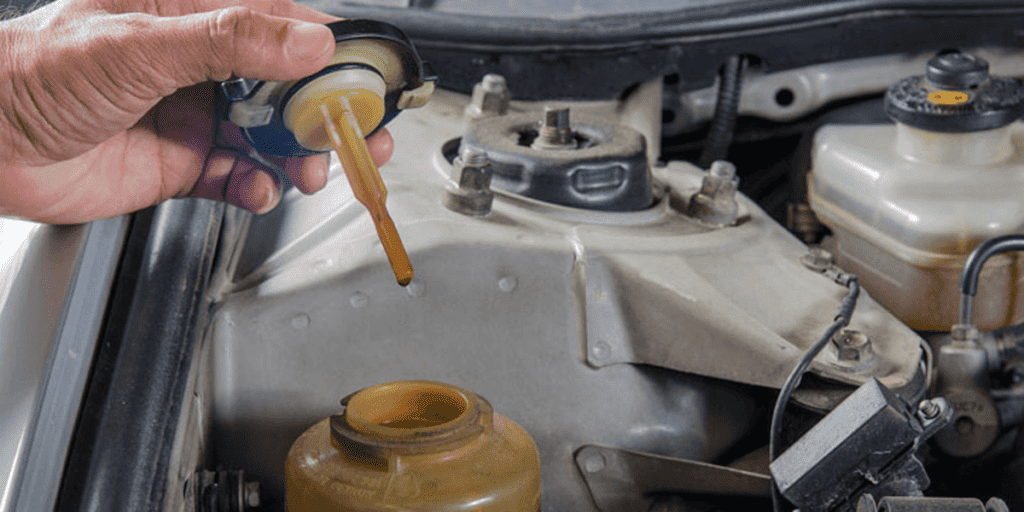
You should change oil per manufacturer intervals, use correct viscosity and quality, and replace filters; degraded oil causes sludge, aeration, poor damping, and accelerated lifter wear. Proper maintenance such as following service schedules and using OEM-recommended products measurably extends lifter life and prevents premature failure. Regular inspections and replacing the oil filter at recommended intervals also help prevent contaminant buildup that harms lifters.
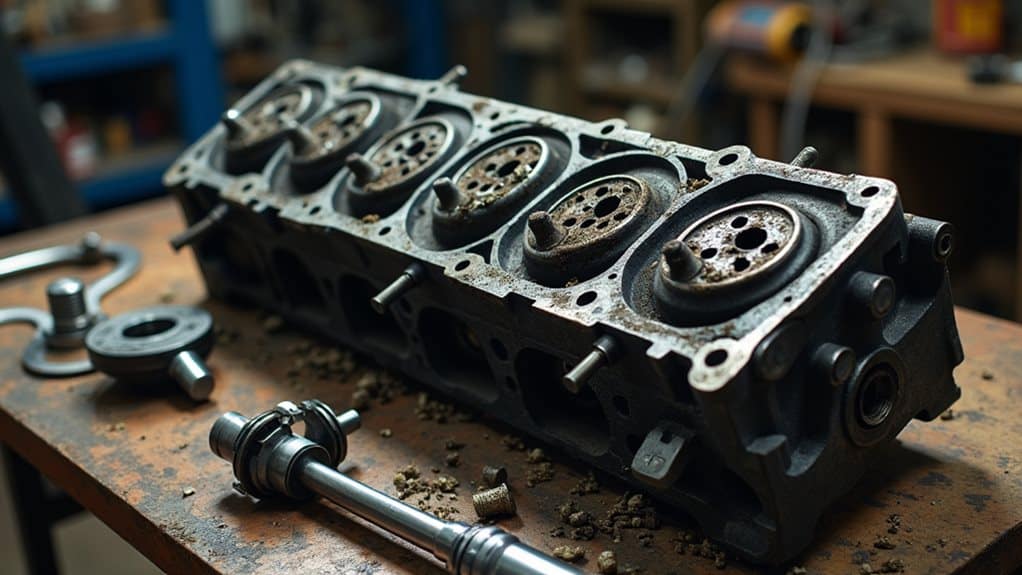
Contaminated Oil After Rebuilds or Repairs
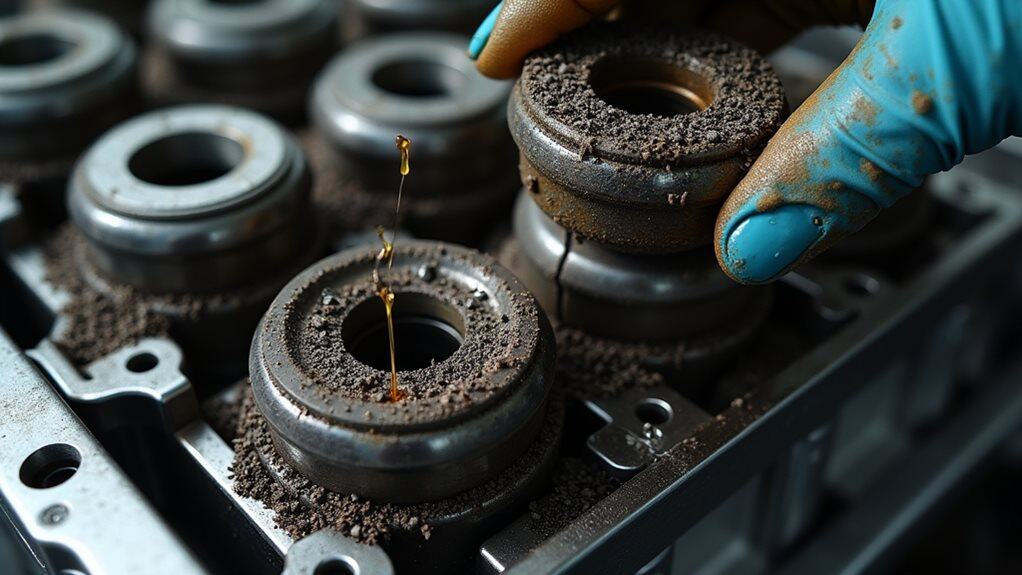
When you rebuild an engine, debris from machining, worn bearings, or careless assembly can get trapped in oil passages and clog lifter feed holes, preventing proper hydraulic operation.
If technicians skip careful cleaning or use dirty workspaces and tools, tiny metal shavings and sludge will circulate and score lifter faces or block oil flow, so you’ll see ticking, lost self-adjustment, and accelerated wear.
Always perform a thorough post-repair flush, replace the filter and clean pickup lines, oil coolers, and the oil pressure relief valve to remove residual contamination and restore reliable lifter performance.
Regular inspections and using cleaning procedures during rebuilds help prevent contamination from causing lifter failure.
Debris From Rebuilds
After a rebuild, small metal shavings, gasket fibers, and dust often end up suspended in the oil and they can wreak havoc on lifters if you don’t remove them; these abrasive particles scratch cam lobes and lifter faces, accelerating wear and degrading hydraulic function.
You should flush the engine, replace the filter, and run clean oil to prevent clogged passages and premature lifter failure.
Dirty Assembly Practices
Often, contaminated oil is the hidden culprit after a rebuild, and you need to treat it as an immediate priority to protect hydraulic lifters.
After repairs, metal shavings, machining dust, or improperly filtered new oil can clog lifter passages, restrict flow, and trap air pockets.
Use correct oil type, high-quality filters, and clean assembly practices to prevent abrasion, reduced hydraulic action, and premature lifter failure.
Inadequate Post-Repair Flushing
Flushing engine oil systems incompletely after a rebuild can leave a wide range of contaminants that quickly compromise hydraulic lifters, so you need a deliberate, methodical procedure to prevent damage.
Metal shavings, solvent residues, coolant or fuel dilution and particulate debris thin the oil film, clog galleries and filters, and accelerate wear; flush thoroughly, replace filters, and perform multiple oil changes with analysis to confirm cleanliness.
Clogged Lifter Internal Passages
Because oil passages inside hydraulic lifters are extremely small, they can become clogged by varnish, sludge, or metal particles carried in the engine oil, and that blockage stops the lifter from getting the oil it needs to maintain hydraulic pressure.
You’ll see ticking, rough idle, or misfires when passages restrict flow; use timely oil changes, proper viscosity, quality filters, and occasional flushes to prevent buildup.
Cleaning related fuel and injector components can also help overall engine health, such as maintaining clean fuel injectors to reduce contaminants entering the system.
Hydraulic Lifter Spring or Retainer Failure
Inspect the lifter assembly closely when you hear persistent ticking or notice intermittent misfires, because spring or retainer failure inside a hydraulic lifter can quickly disrupt valve function.
If the check-ball spring or retainer breaks, oil escapes and the plunger can seize, causing stuck lifter symptoms, valve lash issues, metal debris, or intermittent misfires; poor parts, wrong oil, or high RPMs worsen failure.
Broken or Missing Lifter Internal Components
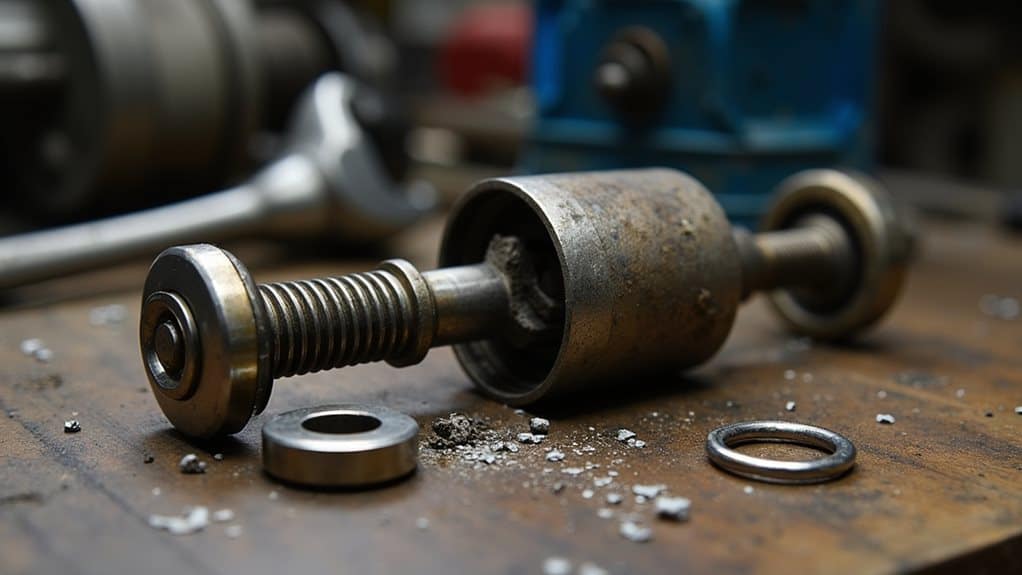
After checking for spring or retainer failure, you should also consider broken or missing internal components inside the lifter, since these small parts directly control oil flow and plunger movement and their absence or damage quickly alters valve operation.
Inspect for missing springs, retainers or valve parts, check plunger leakage and poor sealing, and beware of cheap, improperly machined lifters that bleed down and collapse.
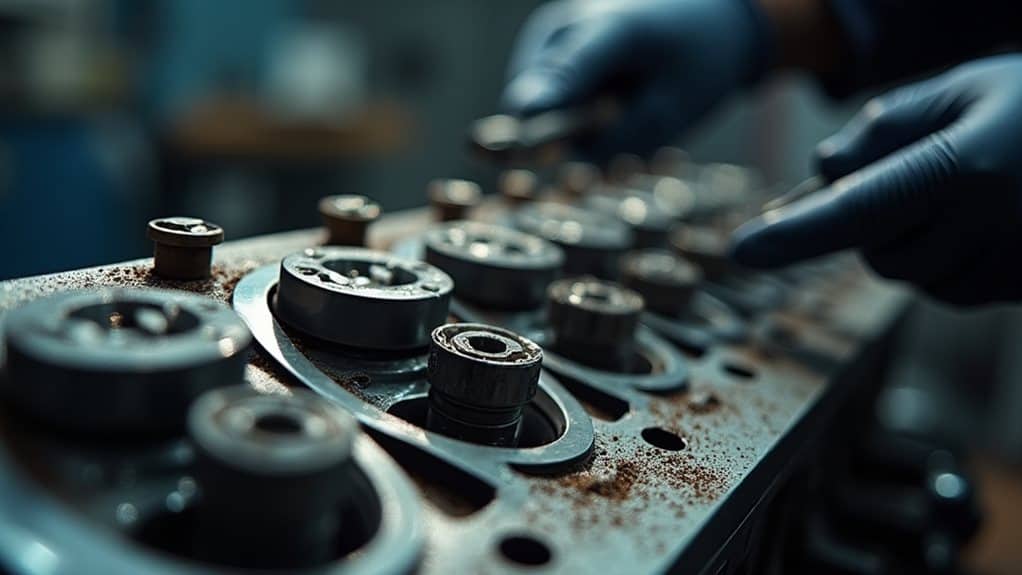
Worn or Damaged Lifter Trays
When lifter trays wear, crack, or otherwise fail, they stop holding the lifters in the precise orientation required for proper valve operation, and that loss of control quickly translates into noisy, inefficient, and damaging engine behavior.
You should inspect plastic trays for brittleness, cracks, or oversized pockets, replace OEM-quality trays when worn, and use correct hardware and torque to avoid further damage.
Lifter Rotation and Misalignment
Lifter trays that wear or crack can let lifters sit slightly off-center, and that misalignment often leads to problems with lifter rotation and contact on the cam lobe.
You should check for bore wear, improper machining, or incorrect reassembly, since offset contact concentrates wear.
Non-rotating lifters wear the cam lobe, disrupt oil film, and cause abnormal pushrod or rocker movement.
High RPM Abuse and Rev-Limiter Events
When you hit the rev‑limiter repeatedly it creates abrupt ignition or fuel cuts that act like hammer blows on the valvetrain, a phenomenon often called rev‑limiter hammering.
Those sudden torque interruptions produce pressure spikes that travel through lifters, pushrods, and rocker assemblies, increasing shock loading and accelerating roller and surface pitting; over time this can lead to lifter collapse, bent pushrods, or cam lobe damage.
To prevent these failures, avoid frequent limiter hits, monitor for new lifter noise or misfires, and maintain proper oil quality and lifter designs suited to high‑stress operation.
Rev‑Limiter Hammering
Because repeated full-throttle runs make the engine hit and drop off the rev limiter, you’ll create a rapid hammering effect that stresses the valvetrain and related systems.
That bouncing cuts fuel or spark, causing abnormal combustion cycles, unburned fuel, and temperature spikes.
Lifters face increased inertial loads, lubrication breakdown, and accelerated fatigue; over time this deforms surfaces, promotes wear, and leads to failure.
Pressure Spikes on Valvetrain
Rev‑limiter hammering and repeated full‑throttle runs set the stage for another, related problem: pressure spikes traveling through the valvetrain at high RPM.
You’ll see rapid valve motions create shock loads that amplify via spring surge, stressing lifters, retainers, and locks. Weak or broken springs, poor lubrication, or non‑race components let spikes cause collapses, accelerated wear, mis-timing, and eventual valvetrain failure.
Improper Assembly or Cam Swap Procedures
If you swap cams or assemble a valvetrain without matching components and following proper procedures, you’ll create conditions that quickly lead to lifter damage and cam wear.
Mix mismatched springs, pushrods, or retainers and you risk binding, harmonics, and mechanical interference.
Prime and lubricate lifters, verify bore condition and clearances, follow break-in routines, and use correct oil viscosity to prevent early failure.
Neglected Inspections and Maintenance
After you assemble the valvetrain and follow proper cam-swap procedures, regular inspections and maintenance become the ongoing defense that keeps lifters and cams functioning normally.
Check and change oil on schedule, use correct viscosity or synthetic oil, and watch for sludge or coolant contamination.
Inspect for ticking, carbon buildup, low oil pressure, and document service to prevent progressive lifter wear and costly repairs.
Secondary Damage From Failed Lifters
When lifters fail, the damage rarely stays isolated to that one component, and you’ll often see a cascade of wear and breakage throughout the valve train and into the combustion chamber.
Failed lifters can wear cam lobes, bend or break pushrods, fracture rocker arms, weaken springs, and cause valves to stick or burn. That leads to misfires, piston contact, and costly rebuilds.
Wrapping Up
You’ll prevent lifter failure by staying proactive: change oil on schedule, use correct viscosity and clean filters, and flush contaminated oil after repairs. Inspect lifters and passages for debris, verify spring and retainer integrity, and follow proper cam swap and assembly procedures with correct clearances. Avoid sustained high RPMs and address any chatter or noise immediately. If a lifter fails, replace it and check for secondary damage to valves, cam lobes, and bearings.