
You can fix a bent license plate by first removing it from your vehicle using a screwdriver, then placing cardboard behind the damaged area as backing. Use a rubber hammer to gently tap out dents and bends, working from the edges toward the center. For plastic plates, apply heat with a hair dryer before reshaping. Check that all characters remain clearly visible from 75 feet to meet legal requirements, and follow proper techniques to guarantee lasting results.
Quick Tips
- Remove the license plate carefully using appropriate screwdrivers, turning fasteners counterclockwise while holding the plate steady.
- For metal plates, use a rubber hammer with cardboard backing to gently flatten bent areas without causing further damage.
- For plastic plates, apply controlled heat with a heat gun or hair dryer, then reshape with gentle pressure.
- Ensure repaired plates meet legibility standards with all characters clearly visible from 75 feet as required by law.
- Work in a well-ventilated area wearing protective gloves and assess damage first to determine if repair is feasible.
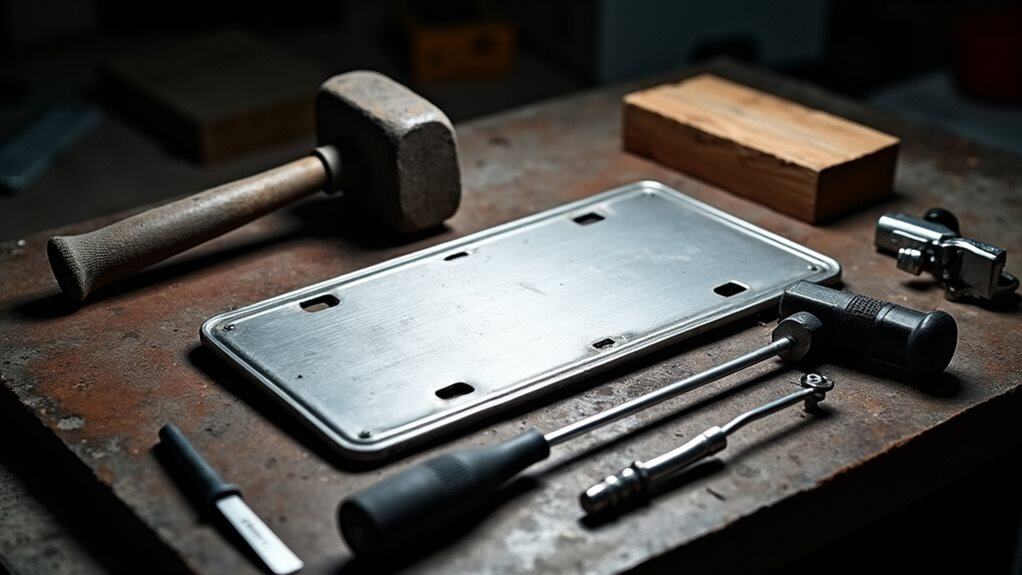
Tools and Materials You’ll Need
Success in repairing a bent license plate depends heavily on having the right tools and materials before you begin the restoration process.
You’ll need a rubber hammer for flattening, screwdrivers for removal, and cardboard for protection. Regular application of leather conditioner is also important for maintaining items post-repair.
Essential items include work gloves, replacement screws, fine-grit sandpaper, and metal polish for finishing touches. A heat gun can provide controlled heating to make the metal more pliable during the repair process.
Safety Precautions Before Starting
Before you begin any repair work on your bent license plate, taking proper safety precautions will protect you from injury and guarantee the best possible outcome.
Always wear protective gloves since bent plates often have sharp edges that can cause cuts. Additionally, consider using rust removal techniques to ensure that any rust on the plate does not affect the repair process.
Assess the damage carefully to determine if you can fix it yourself or need professional help.
Set up your workspace in a well-ventilated area especially if you plan to use any chemicals or heat during the repair process.
Removing the License Plate From Your Vehicle

Once you’ve gathered your safety equipment and assessed the damage, removing your license plate from the vehicle becomes the next essential step in the repair process.
Locate the screws or bolts securing your plate, typically positioned on the top or bottom edges.
Use your appropriate screwdriver to turn fasteners counterclockwise while holding the plate steady to prevent slipping during removal. Additionally, ensure you have the correct wrench size for any nuts that may be securing the plate, as some vehicles might use bolts for added security.
Assessing the Damage and Plate Material
Understanding your license plate’s material composition determines both the extent of repairable damage and the appropriate fixing method you’ll need to employ.
Aluminum plates show sharp creases or dents but resist cracking, while plastic plates typically warp or curl instead.
Use a straightedge tool against a flat surface to identify bends, and perform touch tests to detect cracks or brittleness in plastic materials. Additionally, recognizing the signs of turn signal issues can help you understand how to troubleshoot related electrical problems in your vehicle.
Preparing Your Work Surface

Before you begin straightening your bent license plate, you’ll need to establish a proper work environment that protects both the plate and your working surface.
Start by selecting a flat, stable surface like a workbench or garage floor, then lay down a piece of cardboard or scrap wood underneath the plate to cushion hammer blows and prevent scratching.
Make sure you have adequate space around your work area to maneuver tools freely and organize your equipment within easy reach.
Choose Flat Protected Surface
When repairing a bent license plate, selecting the right work surface forms the foundation of a successful restoration.
You’ll need a flat, rigid surface like concrete, asphalt, or thick plywood.
Place a protective layer such as rubber mat or cloth underneath to prevent scratches.
Make certain the surface is clean, level, and free from debris that could damage your plate.
Lay Down Cardboard Protection
Once you’ve established your flat, protected work surface, cardboard becomes your primary shield against damage during the repair process.
Select clean, dry cardboard that’s adequately sized to completely support your license plate.
Remove any dirt or debris from the surface, then flatten it completely to avoid uneven pressure points during hammering operations.
Ensure Adequate Work Space
Three critical factors determine whether your license plate repair will succeed or fail: surface selection, lighting quality, and workspace organization.
Choose a flat, stable surface like concrete or asphalt driveways. Position bright lighting to identify all bends and warps clearly.
Keep essential tools within arm’s reach, including rubber hammers and screwdrivers. Guarantee adequate ventilation and clear traffic-free zones for safety.
Flattening Metal License Plates
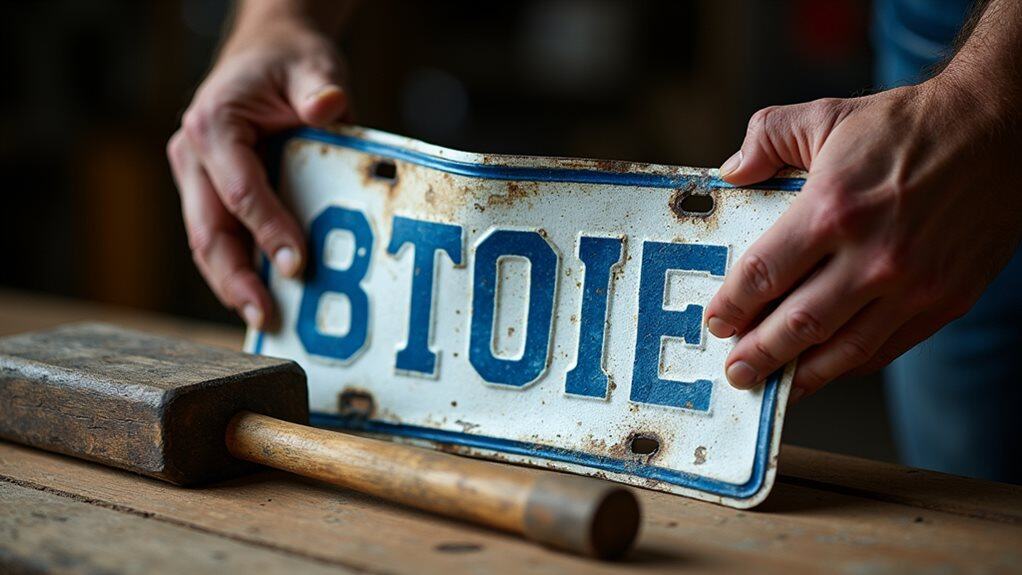
Although metal license plates can become bent from minor accidents, parking mishaps, or severe weather conditions, you can restore them to their original flat condition using proper tools and techniques.
You’ll need a rubber hammer, cardboard backing, and a flat surface.
Remove the plate first, then gently tap bent areas from outside inward until flat.
Repairing Plastic License Plates With Heat
While metal plates respond well to mechanical straightening, plastic license plates require a different approach that employs heat to restore their original shape.
Remove the plate from your vehicle first, then use a heat gun or hair dryer to warm the warped area evenly.
Once the plastic becomes pliable, place it on a flat surface and apply gentle pressure to reshape it before cooling.
Using Proper Hammering Techniques
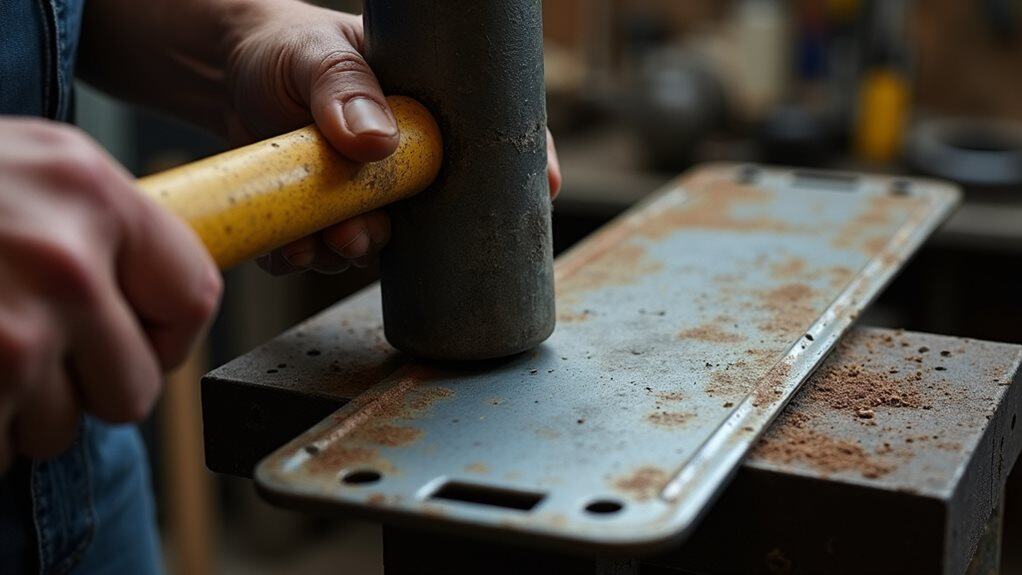
When dealing with bent metal license plates, selecting the appropriate hammer becomes your first critical decision in the repair process.
Use a rubber or soft-faced hammer to prevent additional damage. Position the plate face-down on a supportive surface, then apply controlled, moderate strikes to the dent center.
Work gradually around damaged areas using gentle tapping motions.
Checking for Proper Alignment and Flatness
After completing the hammering process, you must verify that your license plate has returned to its original flat configuration and proper alignment.
Place the plate on a flat surface like a table, checking for gaps underneath that indicate remaining warps.
Use a straightedge ruler across the surface to detect high or low points requiring additional adjustment.
Reinstalling Your Repaired License Plate

Three essential steps will guarantee your repaired license plate mounts securely and functions properly on your vehicle.
First, prepare by cleaning the mounting area and gathering correct hardware.
Next, position the plate flush against mounting points, ensuring proper alignment.
Finally, insert screws carefully and tighten firmly without over-torquing to prevent damage or loosening.
Legal Requirements and Compliance Standards
Before you mount your straightened license plate back onto your vehicle, you must understand that your local Department of Motor Vehicles (DMV) has established specific guidelines that govern how plates should appear and function on your car.
Your repaired plate needs to meet strict legibility standards, which means all characters must be clearly visible and readable from a reasonable distance without obstruction or distortion.
Additionally, state laws often impose limitations on what types of repairs you can legally perform yourself, and some jurisdictions may require professional replacement rather than DIY fixes for certain types of damage.
Local DMV Guidelines
When your license plate becomes markedly bent or damaged, understanding your local DMV’s legal requirements and compliance standards becomes essential for maintaining proper vehicle registration.
You’re legally required to display permanent, legible plates on both front and rear positions. Using damaged or unreadable plates can result in citations, fines, or enforcement actions that affect your registration validity.
Plate Legibility Standards
Understanding your local DMV’s requirements is only the first step—you must also guarantee your license plate meets specific legibility standards that govern how clearly your registration information can be read.
Characters must remain visible from seventy-five feet away, and bent plates compromise Automated License Plate Reader systems that law enforcement relies on for traffic monitoring and identification.
Repair Limitation Laws
Although you might think any repair method will work, state laws strictly limit how much you can modify or fix a damaged license plate before you’re required to get a replacement.
Warping or bending that affects plate integrity can trigger compliance enforcement actions.
If distortions obscure identification numbers, you’ll face fines up to $500 for violations.
Wrapping Up
You’ve successfully restored your license plate’s functionality through careful hammering and alignment techniques. Remember to check your state’s specific regulations regarding plate visibility and mounting requirements, as non-compliance can result in fines. If you notice cracks or severe damage during repair, you’ll need to request a replacement from your local DMV. Keep your plate properly mounted and inspect it regularly to prevent future bending from road debris or parking incidents.


