
To fix a blue screen on your backup camera, start by checking the camera’s power connection and inspecting the fuse box for blown fuses. Clean the camera lens with a microfiber cloth, then examine all wiring connections for corrosion, damage, or loose contacts. Disconnect and reconnect all camera-related connectors to reset the system. If the blue screen persists, the issue likely involves damaged wiring or a faulty camera unit requiring replacement. Advanced troubleshooting techniques can address more complex underlying problems.
Quick Tips
- Check and clean the backup camera lens weekly using microfiber cloths to remove dirt, salt, and debris causing blue screen issues.
- Inspect all camera connections, wiring, and fuses for damage, corrosion, or loose connections that disrupt signal transmission.
- Perform a connection reset by unplugging and reconnecting all camera-related connectors to restore proper signal flow.
- Examine the camera housing for physical damage, cracks, or moisture intrusion that may affect internal components and functionality.
- Seek professional help if blue screens persist after cleaning and basic troubleshooting, indicating deeper hardware or wiring problems.
Understanding Common Causes of Blue Screen Issues
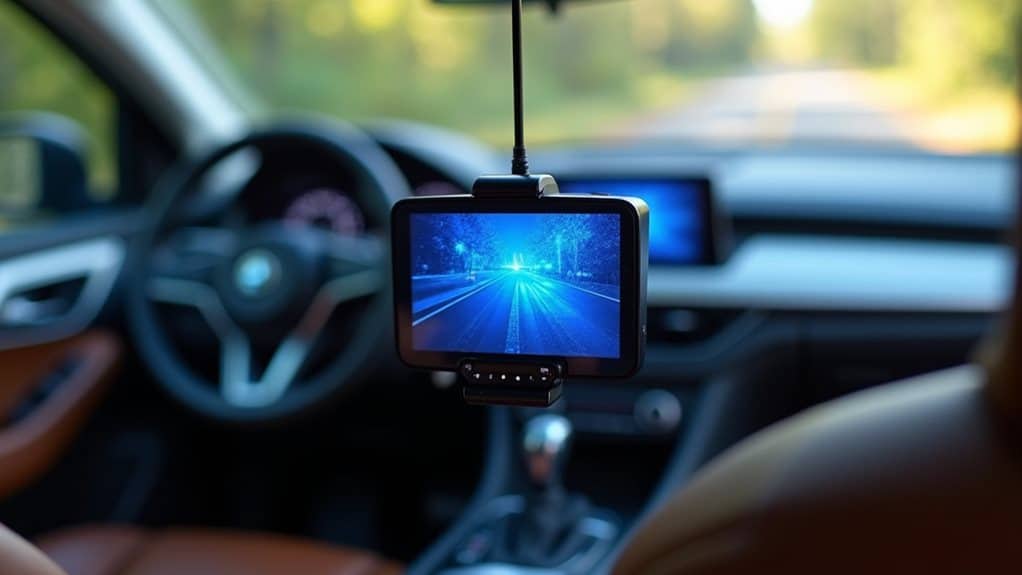
When your backup camera displays a frustrating blue screen instead of the rear view, several underlying issues could be disrupting the system’s normal operation.
Physical damage to the camera lens or housing can trigger malfunctions, while moisture intrusion causes corrosion that affects internal components. Regular battery voltage checks can also help ensure that power supply problems are addressed promptly.
Additionally, loose connectors, frayed wiring assemblies, and power supply problems frequently cause signal transmission failures. Checking the Device Manager for any devices marked with warning indicators can help identify problematic components in your backup camera system.
Quick Diagnostic Steps to Identify the Problem
Before you start replacing expensive components, you’ll want to perform a systematic visual hardware inspection to identify obvious problems with your backup camera system.
Start by examining all physical connections, including the camera connector behind your tailgate and the wiring assembly that runs from the camera to your head unit, looking for signs of corrosion, loose pins, or damaged wires. Additionally, ensure that the turn signal relay is functioning properly, as issues there can sometimes affect other electronic systems.
Once you’ve completed your visual check, you can move on to the connection reset process, which involves unplugging and firmly reconnecting all camera-related connectors to eliminate simple connectivity issues that often cause blue screen problems.
During your inspection, make sure to check the backup camera fuse in your vehicle’s fuse box, as a blown fuse can cut power to the entire system and result in a blue screen display.
Visual Hardware Inspection
A systematic visual examination of your backup camera system serves as the foundation for diagnosing blue screen issues effectively.
Begin by checking the camera lens for dirt, debris, or physical damage that might impair functionality.
Next, inspect all connectors and wiring for corrosion, loose connections, or moisture infiltration.
Finally, examine the display screen for flickering or error messages.
Connection Reset Process
After completing your visual hardware inspection, the connection reset process provides a systematic approach to isolate electrical issues that commonly cause blue screen malfunctions in backup camera systems.
Start by disconnecting your vehicle’s battery for five to ten minutes, allowing residual power to dissipate completely. This resets the camera’s electronic control unit, potentially resolving temporary glitches.
Inspecting Camera Hardware and Connections
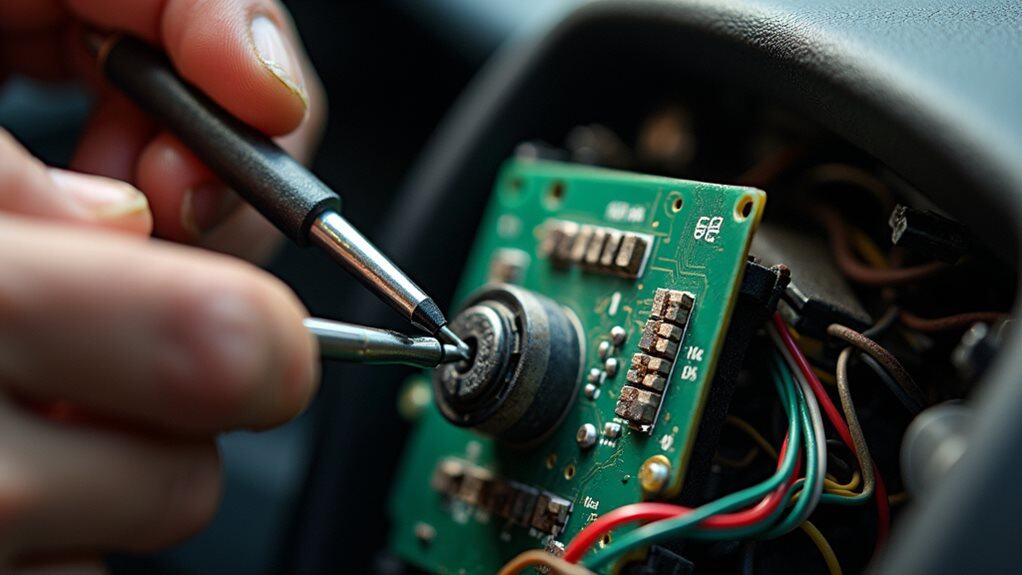
Hardware diagnostics represent the cornerstone of troubleshooting backup camera blue screen issues, as most display problems stem from physical defects or compromised connections rather than software malfunctions.
Start by examining your camera’s physical condition for cracks, loose mounting, or lens obstructions.
Check cable connections for tightness, corrosion, and proper insertion into monitor ports, ensuring signal integrity throughout the system. Additionally, regular inspections of the backup camera system can help identify potential issues before they lead to failure.
Cleaning and Maintaining Camera Components
Three critical maintenance practices can eliminate most blue screen issues caused by dirty or compromised camera components.
Implementing these procedures will greatly improve your backup camera’s performance and longevity.
Clean the lens weekly using soft microfiber cloths with gentle circular motions.
Remove road salt, dust, and brake dust regularly, especially after winter conditions or dusty environments. Additionally, regular visual inspections can help identify any potential issues before they affect camera functionality.
Repairing Damaged Wiring and Connectors
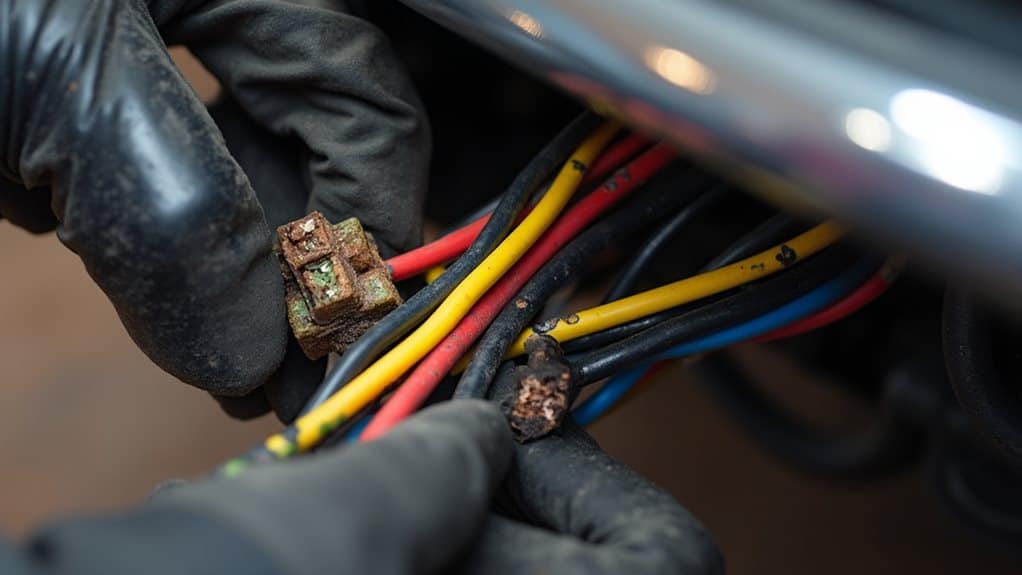
When damaged wiring and faulty connectors cause your backup camera to display a blue screen, systematic diagnosis and proper repair techniques will restore full functionality to your system.
First, disconnect power and examine wiring for frayed insulation, cuts, or corrosion. Strip damaged sections, solder new connections, and insulate with heat shrink tubing for lasting repairs.
Replacing Faulty Camera Hardware
When damaged wiring repairs don’t resolve your backup camera’s blue screen issue, you’ll need to replace the camera hardware itself.
Before purchasing a replacement unit, you must verify that the new camera matches your vehicle’s specific make and model to guarantee proper fit and electrical compatibility.
The installation process involves carefully removing the faulty camera, installing the new hardware using existing mounting points, and conducting thorough testing to confirm the blue screen problem is completely resolved.
Camera Compatibility Check
Camera compatibility issues frequently cause backup camera blue screens, particularly after installing aftermarket head units or replacing original equipment with different brands.
You’ll need to verify that your camera model supports your vehicle’s infotainment system by checking manufacturer specifications, reviewing product compatibility lists, and confirming matching video signal formats and power requirements before installation.
Installation Process Steps
Five essential steps will guide you through replacing a faulty backup camera that’s causing blue screen issues.
First, disconnect your vehicle’s battery for safety.
Next, carefully remove trim pieces and disconnect the old camera’s wiring connector.
Then, position the new camera with proper downward angle and secure mounting hardware.
Finally, reconnect wiring and test functionality.
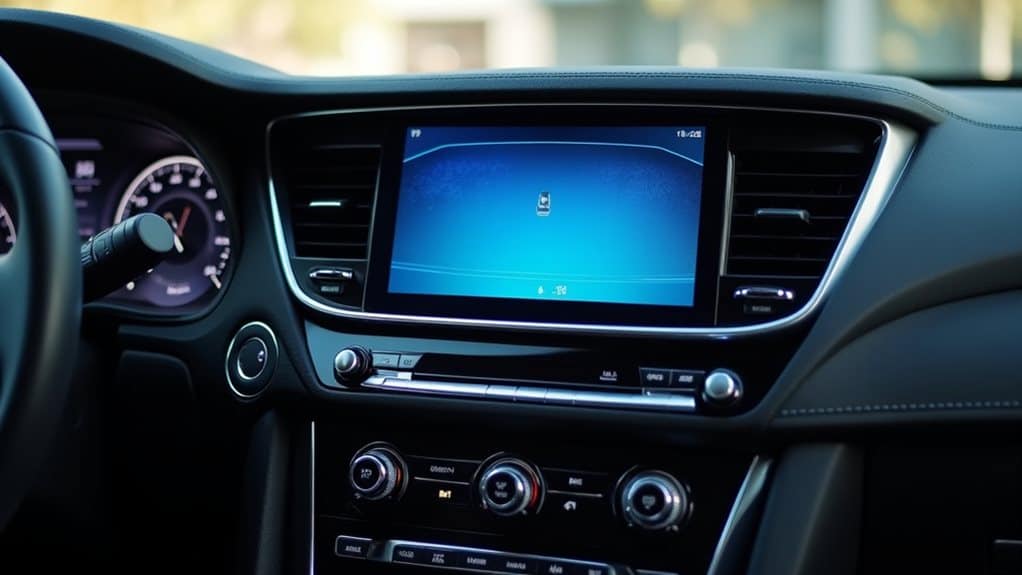
Testing New Hardware
After you’ve installed your new backup camera, thorough testing becomes essential to guarantee the hardware functions properly and eliminates the blue screen issue.
First, conduct a power-up test by engaging reverse gear to trigger camera activation.
Observe the display for consistent, flicker-free video feed without blue screen appearances, and check for any error codes on your multimedia system.
Addressing Environmental and Weather-Related Factors
Environmental conditions pose significant challenges to backup camera functionality, often serving as the primary culprit behind persistent blue screen issues.
Cold weather creates ice buildup on lenses, while heat causes component degradation and pixelation.
Moisture infiltration leads to corrosion and signal disruption.
Physical debris like dirt, salt, and grime blocks camera visibility, requiring regular cleaning and protective measures.
System Reset and Software Solutions
When hardware connections appear secure and environmental factors aren’t causing your backup camera’s blue screen, the problem often lies within the system’s software or electronic components that have become corrupted or misconfigured.
Start by performing a hard reset: disconnect your vehicle’s battery for several minutes, allowing the backup camera system to completely reset and clear any temporary glitches.
When to Seek Professional Assistance
While software resets can resolve many backup camera issues, some problems require skill that goes beyond basic troubleshooting methods.
You’ll need professional help when blue screens persist after cleaning attempts, indicating hardware faults.
Wiring damage through flexible hinges, moisture trapped inside camera lenses, and multiple system errors demand specialized diagnostic equipment and proficiency you can’t provide.
Wrapping Up
You’ve now learned systematic approaches to diagnose and repair backup camera blue screen issues. Start with basic connection checks, then progress through cleaning, wiring inspection, and component replacement as needed. Remember that environmental factors and software glitches can also cause problems. If you’ve exhausted these troubleshooting steps without success, don’t hesitate to consult a professional technician who can perform advanced diagnostics and guarantee proper system functionality.


