
To achieve a smooth factory finish when wet sanding touch-up paint, you’ll need to start with properly cured paint and high-quality wet-dry sandpaper (400-5000 grit). Clean the surface thoroughly, then use a mixture of soap and water for lubrication while sanding in 45-degree angles with even pressure. Progress systematically through finer grits, maintaining constant wetness throughout the process. Follow with polishing compound and sealant for professional results. These fundamental steps lay the groundwork for mastering advanced techniques.
Quick Tips
- Start with proper surface preparation by thoroughly cleaning and masking adjacent areas, ensuring the touch-up paint has fully cured.
- Progress through wet-sanding grits systematically, beginning at 1000 and working up to 3000, maintaining constant surface wetness.
- Use even pressure with a sanding block at 45-degree angles while keeping the surface lubricated with soap and water.
- Apply polishing compound in small sections using either hand application or orbital polisher to restore shine after wet sanding.
- Finish with quality wax or ceramic coating for UV protection and a factory-like shine that matches surrounding paint.
Understanding the Basics of Wet Sanding
Wet sanding stands as a critical technique in automotive paint refinishing, offering a precise method to achieve a flawless finish on touched-up areas.
You’ll need to work with both single and two-stage paints, ensuring the surface is fully cured before beginning. Spilled oil can create hazardous fire risks if it comes into contact with hot engine parts during the refinishing process.
Start with progressively finer grits of sandpaper, but don’t sand too aggressively. Mixed soap and water provides essential lubrication during the wet sanding process.
This process effectively removes orange peel and enhances paint clarity.
Essential Tools and Materials You’ll Need
To start your wet sanding project, you’ll need basic equipment including wet-dry sandpaper in various grits, sanding blocks, and rubber squeegees for water removal. Additionally, consider using leather conditioner to maintain the quality of your tools and prevent wear over time.
Professional protective gear, such as nitrile gloves, safety glasses, and a dust mask, will shield you from harmful particles and chemicals during the sanding process.
Your specialty paint preparation tools should include paint leveling compounds, foam applicator pads, and high-quality touch-up paint that precisely matches your vehicle’s color code. Achieving proper results requires allowing 24 hours curing time before beginning the wet sanding process.
Basic Sanding Equipment Required
Successful wet sanding requires a specific set of tools and materials to achieve professional-quality results.
You’ll need an all-encompassing wet sanding kit that includes various grit sandpapers (from 400 to 5000), 3M Wetordry sheets, and sanding blocks.
Don’t forget to gather essential items like buckets, sponges, and rubber squeegees to maintain proper surface wetness and remove debris during the process.
Professional Protective Gear Checklist
Safety stands as the cornerstone of any wet sanding project, requiring an extensive array of protective gear to shield you from potential hazards.
You’ll need safety goggles and a respirator mask to protect your eyes and lungs from dust particles.
Don’t forget protective gloves, long-sleeved clothing, and a sturdy apron.
Make certain you’re wearing closed-toe shoes and proper ear protection when using power tools.
Specialty Paint Prep Tools
Proper paint preparation requires three essential categories of specialty tools: wet sanding equipment, finishing implements, and surface preparation materials.
You’ll need wet/dry sandpaper in varying grits, foam sanding blocks, and polishing compounds for ideal results.
Keep your orbital sander, polycarbonate blocks, and 3M Imperial Wetordry sheets ready, along with microfiber cloths and paint leveling compounds for professional-quality finishes.
Safety Precautions Before You Begin
Before you start wet sanding, you’ll need to put on protective equipment, including safety glasses, gloves, and a dust mask to shield yourself from harmful particles and fumes.
Your workspace must have proper ventilation, which you can achieve by opening windows, using fans, or working outdoors to prevent the buildup of harmful dust and chemical vapors. Additionally, ensure that you are aware of potential safety hazards from using equipment in enclosed spaces to protect yourself effectively.
Setting up adequate lighting in your workspace will help you spot any potential issues while ensuring you’re working safely and effectively throughout the wet sanding process.
Essential Protective Equipment Required
When undertaking wet sanding touch-up paint work, you’ll need specific protective equipment to guarantee your safety and achieve ideal results.
Start with safety glasses to shield your eyes from particles, and wear chemical-resistant gloves to protect your hands.
Don’t forget your respiratory protection for dust and fumes, and put on long-sleeved clothing or coveralls to guard against chemicals and scratches.
Workspace Ventilation Setup
Setting up effective ventilation in your workspace complements your personal protective equipment and forms the foundation of a safe wet sanding environment.
Open windows for natural airflow, and set up a spot ventilation system with exhaust fans to remove airborne particles.
You’ll also want to maintain proper humidity levels between 40-60% using dehumidifiers to prevent moisture-related issues during the sanding process.
Preparing Your Vehicle’s Surface
The success of your wet sanding project depends heavily on proper surface preparation.
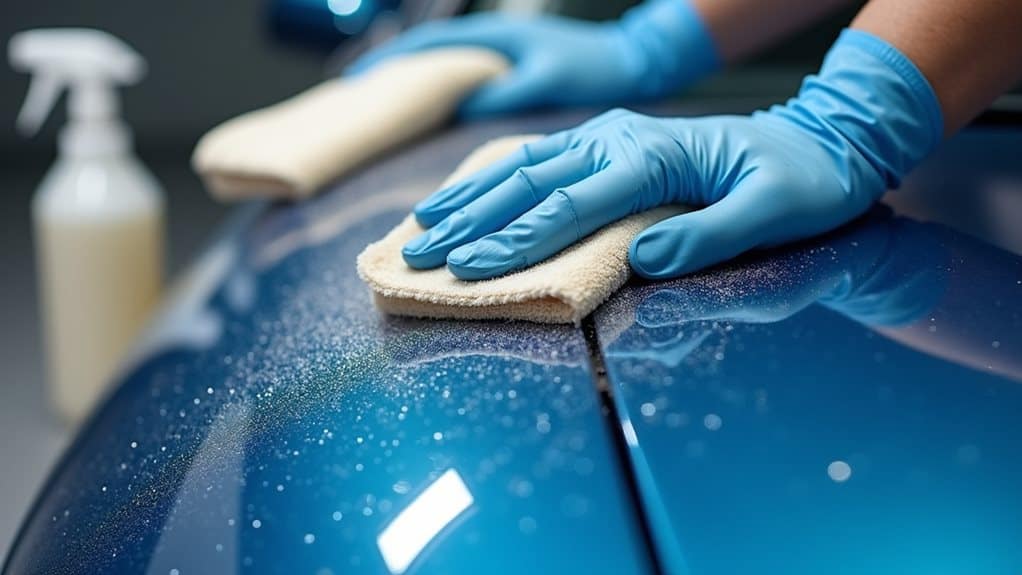
Start by thoroughly cleaning your vehicle with a specialist car cleaning solution and sponge, removing all dirt and contaminants.
Once clean, carefully mask adjacent areas with high-quality cloth tape.
Next, inspect the surface under bright light to identify and document imperfections, determining whether they’re in the clear coat, paint, or primer. Additionally, ensure that the surface is free of mildew, mold, and algae to avoid any complications during the wet sanding process.
Step-by-Step Wet Sanding Technique
Successfully wet sanding touch-up paint requires a methodical approach and proper technique to achieve professional-looking results.
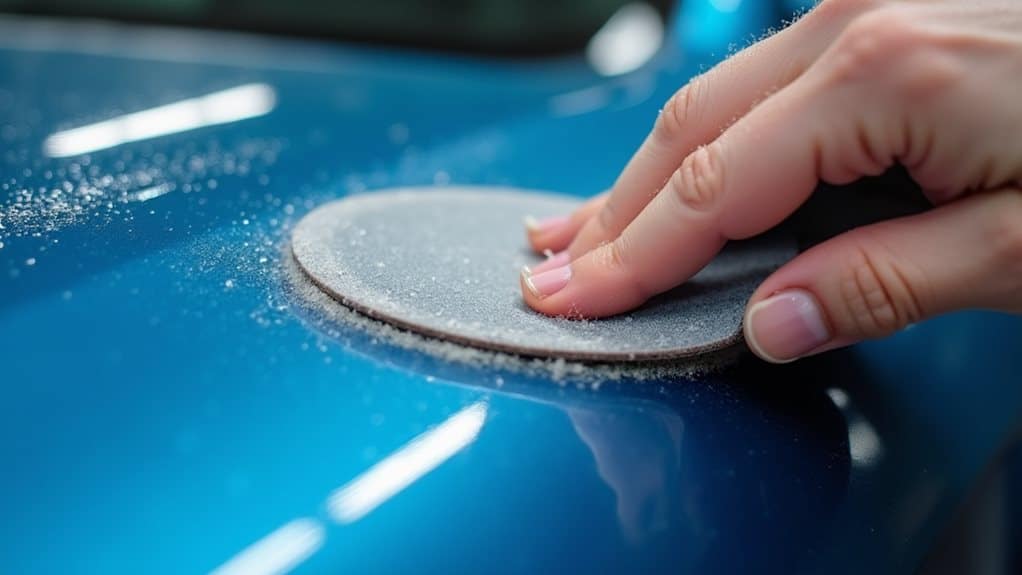
Begin by saturating the surface with water, then use your 2000-grit sandpaper at a 45° angle, applying light, consistent pressure.
Work in small sections, frequently cleaning and inspecting your progress.
Once satisfied, shift to 3000-grit sandpaper for final smoothing.
Mastering Paint Touch-Up Application
Before you begin applying touch-up paint, you’ll need to carefully clean and prepare the surface while guaranteeing you’ve correctly matched your vehicle’s paint code for a seamless blend.
You must apply the paint in thin, even layers to build up the proper thickness, which prevents unsightly bumps and assures a professional-looking repair.
If you’re working with bare metal, don’t forget to start with a primer coat, as this creates the ideal foundation for your touch-up paint to adhere properly and last longer.
Proper Paint Layer Thickness
Mastering proper paint layer thickness stands as an essential element in achieving professional-looking touch-up results.
You’ll need to apply multiple thin coats rather than one thick layer, letting each coat become tacky before adding the next.
Using a coating thickness gauge, you can measure your layers precisely, ensuring they match the surrounding paint depth for a seamless finish.
Surface Preparation Steps
Proper surface preparation forms the foundation of any successful paint touch-up project.
Begin by thoroughly washing the area with car soap to remove contaminants, followed by degreasing.
You’ll need to dry the surface completely with a microfiber cloth, then use a clay bar to lift embedded debris.
Finally, sand the area with 400-grit sandpaper and remove dust with a solvent-dampened, lint-free cloth.
Paint Color Matching
With your surface properly prepped, successful paint touch-ups rely heavily on accurate color matching.
You’ll need a small sample from an inconspicuous wall area for precise matching.
While professional spectrophotometers offer the most accurate results, you can also use handheld color readers or paint store software.
When selecting your match, consider both color and sheen to guarantee a seamless blend.
Common Mistakes to Avoid
Successful touch-up paint repairs depend heavily on avoiding common pitfalls that can compromise your final results.
Don’t skip proper surface preparation, including thorough cleaning and appropriate sanding techniques.
You’ll want to apply paint in thin, even coats, allowing adequate drying time between layers.
Remember to match your clear coat properly and don’t rush through the final polishing steps.
Professional Tips for Perfect Results
Professional-grade results in wet sanding touch-up paint require a systematic approach and attention to detail.
Start with thoroughly pre-soaking your sandpaper and progress methodically from 1000 to 3000 grit. You’ll want to maintain constant surface wetness while applying even pressure with a sanding block at 45-degree angles.
After completion, apply polish followed by a protective sealant for a lasting factory-like finish.
Polishing and Finishing Methods
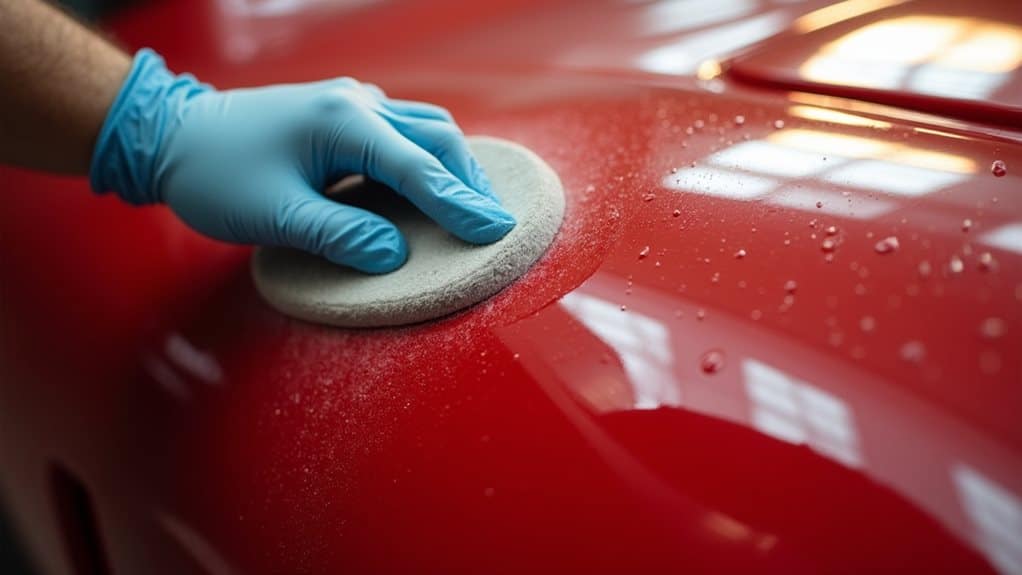
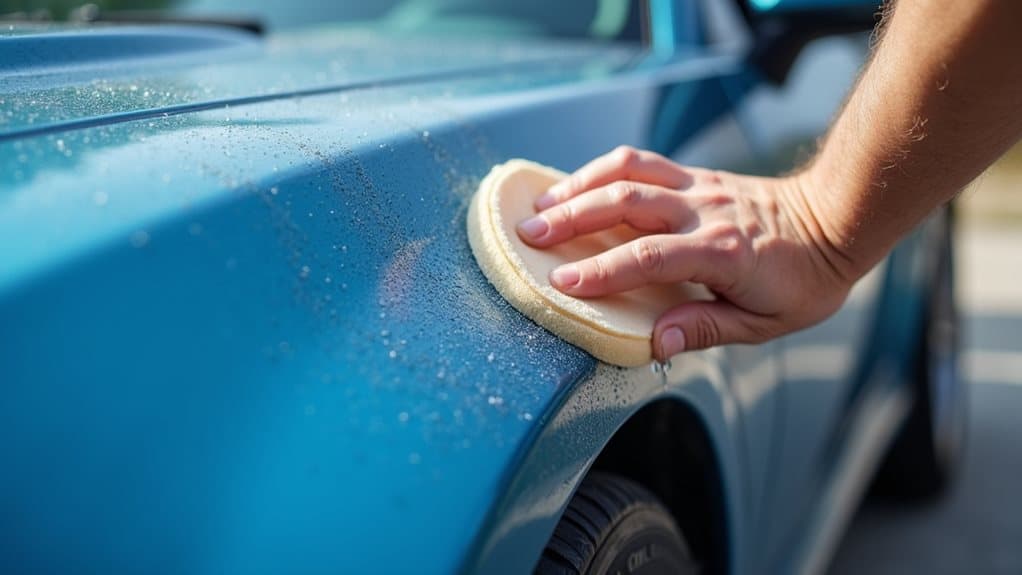
Once you’ve completed the wet sanding process, achieving a flawless finish requires systematic polishing and finishing techniques.
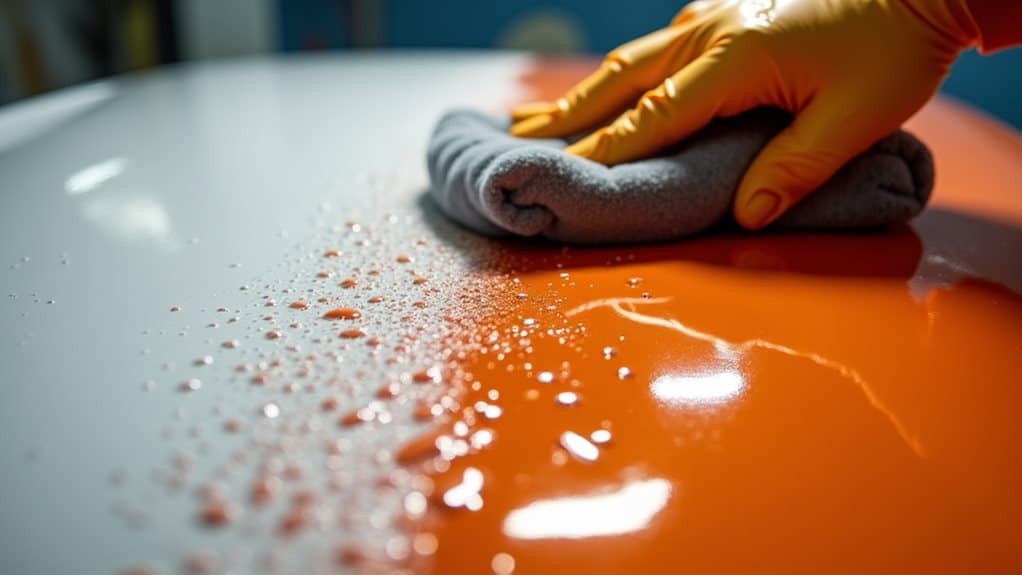
Begin with a polishing compound like Meguiar’s Ultimate, applying it either by hand or with a random orbital polisher. Work in small sections, using even pressure and microfiber towels to monitor your progress.
Finally, inspect the surface carefully to guarantee you’ve restored the factory-like shine.
Maintaining Your Restored Paint Job
Proper maintenance of your restored paint job determines how long that showroom-quality finish will last.
You’ll need to wash your car regularly with gentle automotive soap, using microfiber towels to prevent scratches.
Apply quality waxes or ceramic coatings for UV protection, and don’t forget to park in covered areas when possible.
Address any minor scratches promptly to prevent bigger problems later.
Wrapping Up
Wet sanding your vehicle’s touch-up paint isn’t just about fixing imperfections—it’s about achieving that showroom-quality finish you’re after. By following proper techniques, using the right materials, and exercising patience throughout the process, you’ll restore your car’s paint to a smooth, professional appearance. Remember to maintain your restored finish with regular washing and waxing, and you’ll enjoy that factory-fresh look for years to come.


