
To remove an over-tightened oil drain plug, you’ll need a six-point socket attached to a breaker bar for maximum grip and leverage. Apply steady counterclockwise pressure, and if the plug won’t budge, tap it gently with a hammer to break corrosion bonds. For stubborn plugs, heat the area with a propane torch for 30–60 seconds or soak it overnight in penetrating oil. If the bolt head strips, use extractor sockets or file flats onto the plug for better grip, and always support the oil pan from underneath to prevent cracking during removal—techniques that become clearer with thorough guidance.
Quick Tips
- Use a six-point socket with a breaker bar to apply steady counterclockwise pressure for maximum grip and leverage.
- Apply penetrating oil and let it soak overnight, then retry removal to break down corrosion and rust.
- Tap the plug gently with a hammer or use a manual impact driver for percussive force.
- Apply heat with a propane torch for 30–60 seconds to expand the metal and break the seal.
- Use extractor sockets or file flats onto rounded heads when conventional tools cannot grip properly.
Essential Tools and Equipment You’ll Need
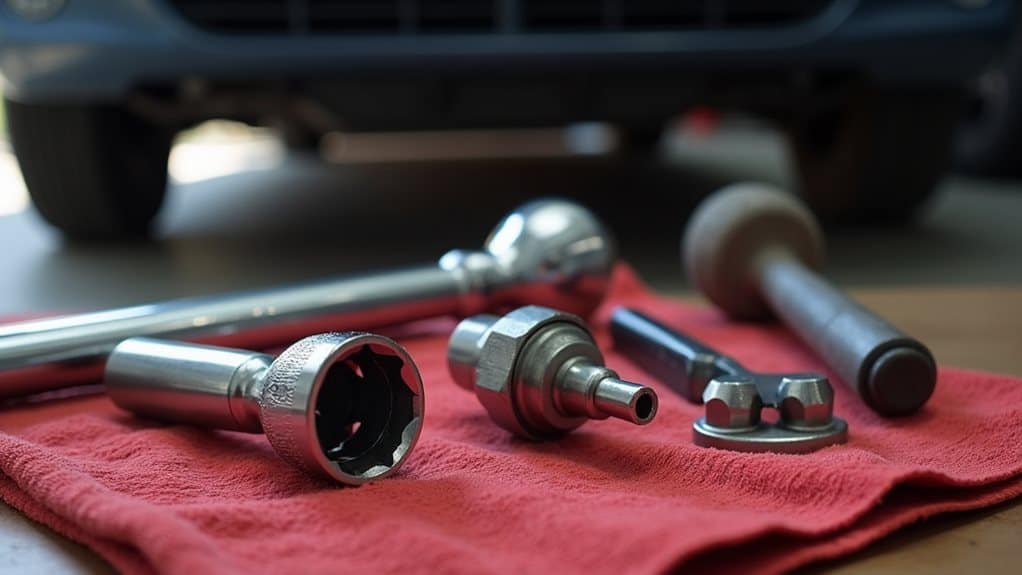
Before you begin tackling an over-tightened oil plug, you’ll need to gather the right tools to avoid making the problem worse.
Start with a combination wrench or ratcheting socket sized exactly to your drain plug.
You’ll also want a breaker bar for extra mechanical advantage, vise grips for stripped heads, and bolt extractor sets.
Don’t forget an oil catch pan, protective gloves, and penetrating oil to help loosen stubborn threads.
A torque wrench is essential for reassembly to ensure you tighten the plug to the manufacturer’s specification, typically around 30-35 ft·lb.
If you suspect the difficulty is due to electrical issues when diagnosing related starting problems, consider checking the starter relay as part of your troubleshooting.
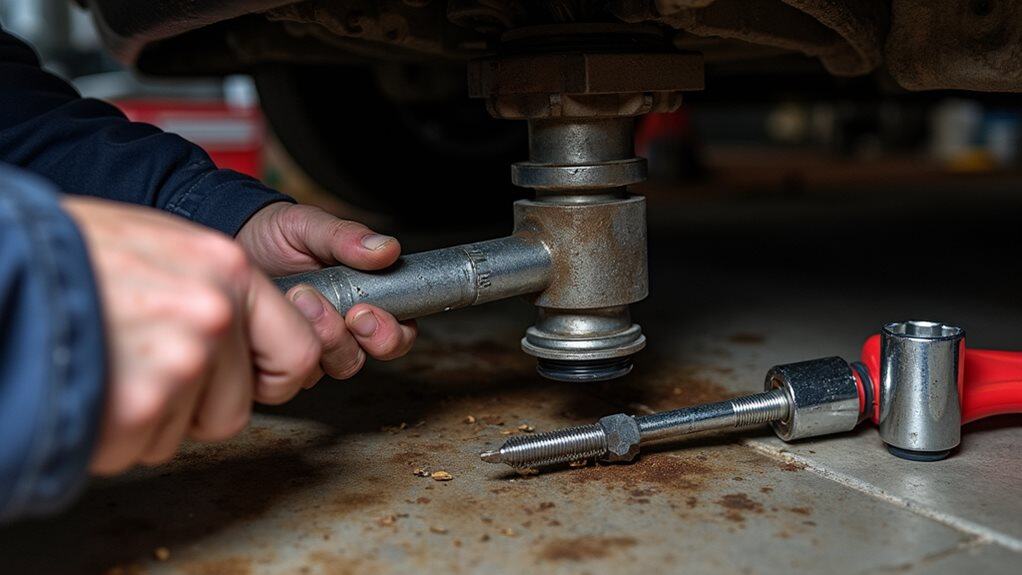
Step-by-Step Techniques for Loosening the Plug
With your tools assembled and ready, you’ll now apply proven techniques to break the over-tightened drain plug free without causing damage.
Start by attaching a six-point socket to a breaker bar, applying steady counterclockwise pressure. If it won’t budge, tap the plug gently with a hammer to break corrosion. Apply heat using a propane torch for 30-60 seconds, then retry. Regular inspection and maintenance can prevent seized plugs caused by corrosion buildup.
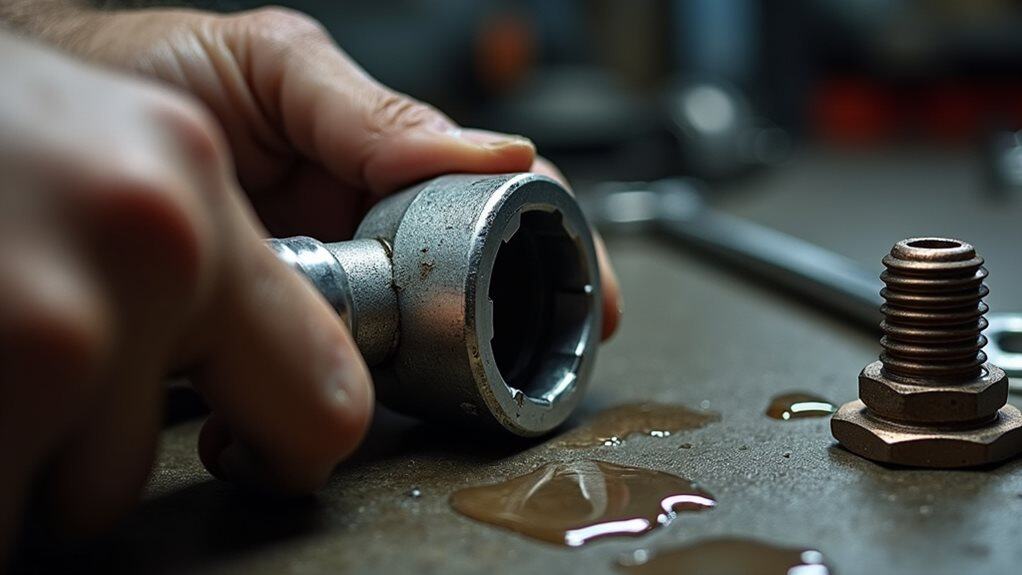
Alternative Methods When Standard Approaches Fail
When standard sockets and breaker bars prove ineffective against a seized drain plug, you’ll need to escalate your approach with specialized tools and techniques designed specifically for stubborn fasteners.
Extractor sockets grip rounded bolt heads more effectively than conventional tools, while manual impact drivers deliver simultaneous rotational and percussive force.
You can also create new gripping surfaces by filing flats onto the plug or drilling a pilot hole for an easy-out extractor.
If corrosion is present, soaking the plug in penetrating oil overnight often helps free it by breaking down rust and debris, improving the chances of successful removal using extraction tools and proper technique, especially when combined with rust relief measures.
Protecting Your Oil Pan From Damage
During the struggle to remove an over-tightened drain plug, you might inadvertently cause additional damage to the oil pan itself if you’re not careful with your techniques and tool selection.
Support the pan from underneath using a block of wood to distribute force evenly. Avoid excessive hammering or prying that can crack the thin metal. Regular testing of safety devices and indicators, such as ensuring a solid green status on nearby alarms, helps confirm you won’t be distracted by unexpected alerts while working.
Work patiently, and consider installing a protective skid plate afterward to prevent future impact damage. Regular inspection of your undercarriage and shields helps identify any damage early, minimizing the risk of leaks from debris strikes or corrosion.
Reinstallation Best Practices to Prevent Future Issues
Successfully removing an over-tightened oil drain plug solves only half the problem—you’ll need to reinstall it correctly to avoid repeating the same mistake.
First, replace the crush washer with a new one at every oil change. Hand-thread the plug initially to prevent cross-threading, then use a torque wrench set to your manufacturer’s specifications. This approach prevents overtightening and protects your oil pan’s threads.
Wrapping Up
You’ve now learned the proper techniques to safely remove an over-tightened oil plug without damaging your oil pan. Remember, patience is vital when dealing with a stuck plug, and you shouldn’t rush the process. Always use the correct tools, apply penetrating oil when needed, and follow proper torque specifications during reinstallation. By taking these preventive measures, you’ll avoid cross-threading and make certain your drain plug remains accessible for future oil changes.


