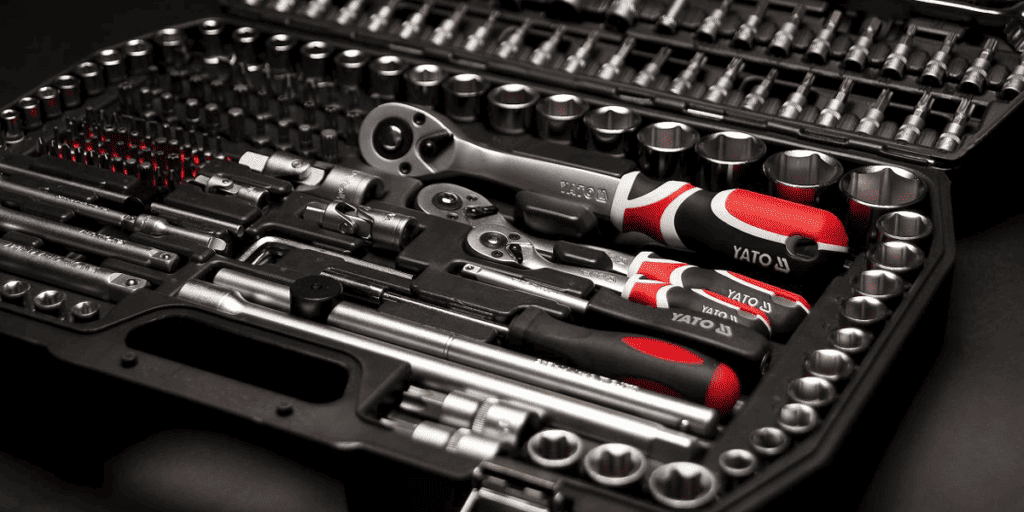
What should I know?
First and foremost, you must safeguard your eyes with anti-fog-coated protective eyewear. Drilling into iron and steel generates sparks, which can cause significant eye damage in some cases. Next, if you’re a newbie, don’t try to tackle intricate projects just yet; instead, stick to general-purpose twist drills with a 135-degree split point.
It is adequate to begin drilling with a set of 15-20 pieces. You can purchase longer and more significant portions separately at your leisure. If you aren’t going to use your drill, use masking tape or a drill stop to mark the flexible shaft of the drill bit. Overall, a replaceable drive bits kit is required if you take longer to drive fasteners. To make them extra-long reach, simply fit the driving bit into an extension.

What are the types of chunks?
During drill work, the chuck is utilized to retain the bit. Inside the chuck, three jaws can only be present when you rotate the collar. The most significant thing to remember when installing a bit is ensuring it is in the center of the chuck’s jaws. (Learn How To Remove A Stripped Hex Nut)
To hold the drill bit, two types of chucks are usually used. The first is a keyless chuck, which is present in most portable drills. Insert a drill bit between the jaws and rotate the collar until it is snug.
A keyed chuck is another chuck you can use in your woodshop. This chuck is evident in older or larger drills and in a drill press. The same processes as for the keyless chuck must be followed.
How to change Dremel Bits?
1. Disconnect your Dremel from the power source and turn it off.
If you have a corded Dremel tool, unplug it from the wall outlet. If you have a cordless model, remove the battery. Before working on any power tool, you should always do this first to ensure that you don’t accidentally switch it on. It will help to prevent unintentional injury and tool damage.
2. Hold down the button on the Dremel’s side near the chuck nut and press it down.
The chuck nut is the outside metal portion of the Dremel’s tip that holds the bit in place. Look for a little button near the chuck nut on the side of the Dremel and press it down. This button operates as a security lock, allowing you to release the chuck nut and replace the bit. It prevents the bit from quickly turning.
3. To loosen the chuck nut, crank it counterclockwise with a wrench.
Using the little wrench with Dremel tools is better because it properly fits the chuck nut. If you lose the wrench that came with your Dremel, you can use any other tool that works. Simply loosen the chuck nut with the wrench and unscrew it with your fingers until you take the bit out.
4. Remove the collet from the bit or head.
The collet is the tiny metal component that retains the
bit inside the chuck nut. Remove whichever bit or head is attached to the Dremel and store it somewhere you won’t lose it. Dremel tools come with different types of bits that you can use for cutting, grinding, sanding, polishing, and other tasks.
5. Place the new bit you intend to utilize in the collet.
To adjust the collet to the size of the new bit you want to put in, loosen or tighten the chuck nut using your fingers. Collets are available in various sizes, and not all collets can hold all sizes of bits. You’ll need to replace the collets in your Dremel tool if the bit you intend to use is too big or little for the collet.
6. To secure the new bit in position, tighten the chuck nut with a wrench.
Using the Dremel tool wrench or whichever wrench you used to loosen the chuck nut, tighten it. The new bit is now ready to use with your Dremel tool. Replace a Dremel bit in the same way as any other drill bit. The method for releasing the chuck nut and loosening the collet varies by tool, but the basic notion remains the same. (Read How To Unscrew Triangle Screws Without Screwdriver)

How to install the Dremel bits together?
Press the shaft lock button for a few moments: Press the shaft lock switch before changing the bit. It features a button that keeps the shaft near to the front of the Dremel, as you can see. You must follow a simple rule to avoid your hands from getting wet while replacing bits.
The shaft lock button is the first item you should look for: Near the tool’s front section. It comes in various colors (blue on some models, silver on others), but it should be easy to locate because it is a large button towards the front end.
The Metal Collet is unscrewed: The metal collet at the front of the tool helps keep the bit in place. Use your free hand to slowly remove the collet at the end while maintaining the shaft lock button firmly pressed. It appears without too much difficulty, but depending on the quality of your instrument, you may need to exert some force for it not to lose.
Getting Rid of the Plastic Housing: The housing cap is evident on the front of your Dremel tool. It provides a surface to grip the tool and some protection for the tool’s interior components. However, if you want to change the bit on the tool, you must first remove it.
Fortunately, deleting it is simple. You just unscrew it with your hands, just like the metal collet. Separate the shaft from the collet. You must gently remove the collet from the motor shaft during this procedure. Otherwise, it may be damaged, and you will be unable to use it again.
Removing the Metal Collet: You can thoroughly remove the metal collet from the tool now that the plastic casing has been removed. Make that you insert the metal collet into the metal collet nut once removed from the tool. (Read Three Pronged Screwdriver Guide)
Reminders for using rotary tools:
Make sure you have safety goggles and work gloves on hand before using your rotary tool. You can determine the rotary tool’s success by using the appropriate rotary tool bits for the task and material. You can swap out the bits as long as the shank sizes are the same.
The shaft of this piece drops out when I tighten the collet nut. The motor runs fine, but these screws will bob away and not spin until my hands are held down. I’ve used the tool the way ever before. I bought a bunch of new nuts, but it was not helping at all. Neither of the bits I can hold is locked in the device. Everything works well when the pieces start falling out of the motors perfectly. (Read What Can I Use Instead Of A Screwdriver)
There’s a chance you’ll get hurt badly. Always keep the work tightly secured while utilizing steel saws, cutoff wheels, high-speed cutters, or tungsten carbide cutters. Never use one hand to hold the piece while using any of these attachments.