

To adjust a centrifugal clutch like a pro, you'll need basic tools including a socket wrench set, feeler gauge, and safety equipment. Start by accessing the clutch assembly when the engine's completely cool, then inspect the springs for wear or damage. Make precise adjustments to spring tension by turning the adjustment screws clockwise to increase tension or counterclockwise to decrease it. Confirm you're making equal adjustments to all springs while following your engine manual's specific RPM requirements. Regular monitoring of idle speeds and proper spring tension will help prevent serious clutch issues. Understanding the complete adjustment process will change you from novice to expert.
Quick Tips
- Turn off the engine and let it cool completely before accessing the clutch assembly to ensure safe working conditions.
- Use the correct socket wrench size to remove securing bolts and access the clutch cover near the engine's side.
- Inspect clutch springs for wear or damage, replacing any compromised components before making adjustments.
- Adjust spring tension evenly by turning adjustment screws clockwise to increase or counterclockwise to decrease engagement speed.
- Test clutch engagement at different RPMs after adjustments, ensuring smooth power transfer from idle to full engagement.
Understanding Centrifugal Clutch Basics
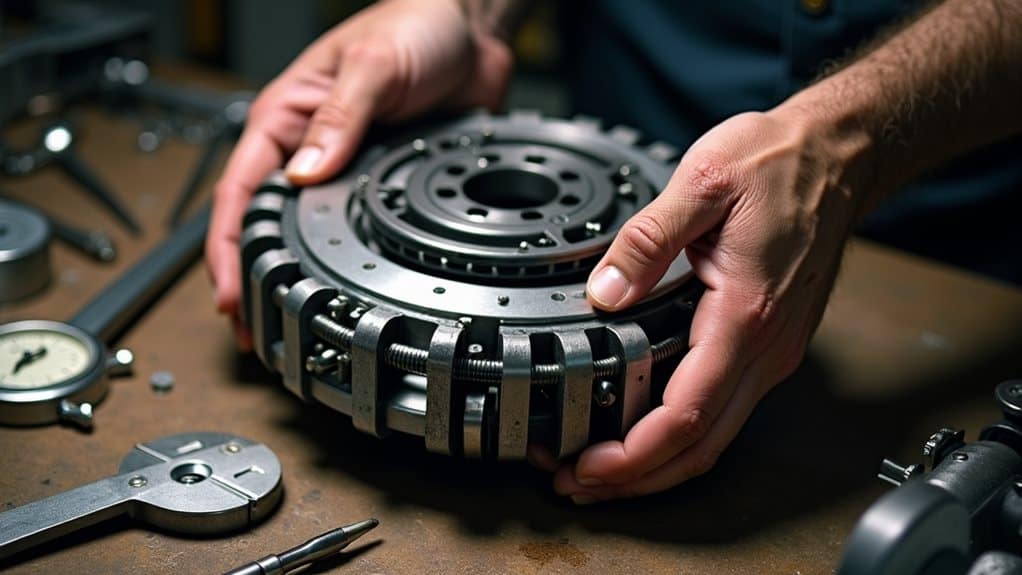
A centrifugal clutch kicks in automatically as your engine's speed increases, making it an essential component in many power transmission systems.
You'll find that it consists of key parts: a housing drum, a central hub, springs, and clutch shoes with friction linings. Proper maintenance and correct tool usage can help prevent issues with the clutch over time.
When your engine reaches a specific speed, the shoes move outward due to centrifugal force, engaging with the drum to transfer power. This design ensures smooth power transfer from idle to full engagement, reducing wear on mechanical components.
Required Tools and Safety Equipment
Before starting any centrifugal clutch adjustment, gathering the right tools and safety equipment will set you up for success.
You'll need essential items like a socket wrench set, feeler gauge, and appropriate screwdrivers. A clean rag is vital for wiping away grease and debris during the adjustment process. Regular maintenance of your tools can ensure they function effectively throughout the adjustment.
Don't forget safety gear including protective gloves, safety glasses, and a reliable work light.
Make certain you've got jack stands and anti-slip floor mats to create a secure workspace.
Common Clutch Problems
Centrifugal clutches regularly face four major issues that can affect their performance and longevity.
You'll need to watch for clutches that won't engage, often due to mismatched idle speeds or worn springs, and slipping clutches caused by overheating or worn components. A failing charging system can also contribute to performance issues, as insufficient power may hinder clutch engagement.
Early engagement problems typically stem from high idle speeds, while clutches that won't disengage usually indicate heat damage or incorrect spring tension. Regular monitoring of idle speeds is essential to prevent serious engagement issues from developing.
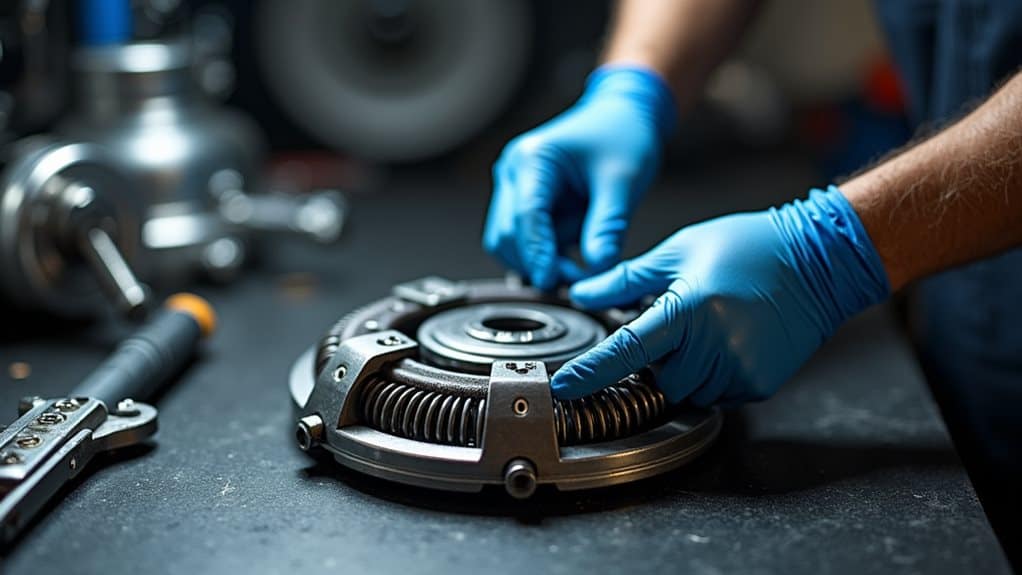
Accessing Your Clutch Assembly
Once you've identified potential clutch issues, accessing the clutch assembly is your next step for making adjustments.
You'll find the clutch cover near the bottom of your engine's side. Before starting, gather your socket wrench set and protective gloves, then verify the engine's completely cool. It's important to ensure you have the correct wrench size for removing the cover's securing bolts carefully, and you'll have clear access to the clutch assembly.
Spring Tension Adjustment Steps
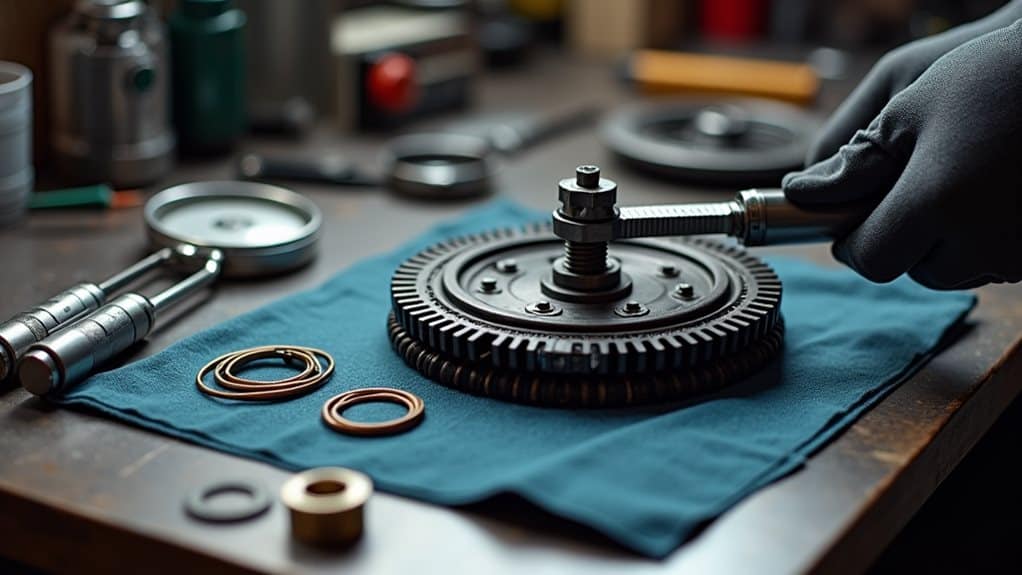
Before making any tension adjustments, you'll need to carefully inspect your clutch springs for signs of wear, damage, or fatigue that could affect their performance.
Once you've confirmed the springs are in good condition, you can begin adjusting the tension settings by locating the adjustment screws on each spring mount.
While referring to your engine manual for specific RPM requirements, you'll use a screwdriver to turn these adjustment screws clockwise to increase tension or counterclockwise to decrease it, making small, equal adjustments to all springs.
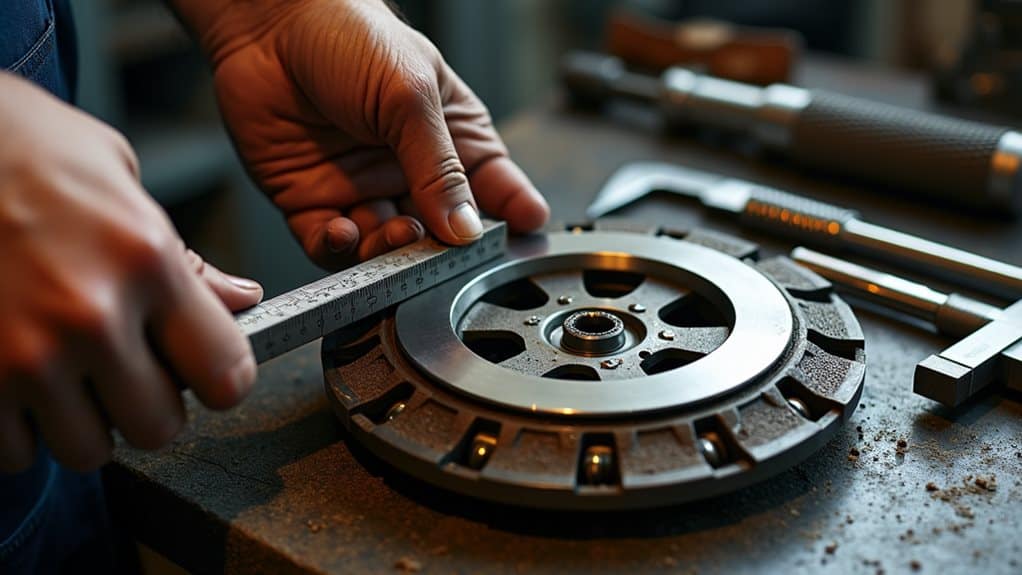
Check Spring Wear First
The initial step in adjusting a centrifugal clutch involves checking your springs for wear and proper tension.
Look for visible signs of stretching, corrosion, or breaks during your inspection.
Compare the spring's current length to manufacturer specifications, and use appropriate tools to test tension levels.
Watch for symptoms like clutch slipping or early engagement, which often indicate compromised spring performance.
Adjust Tension Setting Points
Proper spring tension adjustment stands at the heart of a well-functioning centrifugal clutch.
You'll need to locate the adjustment screws on each spring and turn them clockwise to increase tension for higher engagement RPM, or counterclockwise to decrease it.
Make small, incremental adjustments while testing the clutch's response, and don't forget to consult your engine manual for recommended RPM ranges.
Setting Proper Engagement RPM
Determining correct engagement RPM stands as one of the most critical aspects of centrifugal clutch adjustment.
You'll want to aim for engagement at or just below your engine's peak torque, typically between 2500-3000 RPM for many small engines.
If you're setting it too low, you'll experience bogging; too high, and you'll notice excessive slipping.
Track conditions may require fine-tuning these settings.
Testing Your Adjustments

Once you've set your initial engagement RPM, testing your adjustments thoroughly will confirm whether they're working correctly.
Start by reassembling the clutch cover and securing all bolts. Let the engine idle, then gradually increase throttle while observing engagement.
Listen for unusual noises and check for smooth operation without slipping. If you notice any issues, make additional adjustments and test again.
Maintenance Best Practices
Maintaining your centrifugal clutch regularly will prevent costly repairs and guarantee peak performance.
Keep your clutch area clean and free of debris, while routinely checking for worn components and proper bolt tightness.
You'll want to inspect the clutch shoes and drum for signs of wear, document your maintenance activities, and use high-quality replacement parts when needed.
Troubleshooting Performance Issues
Common performance issues with centrifugal clutches can crop up even with regular maintenance.
You'll need to watch for four main problems: non-engagement, slipping, early engagement, and overheating.
When you notice burning smells, unusual performance drops, or improper idle speeds, inspect your clutch components immediately.
Check spring tension, shoe wear, and proper lubrication to diagnose and address these issues.
Wrapping Up
You've now learned the essential steps to adjust your centrifugal clutch like a professional. Remember to regularly check your adjustments, maintain proper spring tension, and always follow safety protocols when working on your clutch assembly. If you're experiencing ongoing issues after making these adjustments, don't hesitate to consult a qualified mechanic. With proper maintenance and careful attention to detail, your centrifugal clutch will provide reliable performance for years to come.