To make a double flare on brake lines, you’ll cut the tubing square with a tube cutter, deburr the inside edge, and slide the flare nut on before clamping the tube in a flaring tool. First, you’ll use the forming cone to create a bubble flare, then fold it back onto itself to produce the final 45-degree inverted double-wall seal required by SAE standards for leak-proof hydraulic connections. Commanding proper clamping pressure, tube centering, and both forming stages guarantees your flares pass pressure testing and meet safety requirements.
Quick Tips
- Cut tubing square, deburr inside edge, clean thoroughly, and slide flare nut onto tube before flaring begins.
- Clamp straightened tube in flaring tool at correct height, ensuring centered position and hand-tight clamping pressure.
- Stage 1: Thread flaring cone down slowly to form initial bubble flare; inspect for cracks before proceeding.
- Stage 2: Fold bubble back into itself to create final 45-degree inverted double-wall sealing surface.
- Test-fit flare with nut and fitting, then pressure test at minimum 1,000 psi to verify leak-proof seal.
What Is a Double Flare and Why Is It Essential for Brake Systems
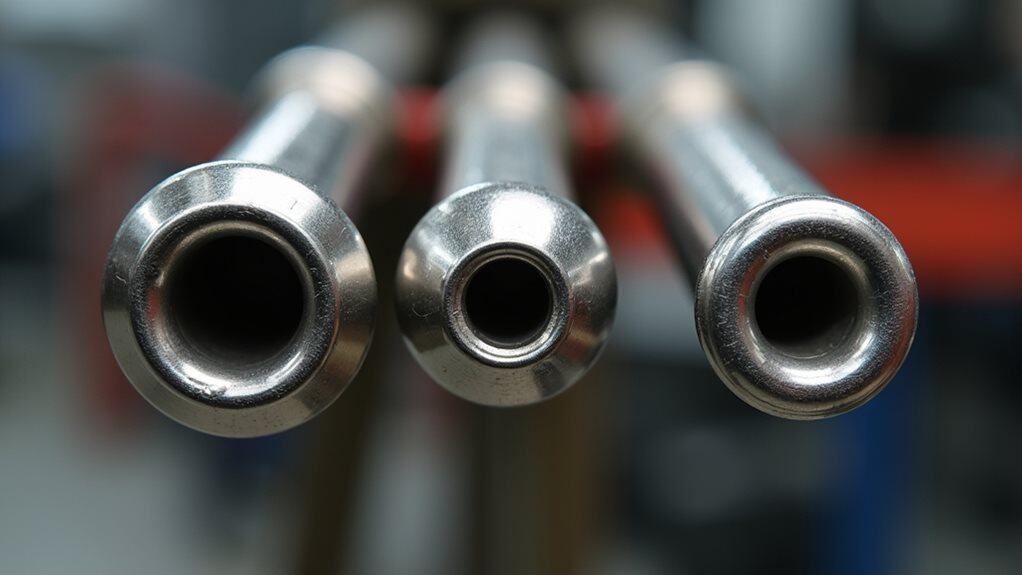
When working with brake systems, you’ll encounter a critical component called a double flare—also known as an inverted flare or SAE flare—which involves folding the metal tubing back onto itself before creating the final flare shape.
This double-layered structure creates twice the wall thickness at connection points, resulting in a leak-proof seal that doesn’t require sealant. The process involves cutting and deburring the tubing, then completing a two-step flaring procedure where a 45-degree flare is first formed, then folded and re-flared to create the final shape. It’s the OEM standard for American and Asian vehicles. Proper brake maintenance also includes inspecting and replacing worn anti-rattle clips to prevent noise and uneven pad wear.
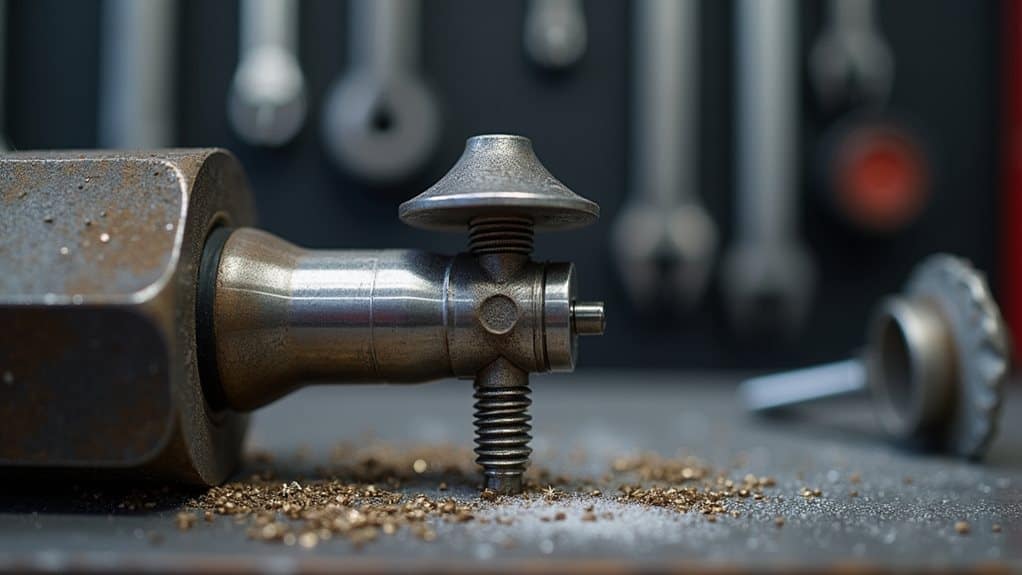
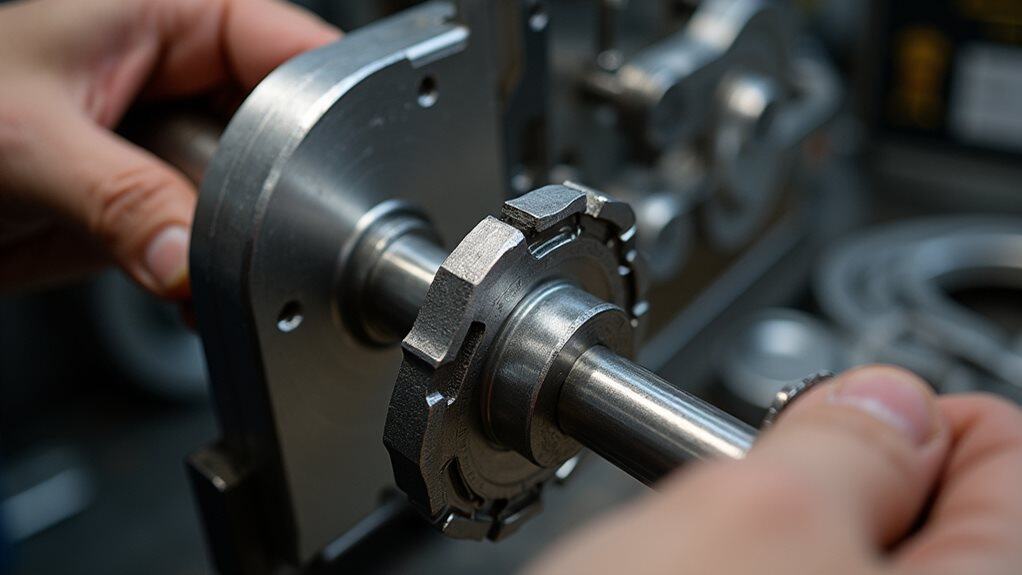
Tools and Equipment Needed for Creating Double Flares
Creating a proper double flare requires the right equipment, and your choice of tools will directly impact the quality and reliability of your brake line connections.
At minimum, you’ll need a flaring tool with appropriate dies and clamps, a tube cutter, and a deburring tool. Impact sockets are compatible with hand tools like ratchets and can be used safely in many shop setups with the proper clearance.
Basic wingnut-type kits start around $30, while professional hydraulic models exceed $200, offering superior portability and precision for consistent results. Higher-end tools feature an operation zero die to set tube depth flush with the die face before clamping.
Preparing Your Brake Line for Flaring
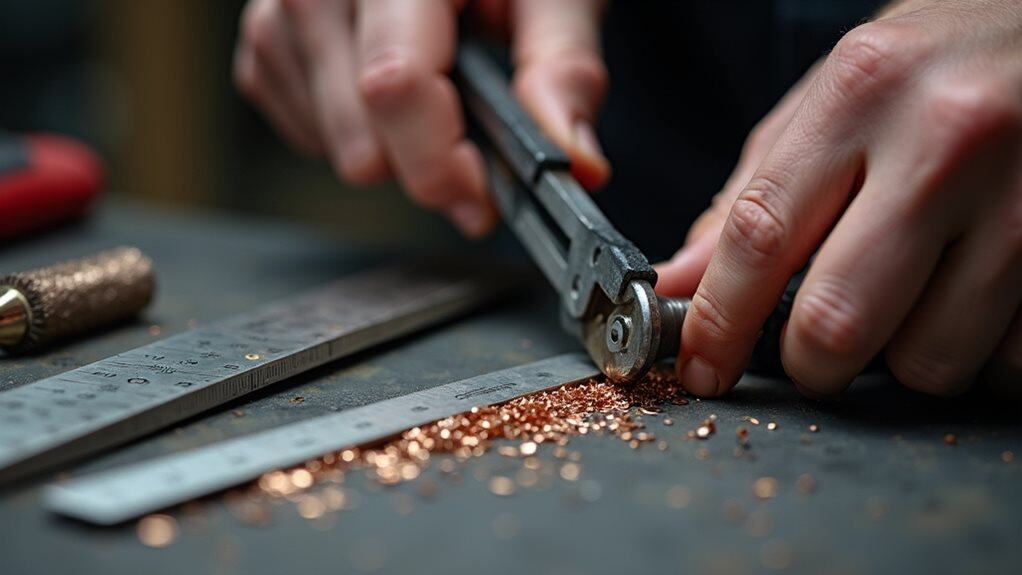
Before you can set up your flaring tool, you’ll need to carry out several critical preparation steps that determine whether your brake line connection will seal properly or fail under hydraulic pressure.
Start by cutting the brake line square using a tubing cutter, then deburr and chamfer both edges.
Clean the tube end thoroughly, slide the flare nut on, and straighten the last 1.5 inches before clamping.
Always wear safety glasses and gloves when preparing brake lines to protect yourself from metal shards and fluids, and consult guides on safety measures for proper precautions.
Step-by-Step Guide to Forming a Double Flare
Now that you’ve cut and deburred your brake line, you’re ready to form the double flare that creates a leak-proof seal in your brake system. This process involves two distinct stages: first, you’ll create a bubble flare using a cone-shaped punch, and then you’ll fold that bubble back into itself to complete the double flare with a 45-degree sealing surface.
Before you begin, make sure you’ve slid the flare nut onto the line with threads facing outward, because once the flare is formed, you won’t be able to add it. Regular inspection of related components like fusible links helps ensure overall system reliability and safety.
Prepare the Brake Line
Preparing the brake line correctly determines whether your double flare will seal properly or fail under pressure.
Start by cutting the line square with a tubing cutter, rotating and tightening incrementally to avoid crushing.
Remove all burrs and chamfer the inside edge using a deburring tool.
Clean thoroughly, then slide the flare nut onto the line before inserting it into your flaring tool’s correct-sized hole.
Execute Two-Stage Flaring
With your brake line properly cut, deburred, and secured in the flaring tool, you’re ready to form the double flare itself—a process that requires two distinct pressing operations to create the characteristic folded sealing surface.
First, position the line slightly above the die shoulder, then thread the flaring cone down slowly to form an initial bubble flare.
Remove the cone, inspect for cracks, then reinvert the flare inward to complete the double-wall profile.
Common Mistakes to Avoid During the Flaring Process
Although creating a double flare might seem straightforward, several critical errors can compromise the entire process and result in leaks or structural failures.
You must hand-tighten wing nuts firmly before flaring, as loose connections cause asymmetrical results.
Always install fittings before creating the flare, deburr line ends thoroughly, and center the line precisely within the tool.
Avoid over-tightening, which tears the inner lip and requires complete replacement.
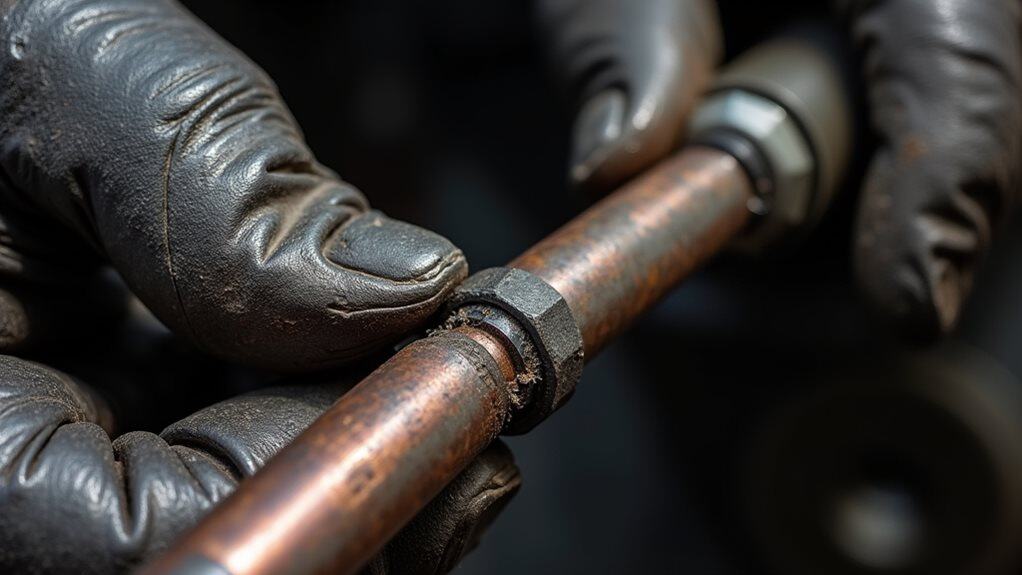
Testing Your Double Flare for Quality and Safety
After avoiding the common pitfalls during flaring, you’ll need to verify that your finished double flare meets the strict standards required for safe brake system operation.
Visually inspect for uniform walls, proper 45° angle, and correct fold-back thickness.
Test-fit the flare with its nut and fitting, ensuring tight sealing without gaps.
For complete safety verification, pressure test at minimum 1,000 psi to identify potential leaks or weaknesses.
Double Flare vs. Bubble Flare vs. Single Flare
When you’re working with brake lines, you’ll encounter three main flare types that differ markedly in their construction, durability, and legal applications.
Double flares use an inverted, two-layer design with dual sealing surfaces, while bubble flares feature a single-layer rounded profile, and single flares offer only basic one-step construction with a single seal.
Understanding these differences is critical because regional standards mandate specific flare types—double flares are legally required in U.S. brake systems under DOT regulations, bubble flares meet ISO standards common in European vehicles, and single flares are absolutely prohibited in any brake application due to their inability to withstand high hydraulic pressures.
Construction and Design Differences
Understanding the differences between double flare, bubble flare, and single flare designs is essential before you begin working on brake lines.
Double flares fold metal tubing onto itself, creating a two-layered, 45-degree conical shape that resists high pressure.
Bubble flares form a single-layered, rounded profile suited for ISO fittings.
Single flares simply stretch metal outward once, making them weaker and appropriate only for low-pressure applications, not brake systems.
Pressure Resistance and Durability
Brake line flare types differ markedly in their ability to withstand repeated use and maintain reliable connections, though you might be surprised to learn that pressure ratings tell only part of the story.
Double flares handle repeated tightening better because wear occurs against the folded section rather than the thinned outer pipe wall.
All three types meet pressure requirements for passenger vehicles, typically handling 17,000-17,900 PSI depending on material composition.
Regional Standards and Applications
Regional standards dictate which flare type you’ll need for your brake line repair, and getting this wrong isn’t just a mechanical error—it’s a safety violation.
SAE standards govern double flares in the United States and North America, while ISO standards define bubble flares for European vehicles.
American and Asian manufacturers typically require double flares, whereas European vehicles use bubble flares.
Always verify manufacturer specifications before beginning work.
Industry Standards and Legal Requirements for Brake Line Flares
When you’re working on automotive brake systems, you’ll need to comply with strict industry standards that govern how brake line flares are formed and installed.
SAE J533 and SAE J534 mandate 45-degree inverted double flares for brake applications, providing superior pressure resistance and leak prevention.
Federal Motor Vehicle Safety Standards (FMVSS) enforce these requirements legally, making proper flare construction essential for road-legal vehicles and passenger safety compliance.
Wrapping Up
Creating a proper double flare requires patience, precision, and the right tools. You’ve learned the essential steps, from cutting and deburring to using your flaring tool correctly. Remember that brake system safety depends on leak-free connections, so don’t rush the process. Always test your work with brake fluid before installation. If you’re uncertain about your flare’s quality, it’s better to remake it than risk brake failure on the road.