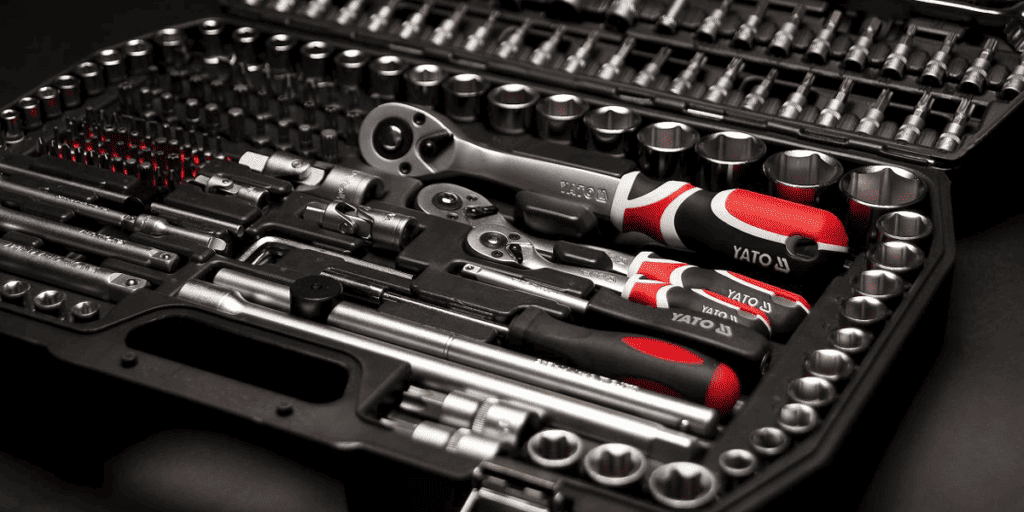
A torque wrench is a tool that both garage newbies and old pros can benefit from having on hand. A torque wrench imparts a specific torque or the desired twisting force to a nut, bolt, or lag screw. While many kinds of torque wrenches are available, many automobile enthusiasts keep a beam-style type torque wrench in their toolkit and strongly recommend them.
You can trust that this tool will give you the exact amount of torque needed to fasten the bolts and nuts securely. A beam torque wrench is a straightforward tool, but is it assumed that all first-time users would be familiar with its operation?
The beam torque wrench has two beams: one steel beam that bends when the handle is pulled and another pointer beam that doesn’t budge no matter how much pressure is applied.

The readings on the measuring scale, represented by a string of numbers, will be shown by the pointer beam at the end. To get the reading for the applied torque, you turn the handle with the proper force so the socket will tighten.
In our guide, you can learn more about how to use a torque wrench effectively, beam type being the focus, yet others get a mention. By the end, you’ll see how you can make full use of all your sockets and have all your nuts tightened in an accurate measure like a garage professional. (Learn How To Insulate Garage Ceiling That Is Finished)
Types Of Beam Style Torque Wrench
1. Beam Style Torque Wrench
There aren’t many car enthusiasts out there who don’t have a beam torque wrench in their toolbox.
Using this kind of torque wrench, you can tighten bolts to a specified specification set by manufacturers or automakers. The simple beam torque wrench has a rotating handle for tasks requiring precise torque specifications.
This beam design corresponds to the exact pressure application at the tool’s tip.
The handle will exert pressure when properly held, acting as a lever to only apply the predetermined torque pressure. When torque levels are reached, beam torques also provide a range of advantageous signals in a noisy garage.
2. Split Beam Torque Wrench
The split beam torque wrench belongs to the family of beam torque wrenches and functions similarly by using two beams to achieve precise tightness.
The hinge is opened, and the desired amount of torque is set. A clicking feature is available on some models to notify the user when the setting is reached.
When overtightening is not an option, most garage enthusiasts will turn to the split beam torque wrench. The split beam torque wrench excels when working with a fastener that must be tightened to the factory setting, and absolute precision is required.
Consider the accuracy, grip comfort, drive size, and torque ranges before purchasing.
3. Deflecting Beam Style Torque Wrench
The dual trip mechanism of this tool is sometimes referred to as the dual-signal deflecting beam torque wrench. They feature a releasing indication pin in addition to visible and aural signals that are used to read torque levels and provide both audio and visual feedback.
The deflecting beams are subjected to torque pressure rather than the coil springs generally employed in torque wrench designs.
Some claim makes these wrenches more durable than their conventional counterparts. Some people think the deflecting beam torque wrenches provide more reliable readings, yet no torque wrench can offer accurate readings like an electronic torque wrench.

How To Use Beam Type Torque Wrenches?
Your hunt for information on using beam style torque wrenches is now over.
It is a straightforward tool that is comparatively simple to use.
Because there is no option to take a chance that could result in a significant issue, beam type torque wrenches/ split beam torque wrenches offer the correct torque value.
Here are the steps to use this must-have tool like a pro. (Learn How To Remove A Stripped Hex Bolt)
Step 1#
First, ensure your beam style torque wrench is operational and free of damage or dust.
The bolt you are working on should then be placed in the same socket. Sockets with a 3/8″ drive are needed for smaller bolts, and sockets with a 1/2″ drive are suitable for larger sockets and bolts.
Once you have the right-sized socket, gently press it onto the wrench head. When you hear or feel a click, torque wrench is ready for use.
Step 2#
Second, get the beam torque wrench ready to go to work. Place the torque wrench on the bolt and correctly tighten it.
With one hand holding the tool, pull the socket and beam wrench on the bolt properly with the other.
Now turn the wrench in either direction and pay attention to reach the desired torque. The steel beam deflects as you pull on the handle, and the beam wrench scale moves until; you reach the exact torque you need.
The handle and pivot are the only parts that touch the beam while tightening.
A long bar that is fastened to the weighing scale is the beam. The accuracy of the beam torque wrench can be affected by something touching the shaft.
Step 3#
Once you’ve finished tightening the socket on the bolt, the beam should be free.
You can now exert pressure on the torque wrench in the beam style. You can push or pull the tool parallel to the surface to secure the bolt properly.
The beam must be bent with sufficient force until the handle displays a particular torque.
Step 4#
Read the scale carefully before you pull the handle and apply pressure. When the beam-type torque wrench is held properly, the beam moves as you increase pressure.
The beam is resting if it is in the central location on the beam. The torque wrench tool reading depends on the direction you rotate once the pressure is high enough to move and reach the desired torque.
Most often, you’ll tighten in a clockwise direction.
Both ft-lbs. and N-m scales can measure torque with a beam torque wrench.
You get the accurate torque at the extreme end of the beam type torque wrench once the pointed end of the beam reaches the desired number on the scale. (Read Split Beam Torque Wrench Guide)
Step 5#
You have tightened the bolt where you intended it to be as you reached the necessary inch-pound torque. Now that you have finished using the torque wrench remove it.
When you’re through, remember to remove the socket and apply some oil to the driver and joints to maintain the torque wrench’s functionality and accuracy for the next time without the tools need for further calibration.

Advantages Of A Beam Type Torque Wrench
To get the precise torque, it is crucial to apply enough torque when tightening the nuts under the manufacturer’s handbook.
Torque wrench beam type torque wrenches are the most accurate, reliable, and reasonably priced tools.
Beam-style torque wrenches have the following benefits that make them a superior choice:
- Highly precise for carrying out various operations, deflecting beam torque wrenches provide a precision of +/-2%
- The torque can be measured on the split beam torque wrench from zero to maximum on the accurate N/m scale.
- Both clockwise and counterclockwise directions of the torque can be measured by it.
- The Beam style torque wrench measurements are made in inch-pounds, foot-pounds, and Newton-meters.
Split Beam Wrench Care and Usage Tips
Don’t let your tool fall. Avoid throwing your torque wrench into the rear of your truck or on the floor; a small unintentional drop is generally okay; anything harder could affect the calibration.
Use the storage case – A plastic storage case typically includes torque wrench tools. Use it to safeguard against damage. A defective or neglected tool won’t deliver correct readings as the calibration will be off.
Before storing, loosen the click-torque wrench types with spring tension, which helps maintain accurate calibration.
Avoid using your torque wrench as a ratchet wrench or breaker bar. Although a long-handled, 1/2′′-drive torque wrench may resemble a breaker bar, using it as a precise tool extends its lifespan.
Use ratchet tool wrenches to tighten bolts before finishing the work with a torque wrench.
These devices need proper care, so perform a calibration check each year to ensure your wrench delivers accurate readings. (Learn How To Unscrew Without A Screwdriver)
Tool Calibration
- To check tool calibration, check the tool pointer as your tool is at rest.
- If the pointer is pointing at 0, your tool is calibrated.
- If it is off zero, bend the pointer shaft unit, so it again points toward 0.
- Place a screwdriver or another lever type between the two beams nearer the head than the accurate scale.
- Carefully pulling, bend the small shaft until the point is at zero when the tool is at rest.