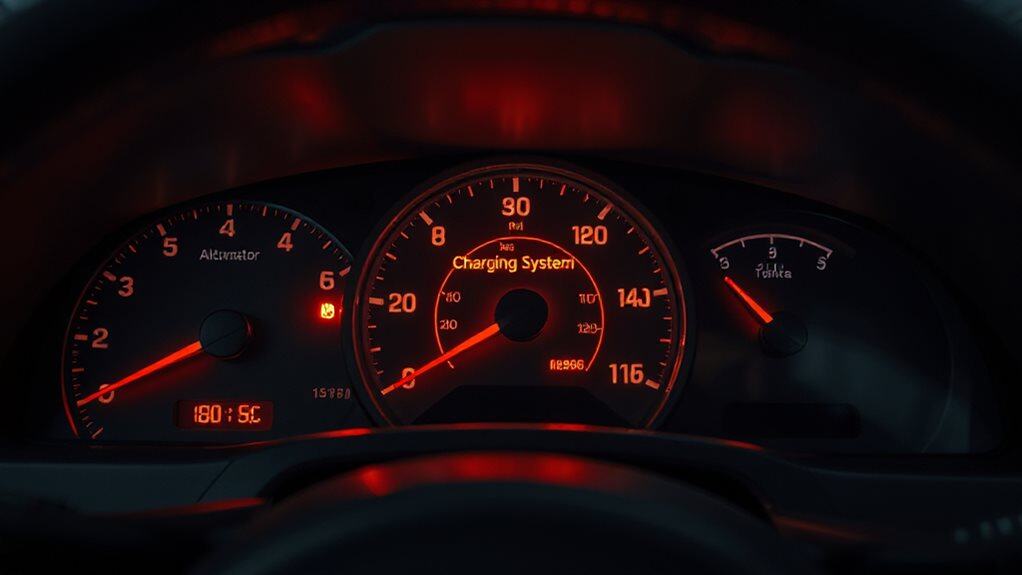
When the Camry’s charging‑system light comes on, the ECU has sensed a voltage drop below the normal threshold, meaning the battery, alternator, or wiring isn’t supplying enough power. First, inspect the battery terminals for corrosion or loose clamps and clean them with a baking‑soda solution if needed. Measure the battery voltage with the engine off; it should read about 12.6 V when fully charged. Then, with the engine running at roughly 1,500 RPM, check the alternator output at the B+ terminal—it should be 13–14 V. Examine the serpentine belt for cracks, glazing, or excessive wear, and verify it deflects about half an inch when pressed. Locate the 7.5‑amp alternator fuse in the ALT block (fuse #5), replace it if burnt, and re‑secure the fuse box. Finally, read any diagnostic trouble codes such as P0620 or P0625 to pinpoint a faulty generator control circuit or low field‑terminal voltage; these steps will guide you toward fixing the issue and deciding whether the battery or alternator needs replacement, and more details await if you keep exploring.
Quick Tips
- The warning lights when the ECU detects battery voltage < 12.5 V with the engine off or the alternator can’t maintain ≈ 13‑14 V while running.
- Check battery terminals for corrosion, loose clamps, or a weak battery; clean and tighten them before testing voltage.
- Measure battery voltage (≈ 12.6 V fully charged) and alternator output (13‑14 V at ~1500 RPM) with a multimeter; compare to scan‑tool readings.
- Inspect the serpentine belt for cracks, glazing, or low tension, and replace the 7.5 A alternator fuse if burnt or missing.
- Read DTCs such as P0620/P0625; common causes are worn alternator brushes, faulty regulator, or poor ground connections.
Explain Why the Camry Charging Light Comes On
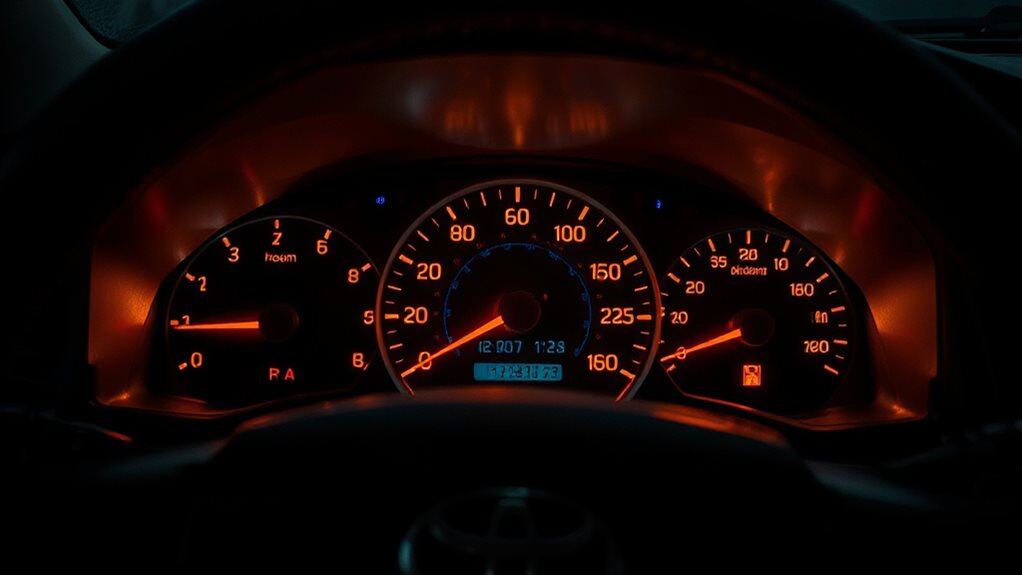
Why does the “Check Charging System” light appear on a Toyota Camry? You see it when the ECU detects a voltage drop below the threshold while the engine is off, or when the alternator isn’t producing the normal 13.5‑14.8 V while running.
A weak battery, blown fuse, faulty alternator, or a slipping serpentine belt can all cause the drop, triggering the warning until the engine starts and the alternator recharges the system. Loose battery clamps can also prevent full electricity flow, contributing to the warning. A failing alternator or poor electrical connections often show related electrical system faults that should be checked.
Check Battery Terminals for Corrosion or Loose Connections (Camry)
A corroded or loose battery terminal can quickly turn a healthy Camry into a vehicle that throws a “Check Charging System” warning, because the electrical path between the battery and the car’s electronics becomes unreliable.
Inspect terminals for white, green, blue, or ashy deposits and a rotten‑egg smell.
Tighten any loose clamps, then clean corrosion with a baking‑soda solution and a stainless‑steel brush, ensuring full contact before reconnecting cables.
Measure Battery Voltage Before Starting the Engine (Camry)
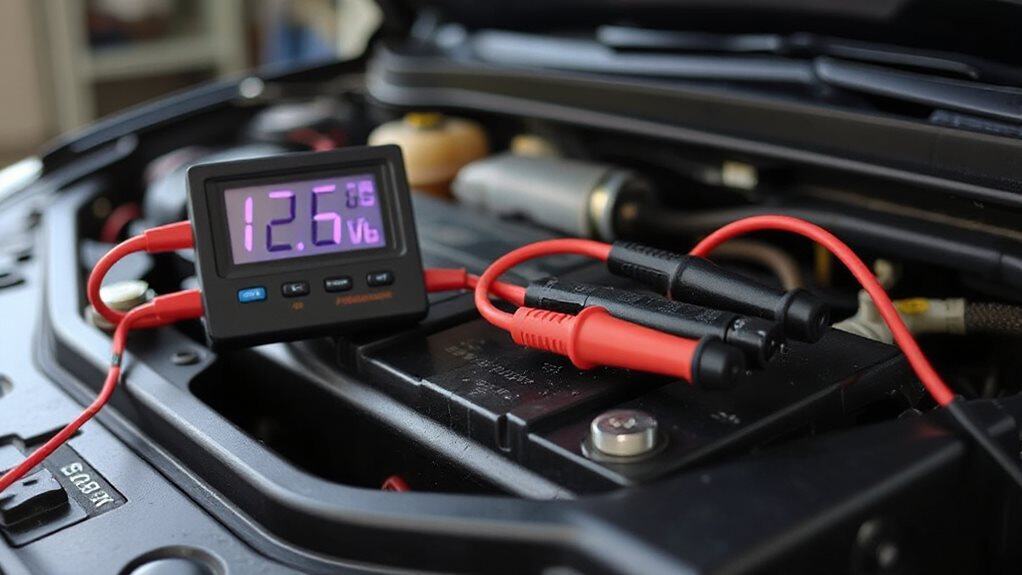
After cleaning the terminals, the next step is to check the battery’s voltage before you start the engine. Turn off accessories, set the multimeter to DC volts, and connect the red lead to the positive terminal and the black lead to the negative. Read the voltage; 12.6 V means fully charged, 12.4 V indicates about 75 % charge, and below 12.0 V suggests a weak or discharged battery.
Measure Alternator Output While the Engine Runs (Camry)
First, attach the multimeter’s red probe to the alternator’s B+ terminal and the black probe to a solid ground, making sure the connections are secure and the engine is idling.
Keep an eye on the RPM because a higher engine speed raises the alternator’s output, so you’ll see the voltage climb toward the 14‑volt range as the engine revs.
Finally, compare the multimeter reading to the voltage value shown on the scan tool; a close match confirms the alternator is delivering the correct voltage while the engine runs.
Locate Multimeter Correctly
Where should you place the multimeter probes to capture the alternator’s output while the Camry’s engine runs? Connect the red lead to the alternator’s positive output terminal and the black lead to a clean chassis ground, such as an unpainted engine bolt or the battery’s negative terminal. Ensure the meter is set to a 15‑20 V DC range, verify firm probe contact, and read a stable 13‑14 V voltage.
Engine RPM Impact
Why does engine speed matter when you’re testing the Camry’s alternator? At roughly 1,500 RPM the belt drives the alternator fast enough to generate a stable charge, so you’ll see 14.2‑14.7 V under load.
Lower RPM can mask slipping belts or weak regulators, while higher RPM may over‑read voltage.
Measuring at this speed confirms the alternator keeps voltage within the proper range when real‑world demands are applied.
Compare Voltage Readings
How do you compare the voltage readings when the Camry’s alternator is under load? Hook a digital voltmeter across the alternator B+ and battery B+ while the engine runs, headlights and heater on high. Expect 13.2‑14.4 V; a drop under 0.2 V is acceptable. If it falls below 13 V, the alternator may be failing.
Inspect Drive Belt Condition and Tension (Camry)
Ever wondered why a Toyota Camry’s serpentine belt can cause engine trouble if it’s worn or loose? Turn off the engine, open the hood, and wear safety gear. Inspect the belt for cracks, glazing, fraying, oil spots, and alignment on all pulleys. Press the midpoint; a ½‑inch deflection is normal. Use a 12 mm socket on the tensioner, verify smooth operation, and replace the belt if any wear appears.
Locate and Replace the 7.5‑Amp Alternator Fuse (Camry)
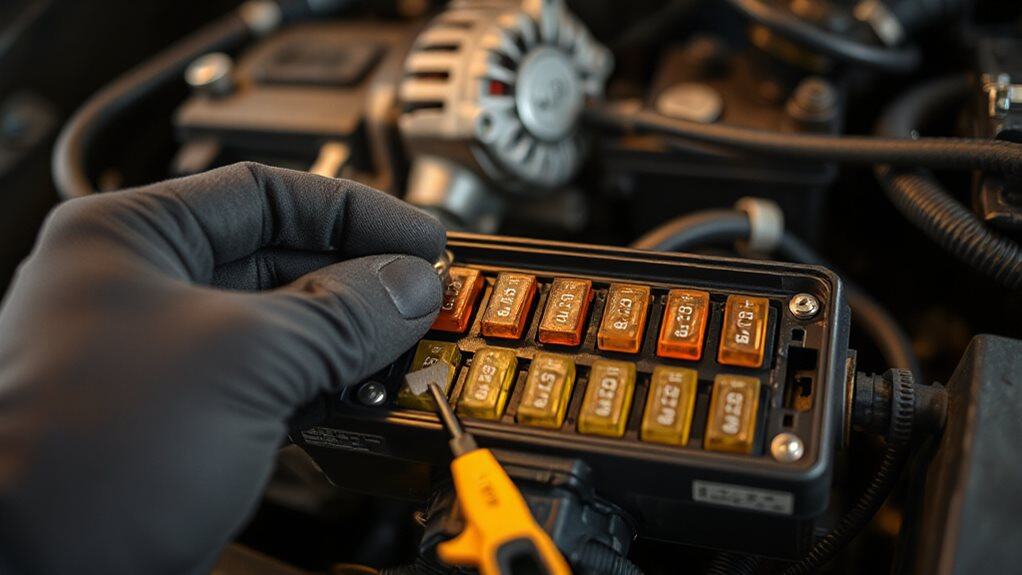
Where can you find the 7.5‑amp alternator fuse on a Toyota Camry, and how do you replace it safely? Open the hood, remove the right‑side engine‑bay fuse box cover, and locate fuse number 5 in the ALT block. Pull it with a fuse extractor, check for burn marks, then insert a new 7.5 A fuse. Re‑secure the cover and reconnect the battery. Mastering precise adjustments like the electric choke ensures optimal engine performance.
Read DTCs (P0620, P0625) for Camry’s Charging System
After you’ve confirmed the 7.5‑amp alternator fuse is intact, the next step is to read the diagnostic trouble codes (DTCs) that the powertrain control module (PCM) may have stored—specifically P0620 and P0625, which point to problems in the generator control circuit and the field‑terminal circuit. Plug an OBD‑II scanner, note any P0620 (generator control circuit malfunction) and P0625 (field‑terminal low voltage) entries, then compare them with symptoms like a dim dashboard, low battery voltage, or starting issues. Visually wiring, measuring field circuit voltage, and checking for companion P0626 codes help pinpoint faulty alternator coils, damaged connectors, or PCM communication errors. A blown transmission fuse can also cause gear and shift issues and should be checked if you experience related symptoms.
Identify Typical Camry Alternator Failure Modes
You’ll notice that a worn brush can cause the alternator’s output voltage to drop, leading the battery warning light to flicker.
When carbon brushes stick, they create intermittent contact that makes the alternator surge and then stall, which often results in dimming interior lights and occasional engine stalling.
Both issues stem from the mechanical wear of the brush assembly, so inspecting the brushes and ensuring they move freely is essential for diagnosing a Camry charging‑system problem.
Brush Wear Failure
What happens when the carbon brushes in a Toyota Camry alternator wear down? They lose contact pressure, raising resistance and dropping voltage below 12.5 V. You’ll see the battery‑warning light, dimming headlights, and occasional dashboard flicker. Multimeter testing shows reduced output, and grinding noises may indicate bearing wear. Once brush material is insufficient, the alternator can’t recharge the battery, leading to eventual power loss.
Sticking Carbon Brush Issues
Why do your Toyota Camry’s alternator brushes sometimes stick, and what does that mean for the charging system?
Friction wear or weakened spring tension lets carbon brushes cling to the slip rings, causing intermittent contact. You’ll see dim dashboard lights, a battery‑warning lamp, and voltage fluctuating between 12 V and 13 V. Test the regulator connector, check belt wear, and verify wiring before blaming the brushes.
Decide When to Replace the Battery or Alternator (Camry)
The “Check Charging System” warning on a Camry tells you that the power‑train control module (PCM) has detected a voltage drop that the alternator isn’t correcting, so the vehicle is relying on the battery alone. If the battery is over five years old, shows low voltage at 12 V off, or fails a mechanic’s load test, replace it. If engine‑on voltage stays below 13.5 V at 2000 rpm, the alternator or its belt is likely faulty, so replace the alternator. Clean terminals and verify connections before deciding. Hybrids may rely more on regenerative charging and a healthy battery pack, so consider inspecting the hybrid charging system as part of diagnosis.
Wrapping Up
By checking the battery terminals, measuring voltage, testing alternator output, inspecting the drive belt, and replacing the 7.5‑amp fuse, you can pinpoint why the Camry’s charging light illuminates. Reading DTCs like P0620 and P0625 helps confirm whether the alternator or battery is at fault. Understanding typical failure modes lets you decide if a battery or alternator replacement is needed, ensuring reliable charging system performance.