
You’ve swapped the thermostat and water pump, but air can still be trapped in the radiator, hoses, or heater core, blocking coolant flow and causing the engine to overheat, especially above 2000 RPM. Check that the thermostat is installed with the spring side facing the engine; a backward‑facing unit stays closed and prevents circulation. Verify hoses are not kinked, clamps are seated, and the water‑pump impeller is correctly torqued and undamaged. Bleed the system by squeezing the radiator hoses while the heater is on, watching for steady coolant flow and bubbles. Inspect for a head‑gasket leak if coolant loss continues despite proper bleeding. Following these steps will reveal the remaining cause and guide you to a fix.
Quick Tips
- Verify thermostat orientation; the spring side must face the engine, and ensure it isn’t stuck closed or improperly seated.
- Bleed the cooling system thoroughly, removing all air pockets from the radiator, heater core, and hoses.
- Inspect the water‑pump impeller for damage or mis‑torque and confirm the pump’s drive belt is correctly tensioned.
- Check for head‑gasket failure (white exhaust smoke, milky oil, coolant loss) that can cause overheating despite new components.
- Ensure radiator and hoses are clear of debris, clamps are properly seated, and the cooling‑fan operates at correct speed and control signals.
Why the Car Still Overheats After a Thermostat and Water Pump Swap
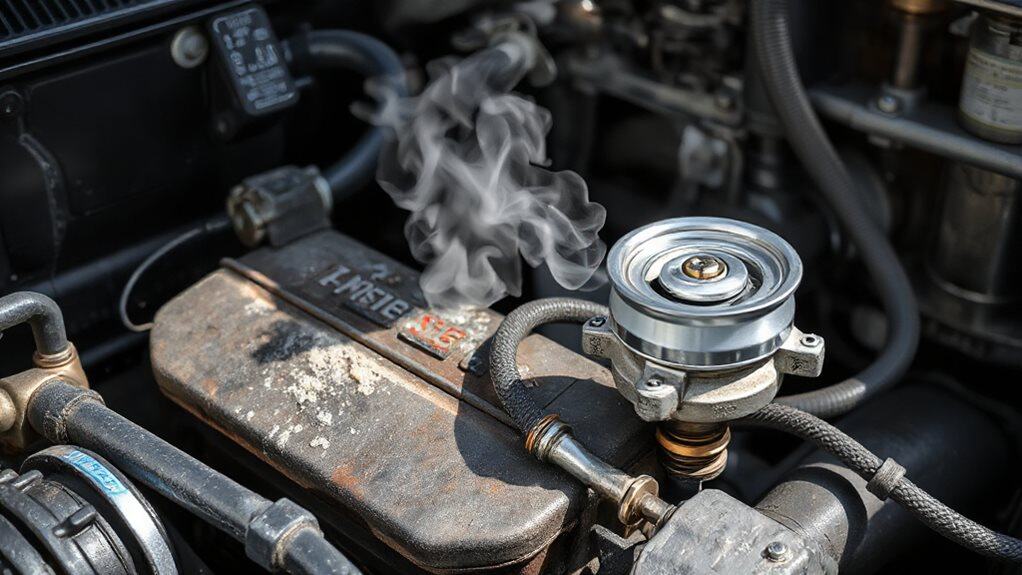
Why does your car keep overheating even after you’ve swapped the thermostat and water pump? Air pockets may still sit in the radiator, blocking coolant flow and reducing heat transfer, especially above 2000 RPM. A backward‑facing thermostat can stay closed, preventing circulation. Kinked hoses or debris disturbed during pump replacement further restrict flow. Verify coolant level, purge air, and confirm correct thermostat orientation. A blown head gasket can also cause steam and rapid coolant loss despite new components. Improper disposal or storage of solvents like acetone can create fire risks in a garage and should be handled as hazardous waste.
Bleed Air From the Cooling System After a Swap
How do you make sure every air bubble leaves the cooling system after swapping the thermostat and water pump? First, let the engine cool completely, then remove the radiator cap with gloves and eyewear. Fill the radiator using a funnel, open any bleeder valves, and squeeze the hoses. Start the engine with the heater on, watch for bubbles exiting the funnel, and tighten the bleeder once coolant flows steadily. Finally, re‑check levels and repeat if needed.
Identify a Stuck‑Closed Thermostat Versus a Faulty One

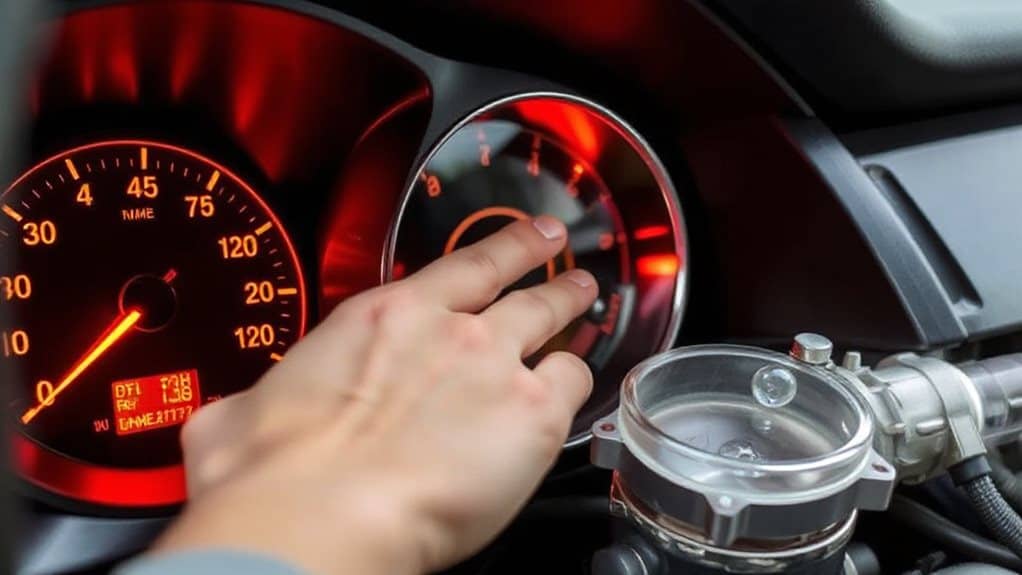
When the thermostat is stuck closed, the engine temperature spikes quickly and the gauge shoots into the red zone, so you’ll notice rapid overheating even with the fan on. You can confirm this by removing the thermostat and checking whether coolant flows freely through the housing; a lack of flow indicates a closed valve.
In contrast, a merely faulty thermostat may still allow some coolant movement, producing erratic temperature readings and milder symptoms that a simple removal test can help differentiate. For stubborn blockages, using a gentle mechanical inspection and visual flow check can help verify whether debris or adhesive-like residues are restricting coolant passage.
Closed Indicator: Engine Temperature
Ever notice the temperature gauge spiking into the red zone while the heater still blows cold air? A stuck‑closed thermostat blocks coolant flow, so the engine overheats quickly and the heater core stays cold. You’ll see upper radiator hoses cool, lower ones hot, and no coolant circulation after ten minutes. This temperature disparity, combined with pressure‑induced leaks, signals a closed‑loop failure rather than a merely faulty valve.
Diagnostic Test: Thermostat Removal
After noting that the heater stays cold while the temperature gauge climbs into the red zone, you’ll need to confirm whether the thermostat is stuck closed or simply defective.
Drain the coolant, disconnect the battery, and remove the upper radiator hose.
Unbolt the housing, extract the thermostat, and submerge it in boiling water.
If it never opens, it’s stuck‑closed; erratic movement, leaks, or corrosion indicate a faulty unit.
Confirm Correct Thermostat Orientation After Installation
Sure, is the thermostat oriented correctly? Verify that the spring side faces the engine and the jiggle valve points upward, matching the old unit’s position.
Visually compare the new thermostat through the housing opening, ensuring the hole aligns for air bleeding.
Run the engine with the radiator cap off; watch for bubbles or overheating, which indicate reversal.
Double‑check before tightening bolts.
Consider consulting a certified locksmith or roadside assistance for related access issues and to keep a secure spare key available.
Inspect Water‑Pump Impeller Condition and Torque After Swap

A thorough inspection of the water‑pump impeller after swapping it’s essential because even a perfectly new part can cause overheating if it’s damaged or mis‑torqued. Check for swelling, cracks, or broken vanes; verify vane direction matches the original, and feel the pump interior for rough spots.
Apply glycerin lube, then torque the impeller to manufacturer specs, ensuring a snug, even seal.
How to Tighten and Seal Radiator Hoses and Clamps Correctly
You’ll start by aligning the hose so it sits flush against the fitting, making sure the ends are evenly spaced and fully seated before you place the clamp. Then, tighten the clamp to the torque specification—usually just enough to eliminate play without crushing the hose, which is often measured in foot‑pounds for stainless‑steel screw‑style clamps. Finally, double‑check the alignment and torque after the engine runs, watching for any leaks or gaps that could indicate an improper seal. Consider verifying the vehicle’s fuel tank capacity as part of overall system checks, since knowing tank size can inform diagnostics and maintenance planning.
Hose Alignment
Where should you start when aligning radiator hoses? Position the clamps a quarter‑inch from each hose end, then slide the hose onto the radiator and engine fittings, ensuring at least half an inch of overlap for a snug fit. Apply a thin coat of coolant or water to the hose ends for easier sliding, but avoid excess. Keep the hose perpendicular or in line with the flow, then tighten clamps securely with a screwdriver or pliers, stopping before the hose deforms. Finally, verify the seal by pressing the hose and checking for leaks under pressure.
Clamp Torque Specification
What torque should you apply when tightening radiator hose clamps? For 3/4‑inch hoses, aim for 20‑35 in‑lb; larger hoses need 35‑45 in‑lb. Worm‑gear clamps like Dixon suggest 25‑35 in‑lb, max 50 in‑lb; Aero‑Seal, 30‑42 in‑lb, max 60 in‑lb. T‑bolt clamps require 60 in‑lb (¼‑inch screw) to 150 in‑lb (5/16‑inch). Use a ¼‑inch drive torque wrench, stay within ±5 in‑lb, and re‑check after cooling to prevent leaks.
Validate Coolant Type, Concentration, and Fill Level
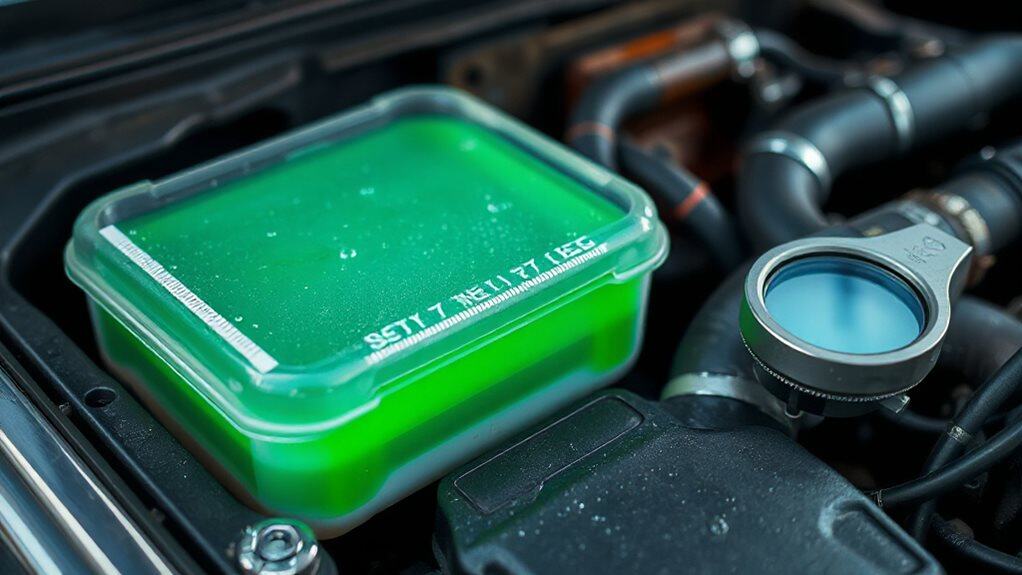
How can you be sure the cooling system is getting the right coolant? Check the owner’s manual for the specified antifreeze type—usually green, blue, or orange—and never mix different formulations. Mix 50% antifreeze with 50% distilled water, or use pre‑mixed coolant to guarantee the correct concentration. Verify the reservoir is full, but not overfilled, and inspect the level monthly to catch leaks early.
Clean Radiator Fins and Remove Debris Before Testing
You should clean the radiator fins before any performance test, because debris like bugs and leaves blocks airflow and reduces heat transfer. Use a low‑pressure hose and a soft fin brush to dislodge grime without bending the delicate aluminum fins, and dry them completely before refilling coolant. Once the fins are clear, you can retest the cooling system and verify that the overheating issue isn’t caused by external blockage. Also inspect nearby components for loose components that can vibrate or impede airflow and address them before further testing.
Clean Radiator Fins
Why bother cleaning radiator fins before testing the cooling system? You remove rust, scale, and sludge that block airflow and coolant flow, restoring heat‑transfer efficiency. Clean fins prevent engine overheating, keep coolant clear, and inhibit future corrosion. By clearing debris, you ensure smooth coolant passage, maintain stable engine temperature, and extend radiator life. Regular flushes every 30,000 miles or 2‑3 years keep performance optimal.
Remove Debris Before Testing
Cleaning the radiator fins is only half the job; before you can reliably test the cooling system, you must also clear any debris that may be lurking inside the core, hoses, and tank.
Flush the system with a radiator cleaner and fresh antifreeze, or run a power flush after applying a scale‑removing chemical.
Remove rust, dirt, and mineral deposits to restore free coolant flow, prevent blockages, and ensure accurate test results.
Diagnose Air Pockets Using the Heater Core
What you’ll notice when air is trapped in the heater core is a sudden loss of cabin heat, especially at idle, because the coolant can’t circulate properly through that secondary radiator. Feel the heater hoses; if one stays cool while the other warms, air is blocking flow. Rev the engine to high RPM—heat should return if air clears.
Bleed the system by squeezing radiator hoses and running the heater on full blast until both lines reach the same temperature. This confirms and removes air pockets. Check electrical and connector health as well to rule out heater core circulation issues caused by corroded or loose connections.
When a Head‑Gasket Leak Mimics Cooling‑System Problems?
After you’ve ruled out air pockets in the heater core, the next step is to contemplate a leaking head gasket, which can masquerade as ordinary cooling‑system failures. White smoke from the exhaust, milky oil, or bubbles in the radiator often signal coolant entering the combustion chamber. Low compression, misfire codes, and a sudden coolant drop without external leaks further point to a gasket breach, requiring compression or chemical tests for confirmation.
Troubleshooting Flowchart for Persistent Overheating
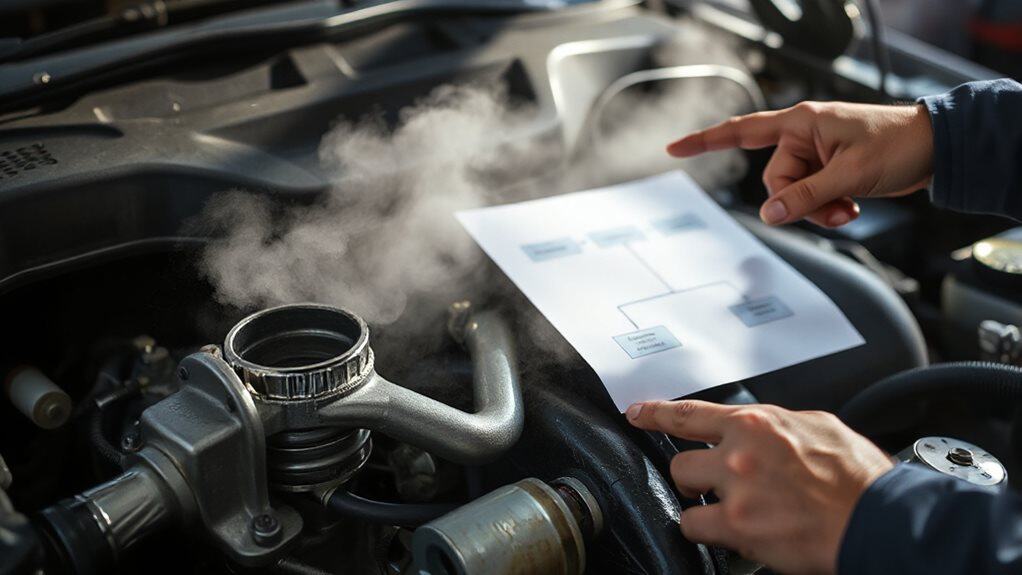
Where does the overheating start, and what clues does the vehicle give you? Begin by confirming the gauge reads correctly; a faulty sensor can mislead you. Note whether the rise occurs at highway speed, idle, or after a restart. Check coolant level, pressure‑test for leaks, and inspect radiator debris. Verify fan spin, RPM, and control signals. Bleed air, observe thermostat surge, and scan for OBD codes. Follow each decision node to isolate the fault.
Wrapping Up
You’ve checked the thermostat orientation, verified the water‑pump torque, and bled the system to eliminate air pockets. If the radiator fins are clean, the heater core shows normal heat, and no head‑gasket pressure loss appears, the cooling loop should now circulate properly. Should overheating persist, re‑inspect for a stuck‑closed valve, a cracked hose, or a failing sensor, and consider a pressure test to rule out hidden leaks. Following these steps will pinpoint the remaining fault.


