
First, check the wheel‑speed sensors: make sure their lenses are clean, connectors aren’t corroded, and the wiring is tight. Then turn the ignition on, navigate the on‑board computer menu to “Diagnostics,” select “Clear 4WD Codes,” and confirm the reset. Cycle the key off, start the engine, and briefly shift from 2WD to 4WD to verify the light stays off. If the light reappears, repeat the reset or scan for fault codes. Continuing will show you how to test the system on a slippery surface.
Quick Tips
- Turn the ignition on, navigate the vehicle’s onboard menu to “Diagnostics” or “Service,” and select “Clear 4WD Codes.”
- After clearing, turn the ignition off, wait a few seconds, then restart the engine and engage 4WD briefly to verify the light is off.
- If the light reappears, inspect wheel‑speed sensor connections, fuses, and wiring for corrosion or loose pins before repeating the reset.
- Use a diagnostic scanner to read and erase any stored fault codes if the onboard menu does not clear the light.
- Schedule a professional inspection if the light flashes or persists after these steps, as it may indicate transfer case or sensor failure.
Understand the Service 4WD Light
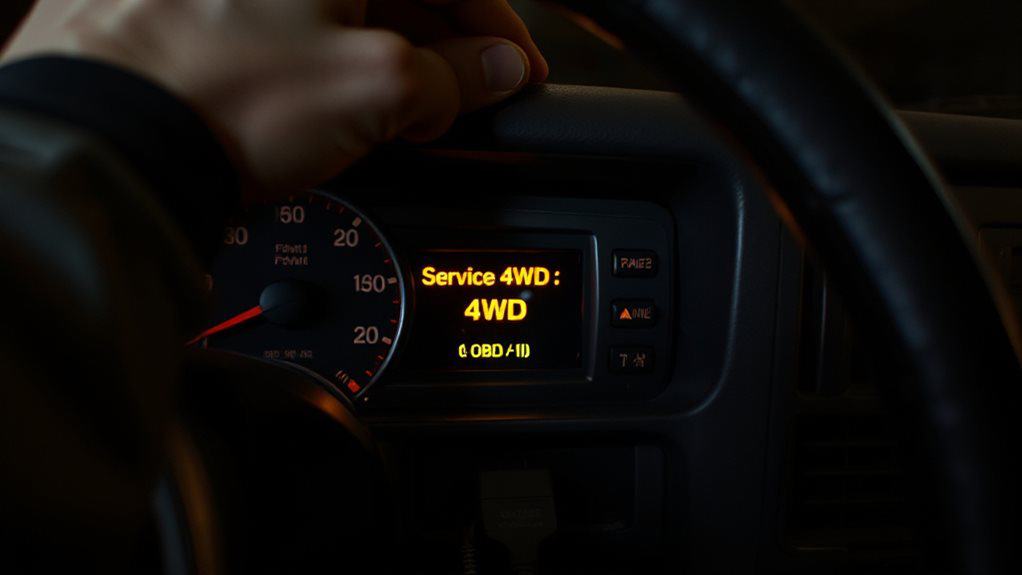
What does the Service 4WD Light actually mean? It signals a fault in the four‑wheel‑drive system, not routine maintenance. The light may flash at startup during a self‑check, indicating issues like incomplete shifts, sensor errors, overheating transfer case, or a failing control module. You should consult the owner’s manual, avoid mode changes, and schedule a professional diagnosis to prevent drivetrain damage. Transfer case failures can also trigger the warning, requiring inspection of the fluid level and seals. Also check related driveline components such as the CV axle for signs of improper seating or leaks that can cause noise, vibration, or transmission issues.
Quick Visual & Sensor Check After Spotting the Light
After the Service 4WD light appears, first glance at the wheel‑speed sensor housings; make sure the lenses are clean and the connectors aren’t corroded. Then, using a diagnostic scanner or a multimeter, trigger each sensor and verify that the output voltage or digital signal matches the manufacturer’s specifications without erratic spikes. If the wheel lights look normal but the sensor response is inconsistent, you’ve isolated the issue to the electronic component rather than the mechanical drivetrain. Also check nearby storage areas like the trunk’s modular compartments for the vehicle’s wheel lock key or related tools, especially if you need to remove wheels during diagnosis or repair (wheel lock key).
Check Wheels Light Condition
Can you see the 4WD warning light and wonder what the wheels are telling you? Park the vehicle on a level surface, turn off the engine, and engage the parking brake. Inspect each tire for even wear, proper tread depth, correct pressure, and damage. Rotate wheels by hand to feel binding, check hub bearings for play, and look for leaks, corrosion, or wiring issues near the axle sensors.
Test Sensor Response
Ever notice the 4WD warning light flicker and wonder whether the wheel‑speed sensor is actually communicating with the control module? Inspect wiring, connectors, and corrosion first. Set a multimeter to ohms, press the sensor button, and watch for stable resistance changes; erratic or open‑circuit readings flag a faulty sensor. Verify battery voltage (≈12 V) at the connector, confirm ground continuity, and use a diagnostic scanner to read and clear any sensor‑related codes after confirming proper operation.
Common Triggers That Cause the Service 4WD Light to Flash
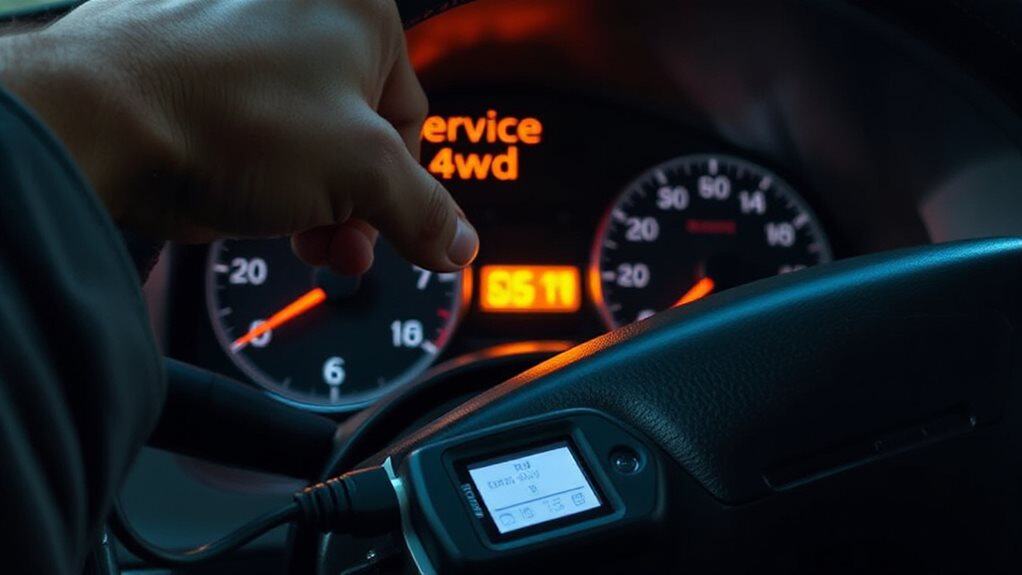
What triggers the Service 4WD light to flash? Incomplete gear shifts from 2WD to 4WD while moving cause the transfer case to miss engagement, flashing the light.
Overheating the transfer case—often from wheel spin in mud, snow, or rocks—activates a protective shutdown until it cools.
Damaged wiring or corrupted sensor data in the transfer case control module also generate fault codes, prompting the warning.
Faulty actuators, encoder motors, or differential lockers can similarly trigger the flash.
Higher-than-normal tire pressures or rapid inflation from a high-flow portable compressor can affect drivetrain load and contribute to transfer case stress, especially during off-road use, so monitor tire pressure with high airflow inflators.
Reset the Service 4WD Light via the On‑Board Computer
Resetting the Service 4WD light through the on‑board computer (OBC) lets you clear fault codes without disconnecting the battery or using a separate scanner.
First, turn the ignition on and navigate to the diagnostic menu using the steering‑wheel buttons.
Select “Clear 4WD Codes” and confirm.
The OBC will communicate with the transfer case controller, erase the stored error, and then the light should turn off after you cycle the ignition off and on again.
Verify the reset by driving briefly in 2WD and then 4WD, watching the dashboard for any re‑illumination.
If the light persists, repeat the menu steps or consider a professional scan tool.
Inspect the engine ground wire during routine maintenance, as damaged grounding can cause electrical faults that affect system communications.
How to Test Your 4WD on a Slippery Surface

How can you reliably assess whether your 4WD system is functioning as intended on a low‑traction surface? Match tires by size, equalize pressure, and choose snow, ice, mud, or a slippery pad. Engage the appropriate 4WD mode, turn off traction control, and drive slowly in low gear. Observe wheel slip, listen for normal low‑frequency noise, and ensure steady speed without excessive throttle input. Regularly inspect exhaust components for rust and cracks to avoid misdiagnosing noises or vibrations that could affect handling.
What to Do If the 4WD Test Fails – Seek Professional Help
If the 4WD test shows flashing lights, grinding noises, or difficulty engaging, those symptoms signal possible electronic, mechanical, or fluid‑related faults. You’ll need a diagnostic scanner to read error codes, a multimeter to check voltage and continuity, and a fluid analysis to spot contamination or metal shavings. Call a qualified technician when the basic checks don’t clear the warning, because professional tools and expertise are required to repair actuators, control modules, or transfer‑case components safely. Regular maintenance and inspections can prevent many issues by addressing fluid contamination and wear before they cause failures.
Symptoms and Warning Signs
When a 4WD system fails its diagnostic test, the dashboard will usually flash or keep lit the AWD, traction‑control, or Service 4WD indicator, and you may notice a steady blink that points to an electronic control module or sensor malfunction.
You’ll also hear grinding, whining, or clicking during turns, feel binding or vibrations, and notice fluid leaks or a burning smell.
These signs indicate sensor, actuator, or transfer‑case issues that require professional inspection.
Diagnostic Tools Required
The warning lights you just identified point to an underlying electrical or mechanical fault, so the next step is to verify those faults with the right diagnostic equipment. Use a multimeter on ohms to check capacitors, and on DC voltage to confirm battery voltage around 11.5 V. A power probe finds missing grounds. A scan tool reads 4WD codes (P1867, P1875, P1860) and performs actuation tests on the transfer case. If tests fail, a professional with advanced tools should reset and repair the system.
When to Call Professionals
Because the 4WD test has failed and the Service 4WD light stays illuminated despite basic resets, you should move on to professional assistance.
Persistent blinking, unresponsive selectors, and lack of DTCs indicate deeper electrical or software issues.
A dealer can apply Technical Service Bulletin 1481410, reprogram the TCCM, and use a Tech 2 scanner.
Avoid off‑road use until repairs are verified.
Prevent Future Service 4wd Alerts With Maintenance
Regular maintenance of fluid levels, tire pressure, and electrical components is the most reliable way to keep service 4WD alerts from reappearing. Change transfer‑case fluid every 30‑60 k mi, inspect differential oil annually, and use the manufacturer’s viscosity. Keep all tires at equal pressure, rotate them, and match sizes within a quarter‑inch. Clean battery terminals, keep voltage above 12.6 V, and test the alternator yearly. Scan OBD‑II codes each 10 k mi, check fuses, and run a monthly 4WD engagement test.
Wrapping Up
By checking the sensor, resetting the onboard computer, and confirming 4WD operation on a low‑traction surface, you’ll verify that the system functions correctly. If the light persists after these steps, the issue likely requires professional diagnostics. Regular maintenance—such as fluid checks, sensor cleaning, and timely service—will reduce future alerts. Following this systematic approach ensures reliable 4WD performance and minimizes downtime.