You’ll notice several clear symptoms when your CV axle isn’t seated properly: your vehicle may roll backward even in drive, you’ll experience power loss during acceleration, and you might hear grinding noises when shifting into park. Watch for clicking sounds during turns, excessive vibration in the floorboard, and reddish transmission fluid puddles beneath your car. You may also spot visible misalignment between the transmission and wheel hub, or feel unusual side-to-side play in the axle shaft, and understanding these warning signs helps you address the issue before it causes transmission damage.
Quick Tips
- Vehicle rolls backward in drive or fails to move forward due to differential spinning freely without power transfer.
- Grinding noises when shifting into park and clicking sounds during turns indicate axle disengagement from differential or hub.
- Excessive side-to-side or in-and-out axle shaft movement shows improper seating in transmission or wheel hub.
- Vibrations in floorboard, seats, or dashboard intensify with acceleration and diminish in neutral, confirming drivetrain issues.
- Reddish transmission fluid puddles under vehicle signal leakage from torn seals caused by misaligned axle.
Warning Signs Your CV Axle May Not Be Fully Engaged
When a CV axle isn’t fully seated in your vehicle’s transmission or wheel hub, the drivetrain can’t transfer power effectively from the engine to the wheels. You’ll notice the car rolling backward in any gear, even drive, because the differential spins freely without engaging the axle shaft. Engine acceleration won’t move the vehicle forward, and you may hear grinding noises when shifting into park. This issue commonly occurs after recent CV axle or engine mount replacement, when the inboard joint’s retaining C-clip may not have properly clicked into place in the transaxle. Regular inspections of wheel bearings can help prevent related issues that may arise from improper axle engagement.
Audible Clues That Indicate Improper Axle Installation
Your eyes can’t see inside the transmission housing or wheel hub assembly, but your ears provide reliable diagnostic information about CV axle seating problems.
Listen for grinding noises when shifting into park, clicking sounds during turns, or rhythmic knocking from the front wheels. These audible clues indicate the axle hasn’t properly engaged with the differential or hub, creating abnormal movement and metal-on-metal contact. Additionally, CV joints can cause similar noises if they are worn or damaged, further complicating the diagnosis.
The clicking noise typically quiets when wheels are straightened, distinguishing improper seating from other mechanical issues.
Transmission Fluid Leaks and Their Connection to Axle Seating
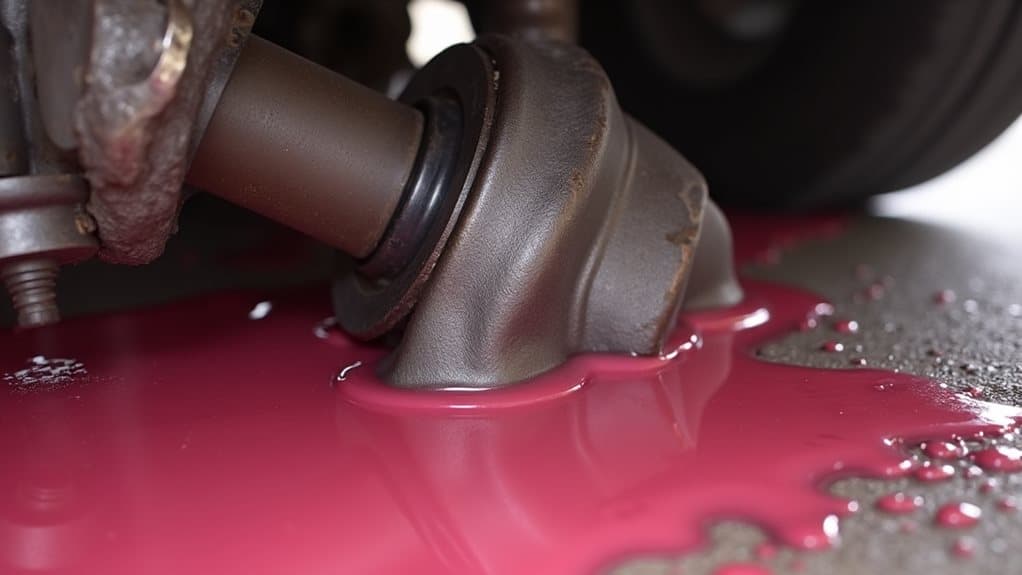
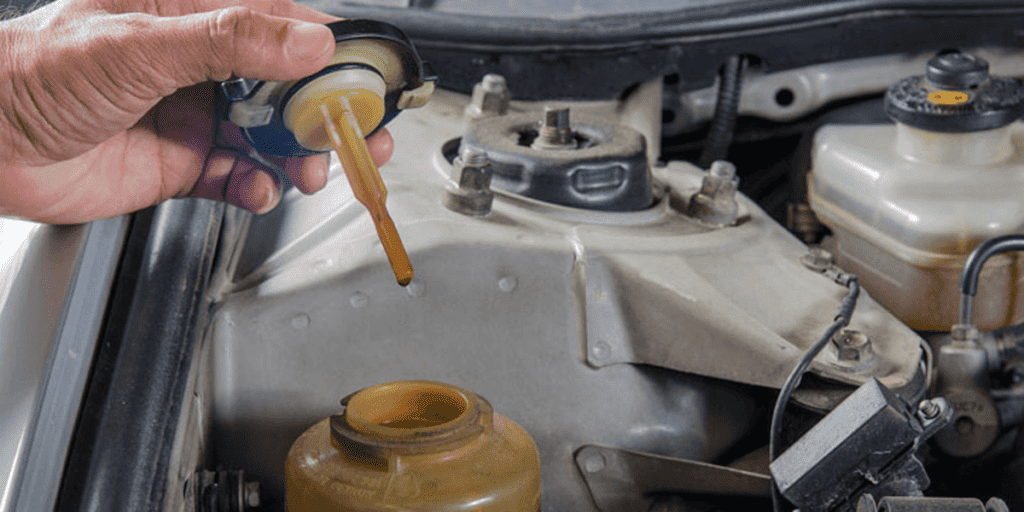
If a CV axle hasn’t seated properly in the transmission, one of the most immediate and damaging consequences you’ll face is transmission fluid leakage.
The axle passes through a rubber seal in the transmission housing, and improper seating can tear or distort this seal. You’ll notice reddish fluid puddles underneath your vehicle, reduced transmission fluid levels, and potential slipping gears from diminished hydraulic pressure. Ignoring these symptoms can lead to catastrophic transmission failure, making prompt attention essential.
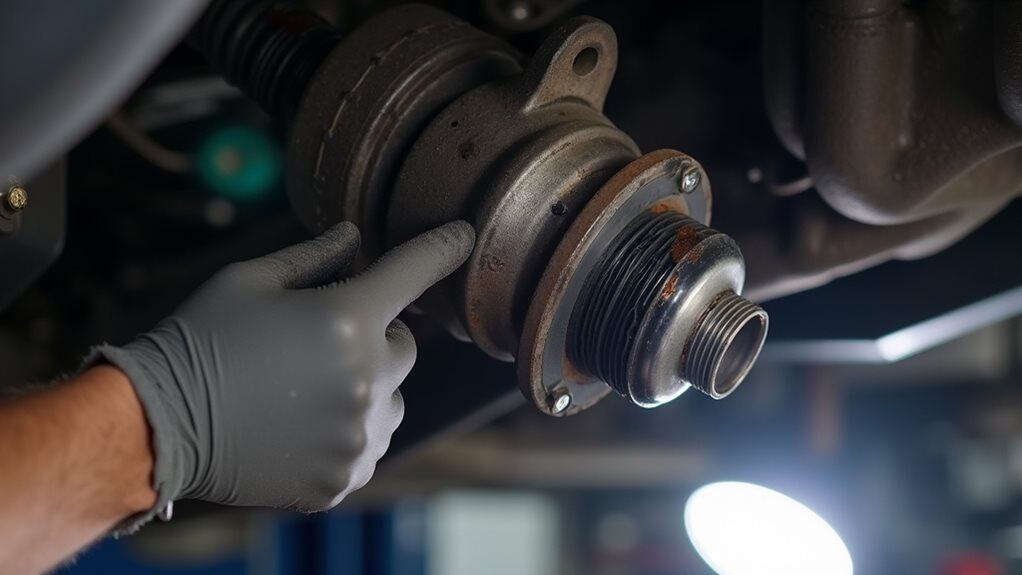
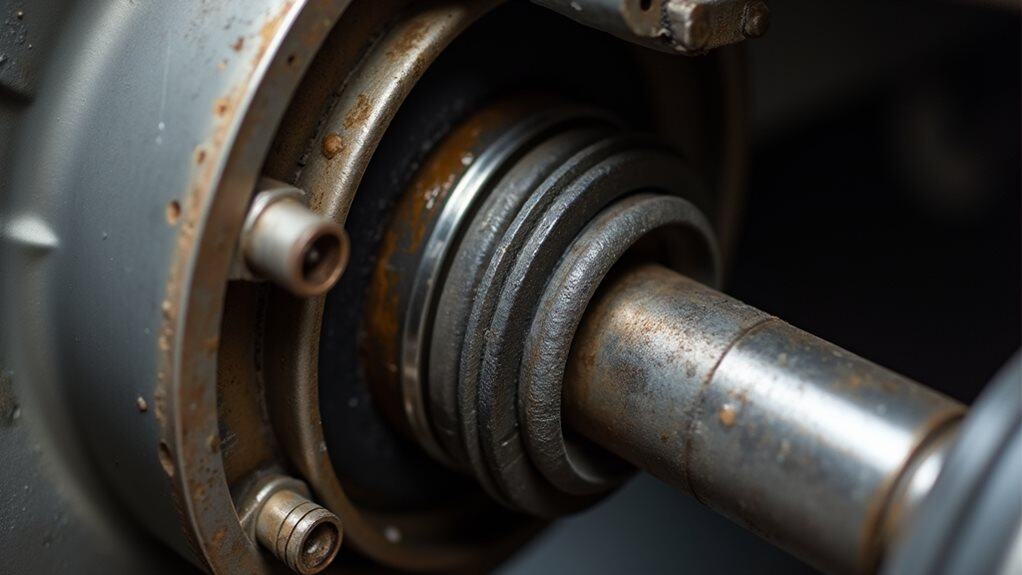
How to Visually Inspect for Incorrect CV Axle Positioning
Before you crawl under your vehicle to investigate potential CV axle problems, you’ll need to establish a safe working environment and gather the right tools for the job.
Lift your vehicle securely using jack stands or ramps, then examine the axle shaft for visible misalignment between the transmission and wheel hub.
Check that locking tabs, bolts, or circlips are fully engaged and properly positioned. Additionally, regular vehicle maintenance checks can help prevent issues related to improper axle seating and ensure overall vehicle performance.
Movement and Vibration Issues Linked to Poor Axle Engagement
When your CV axle isn’t seated properly in the transmission or wheel hub, you’ll notice excessive side-to-side or in-and-out movement of the axle shaft that shouldn’t be there.
This play in the drivetrain translates directly into vibrations you’ll feel throughout your vehicle, and these vibrations typically intensify as you accelerate or increase your speed. The improperly engaged axle creates an imbalance in the rotating assembly, which causes rhythmic shaking that can be felt in your steering wheel, floorboard, or seat.
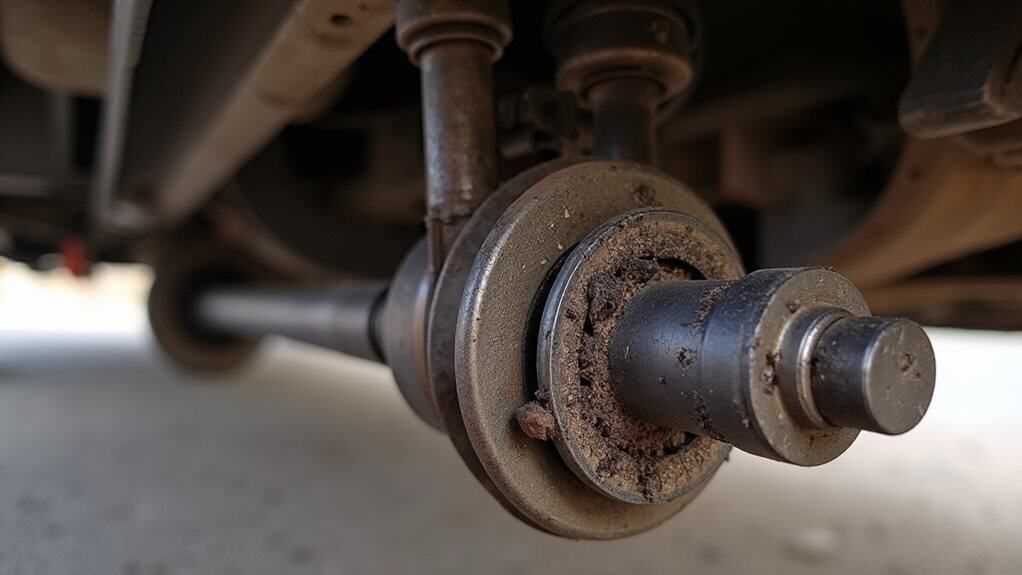
Excessive Axle Shaft Play
Excessive axle shaft play manifests as noticeable lateral, vertical, or rotational movement at critical connection points where the CV axle engages with both the transmission or differential and the wheel hub assembly.
You’ll detect abnormal up-and-down motion where inner CV joints enter the differential housing, suggesting compromised engagement.
Though joints appear visually intact, rotational play at hub connections signals internal wear requiring immediate inspection and proper reseating.
Vibrations During Vehicle Operation
Improperly seated CV axles frequently generate distinct vibrations that travel throughout your vehicle’s cabin during movement, creating sensations you’ll feel in the floor, seats, and dashboard rather than exclusively through the steering wheel.
These vibrations intensify during acceleration and under load, often resembling high-frequency buzzing or shaking.
You’ll notice the issue diminishes when shifting to neutral, confirming drivetrain involvement rather than tire imbalance.
Power Transfer Problems That Signal Installation Errors
A CV axle that hasn’t seated properly in the transmission or wheel hub disrupts the entire power delivery system, creating a chain reaction of performance issues that you’ll notice almost immediately.
You’ll experience reduced acceleration as engine power fails to reach the wheels efficiently. The misalignment causes intermittent power loss, particularly during cornering or hard acceleration, when the axle shifts under load and loses proper engagement.
Damage Risks When CV Axles Are Not Properly Secured
Beyond the immediate performance issues, CV axles that aren’t fully secured create a domino effect of mechanical damage that extends far beyond the axle itself.
You’ll face transmission housing cracks from abnormal stress, contaminated fluid from failed circlips, and accelerated wear on motor mounts.
The misalignment generates excessive heat in joints, damages ABS sensors, and compromises CV boots, allowing contaminant entry that destroys internal components and dramatically increases your repair costs.
Common Installation Mistakes That Prevent Proper Seating
Many CV axle installation failures boil down to selecting the wrong replacement part, a mistake that sets you up for problems before you even begin the actual installation.
Mismatched spline counts, incorrect stub lengths, or wrong seal diameters prevent full engagement with the transmission.
Additionally, forcing the axle without proper alignment, letting it hang from the differential, or skipping verification steps compounds these issues, virtually guaranteeing improper seating.
OEM Versus Aftermarket Axles: Fit and Quality Differences
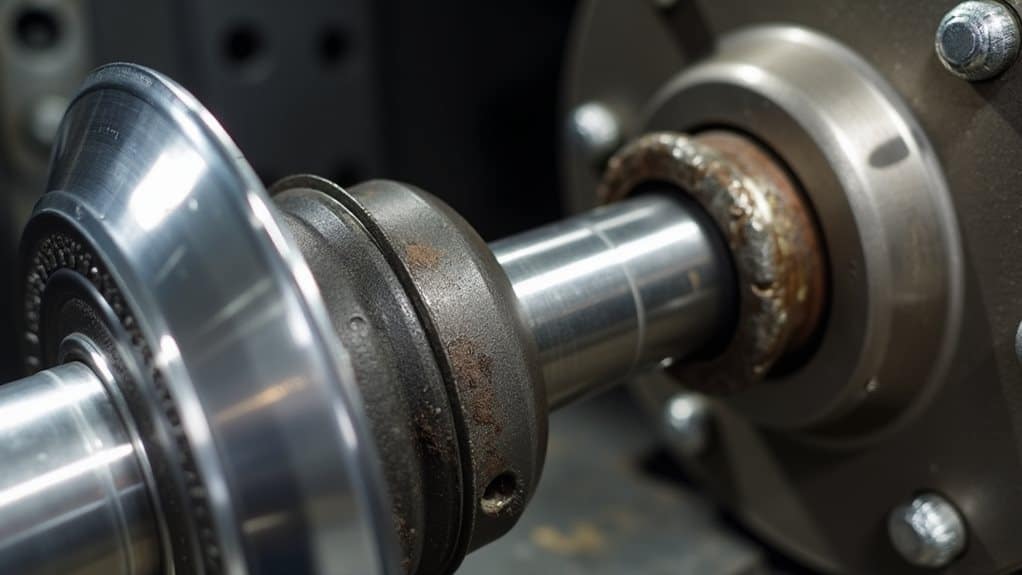
Choosing between OEM and aftermarket CV axles materially impacts whether your replacement part will seat properly in your vehicle’s transmission and hub assembly.
OEM axles are manufactured to exact specifications, ensuring precise fit without modification.
Aftermarket axles often suffer from inconsistent quality control and less precise tolerances, which can create seating problems.
You’ll find that cheaper aftermarket options frequently require additional adjustments during installation due to dimensional variations.
Step-by-Step Guide to Ensuring Correct CV Axle Installation
When installing a CV axle, proper technique separates a secure, long-lasting repair from one that’ll leave you stranded with transmission fluid leaking onto your driveway.
Start by disconnecting the battery and lifting your vehicle safely with jack stands. Apply penetrating oil to fasteners, then remove the wheel and necessary suspension components.
Position the new axle’s circlip at 12 o’clock before inserting it straight into the transmission until it clicks firmly into place.
Preventative Maintenance Tips to Avoid Future Axle Problems
Installing your CV axle correctly sets the foundation, but ongoing maintenance determines whether that axle will serve you reliably for years or leave you with another premature failure.
Inspect CV boots every few months for tears or cracks, and replace damaged ones immediately.
Clean axles regularly to remove road salt and corrosion, especially after winter driving.
Apply protective spray to exposed surfaces, and relubricate CV joints every 30,000 to 50,000 miles using manufacturer-recommended grease.
Wrapping Up
Recognizing the symptoms of an improperly seated CV axle—such as clicking sounds, fluid leaks, vibrations, or visible gaps—allows you to address the issue before it causes transmission damage or complete axle failure. You’ll prevent costly repairs by following proper installation procedures, using quality parts, and performing regular inspections. If you’re unsure about the seating, don’t hesitate to consult a professional mechanic who can verify correct engagement and guarantee your vehicle’s drivetrain operates safely and efficiently.