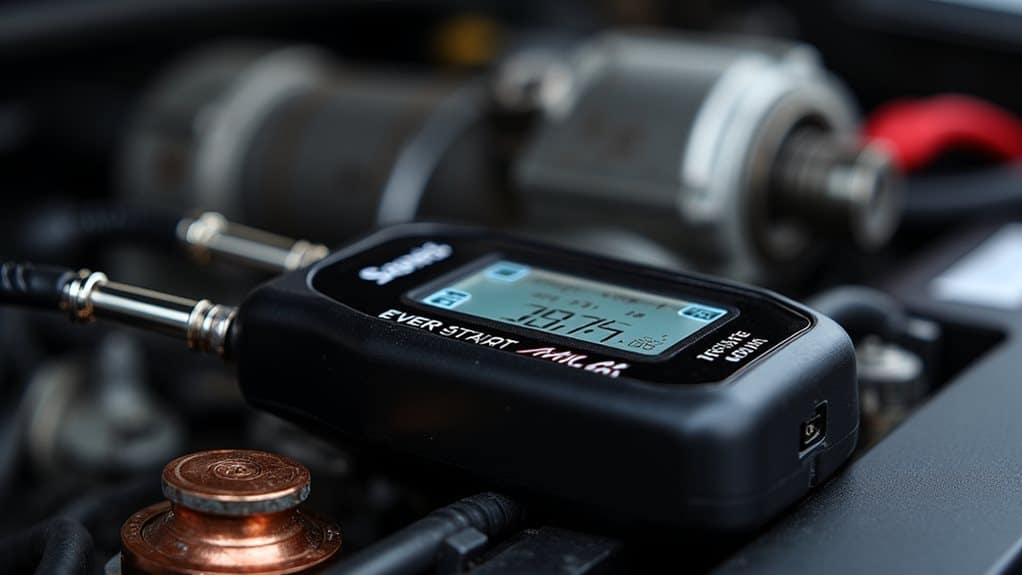
The EverStart Maxx alternator check function evaluates your vehicle’s charging system by measuring voltage under no-load and loaded conditions through a dedicated test button. You’ll connect the charger to your battery terminals, press the “Alternator Check” button, and monitor the LCD display for real-time voltage readings and diagnostic icons. The system analyzes voltage range parameters and load response characteristics to identify potential charging issues before they cause complete alternator failure, providing early detection that can save you from costly emergency repairs and unexpected breakdowns on the road.
Quick Tips
- Press the “Alternator Check” button to activate testing mode, indicated by a flashing “Check” message and illuminated alternator icon.
- The system evaluates charging performance through no-load and loaded testing while analyzing voltage range parameters and load response characteristics.
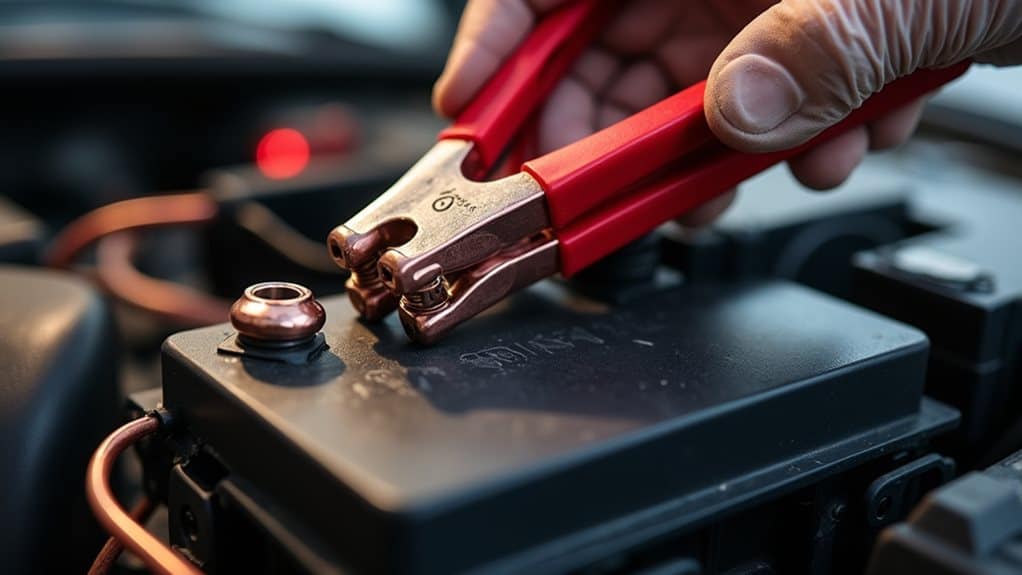
- Connect red clamp to positive terminal and black clamp to negative terminal with engine running at normal idle speed.
- LCD screen displays real-time voltage readings and specific error messages to identify potential charging system problems.
- Early detection capabilities identify alternator issues weeks or months in advance, preventing costly emergency repairs and total system failure.
Understanding the EverStart Maxx Integrated Alternator Check Function
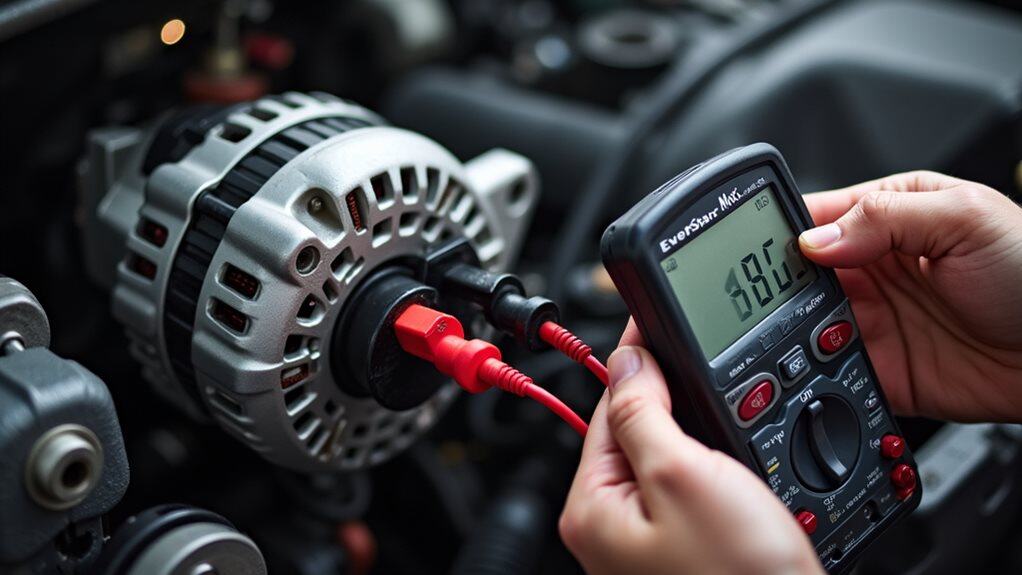
When you need to evaluate your vehicle’s charging system performance, the EverStart Maxx’s integrated alternator check function provides an extensive diagnostic tool that goes beyond basic voltage readings.
You’ll activate this feature using the dedicated alternator check button, which triggers thorough testing that analyzes both voltage range parameters and load response characteristics through clear LCD display communications. This diagnostic process is specifically designed to determine the functionality of your vehicle’s internal electrical system, providing valuable insights into potential charging issues. Additionally, understanding starter motor issues can aid in identifying related electrical problems impacting the charging system.
Step-by-Step Operating Procedure for Alternator Testing
Five systematic steps comprise the thorough alternator testing procedure with your EverStart Maxx, and proper execution of each phase guarantees accurate diagnostic results for your vehicle’s charging system. You’ll prepare your vehicle, connect the charger, execute no-load testing, conduct loaded testing, and finalize the procedure while documenting readings for detailed alternator performance assessment. Always disconnect the AC plug from the outlet before removing the charger connections from your vehicle’s battery to maintain safe operating conditions. Additionally, during the no-load testing phase, ensure that the battery connections are clean and tight to prevent any disruptions in power flow.
Connecting Your Charger to Battery Terminals Safely
Before you connect your EverStart Maxx charger to the battery terminals, proper preparation and safety measures will protect you from electrical hazards and confirm accurate alternator testing results.
Wear safety goggles and rubber gloves, then make certain the charger’s unplugged.
Connect the red clamp to the positive terminal first, followed by the black clamp to the negative terminal. Additionally, ensure that the battery and alternator connections are free from corrosion on battery terminals to avoid any potential starting issues.
Selecting and Activating Alternator Check Mode
Once you’ve properly connected your EverStart Maxx charger to the battery terminals, you’ll need to maneuver through the control panel to access the alternator testing function.
The mode selection process requires you to locate and press the “Alternator Check” button, which initiates the diagnostic sequence and activates the charger’s alternator analysis capabilities.
This test activation converts your charger from a standard charging device into a diagnostic tool that can evaluate your vehicle’s charging system performance under both no-load and loaded conditions. It is also important to ensure that transmission fluid levels are adequate, as they can impact overall vehicle performance and electrical systems.
Control Panel Navigation
Several key components on the EverStart Maxx control panel work together to provide straightforward guidance for alternator testing.
The LCD screen displays real-time voltage readings and function icons, while color-coded visual indicators alert you to connection issues like reverse polarity or poor contact.
You’ll see flashing alarms if clamps are improperly connected or battery voltage is insufficient.
Mode Selection Process
When your EverStart Maxx charger meets the necessary pre-conditions, activating the Alternator Check Mode becomes a straightforward button-press operation.
Simply press the designated alternator check button to initiate testing. The LCD screen will display a flashing “Check” message with an illuminated alternator icon, confirming you’ve successfully entered the mode and testing has begun.
Test Activation Steps
After confirming the mode’s activation through the flashing display, you’ll need to complete several setup steps before the actual alternator testing begins.
First, verify your engine’s running at normal idle speed and all accessories are turned off.
Then, press the “Alternator Check” button to activate test mode.
Once activated, all other buttons become disabled except the alternator check button.
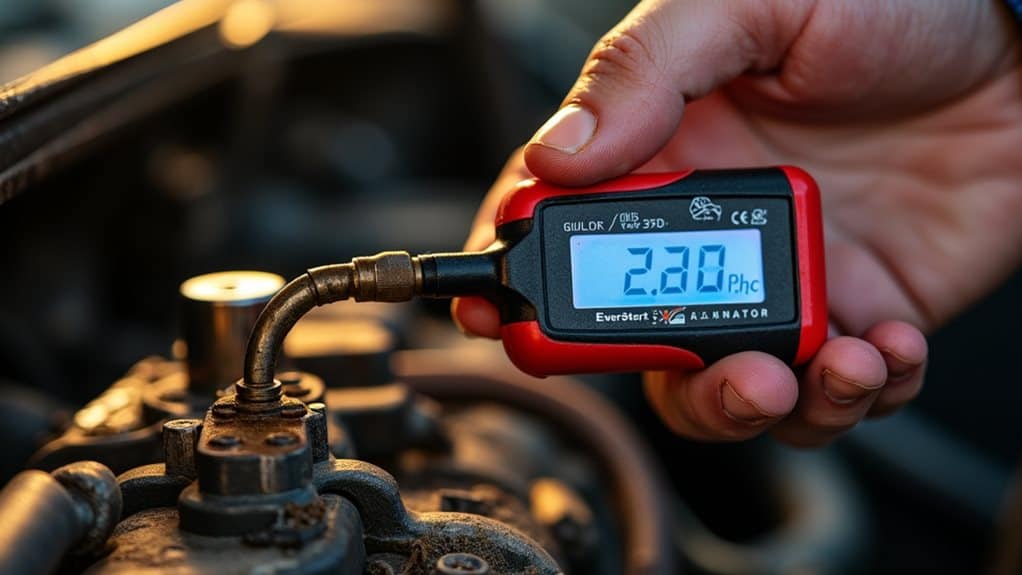
Reading LCD Display Icons and Status Indicators
The LCD display on your EverStart Maxx charger serves as a thorough information center that changes flexibly based on the function you’ve selected.
During alternator testing, you’ll see the alternator icon activate alongside voltage readings.
Watch for clamp icons confirming proper connections, and monitor any fault indicators that signal connection issues requiring correction.
Interpreting Fault Warnings and Alarm Signals
How does your EverStart Maxx charger communicate when something goes wrong during alternator testing?
The LCD screen displays flashing fault icons when alternator voltage falls outside normal ranges. You’ll see alternator icons solidify or flash, indicating different test states.
Audible alarms may trigger if voltage standards aren’t met, while visual warnings appear for reverse polarity or overcharge conditions.
Essential Safety Precautions During Testing
Before conducting any alternator test with your EverStart Maxx charger, you must establish a safe working environment and follow proper preparation procedures.
Verify your battery’s fully charged and confirm it’s a 12-volt system. Turn off all vehicle accessories, wear protective gloves and eyewear, and avoid wet conditions.
Never smoke near batteries due to explosive hydrogen gas emissions.
Troubleshooting Common Alternator Check Issues
When your EverStart Maxx alternator check doesn’t produce the expected results, identifying the root cause requires a systematic approach to common diagnostic issues.
First, remove unnecessary accessories that create additional electrical loads, which can trigger false fault readings.
Next, verify your alternator’s rating matches your vehicle’s requirements, then check the LCD display for specific error messages indicating voltage range problems.
Additional Battery Health Features and Charging Modes
Beyond its diagnostic capabilities, the EverStart Maxx charger offers extensive battery health management through multiple charging modes and specialized features designed to optimize battery performance and longevity.
You’ll find automatic and manual charging options, high-amperage modes up to 40 amps, and a 24-hour reconditioning cycle that uses high-frequency pulses to restore battery health.
Practical Benefits for Vehicle Owners and Mechanics
These sophisticated battery management features translate into substantial real-world advantages for both vehicle owners and professional mechanics who regularly diagnose charging system problems.
You’ll save money by avoiding unnecessary battery replacements through accurate alternator testing.
Mechanics benefit from streamlined workflows, combining multiple diagnostic functions in one portable tool, reducing service time while improving customer satisfaction and workshop efficiency.
Early Detection of Charging System Problems
Although many drivers wait until their vehicle completely fails to start before addressing charging system issues, the EverStart Maxx’s alternator check function enables you to identify problems weeks or even months before total failure occurs.
Wrapping Up
You’ve now perfected the EverStart Maxx’s alternator check function, which allows you to diagnose charging system problems before they leave you stranded roadside. This integrated testing capability saves diagnostic time and prevents costly alternator replacements. By following the proper connection procedures and interpreting LCD indicators correctly, you’ll maintain your vehicle’s electrical system efficiently. Regular alternator testing using this charger’s built-in diagnostics guarantees reliable engine starts and peak battery performance throughout your vehicle’s operational life.