You’ll match jack and stand capacity to the vehicle GVWR (use the door-jamb label), then pick a jack rated at least GVWR×0.75 and stands of equal or greater capacity. Inspect for cracks, leaks, and smooth pump action, and test lift/lower unloaded. Work on flat concrete, chock wheels, use OEM lift points with a rubber pad, raise slowly, seat on rated stands, lower cautiously, and push-test for stability; follow maintenance and retirement rules for safe use, and the next section explains detailed checks and procedures.
Quick Tips
- Match jack and stands to the vehicle GVWR (jack ≥ GVWR×0.75; stands ≥ supported load) and confirm lift-height range.
- Inspect jack and stands for cracks, leaks, rust, and smooth operation; run an unloaded lift–lower cycle before use.
- Work on a flat, solid surface, engage parking brake, chock the opposite wheel, and ensure good lighting.
- Position the jack saddle on OEM-designated lift points or reinforced pinch-weld areas, using a rubber pad if needed.
- Lift slowly, place rated stands under recommended points, lower gently onto stands, and perform stability push checks.
Pick a Floor Jack and Stands : Capacity Checklist
When you pick a floor jack and matching stands, start by matching capacity to the vehicle’s Gross Vehicle Weight Rating (GVWR) rather than its curb weight, because GVWR includes fuel, passengers, and cargo and gives the correct safety baseline; multiply the GVWR by 0.75 to determine the minimum jack capacity, then choose jack stands with equal or greater rated capacity so the support system can safely carry the load once the vehicle is lifted.
Use the GVWR label in the door jamb, prefer steel for shop durability or aluminum for portability, guarantee minimum and maximum lift heights suit your vehicle, and match stand capacity to the jack. Always ensure the jack and stands have appropriate rated capacity and safety features before beginning work. Consider choosing a jack with strong lifting power and good safety ratings to handle heavier vehicles reliably.
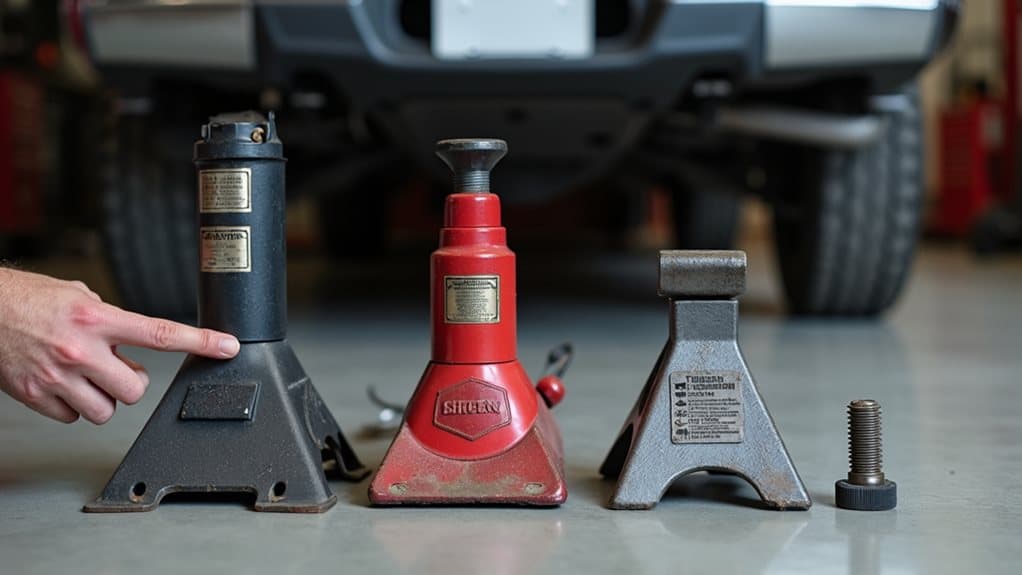
Inspect and Test Your Jack and Stands Before Use
Before you use the jack and stands, do a thorough visual condition check: inspect the frame, welds, wheels, seals, handle, and safety markings for cracks, rust, leaks, or missing labels so you can spot any structural or component failures.
Next, run a functionality test by operating the unloaded jack through a full lift and lower cycle, verifying smooth pump action, proper release-valve operation, and that wheels and casters roll without binding.
Finally, with known weights or the manufacturer’s recommended load, perform a controlled load test and a short pressure-hold to confirm the jack lifts to capacity, holds steady within allowable descent limits, and that stands seat securely under the load.
Also ensure your stands incorporate proven safety features such as ratchet-and-pawl mechanisms or locking pins that reliable home mechanics in 2026 depend on to prevent common workshop collapses.
Visual Condition Check
Start by giving your jack and stands a thorough visual and functional inspection, because small defects can quickly become serious hazards under load.
Examine frame, lift arm, welds and ribs for cracks, bends or corrosion.
Check wheels, casters and base for smooth rolling and secure mounting.
Inspect hoses, seals and fluid for leaks or contamination.
Verify safety locks, pins and release valve are present and undamaged.
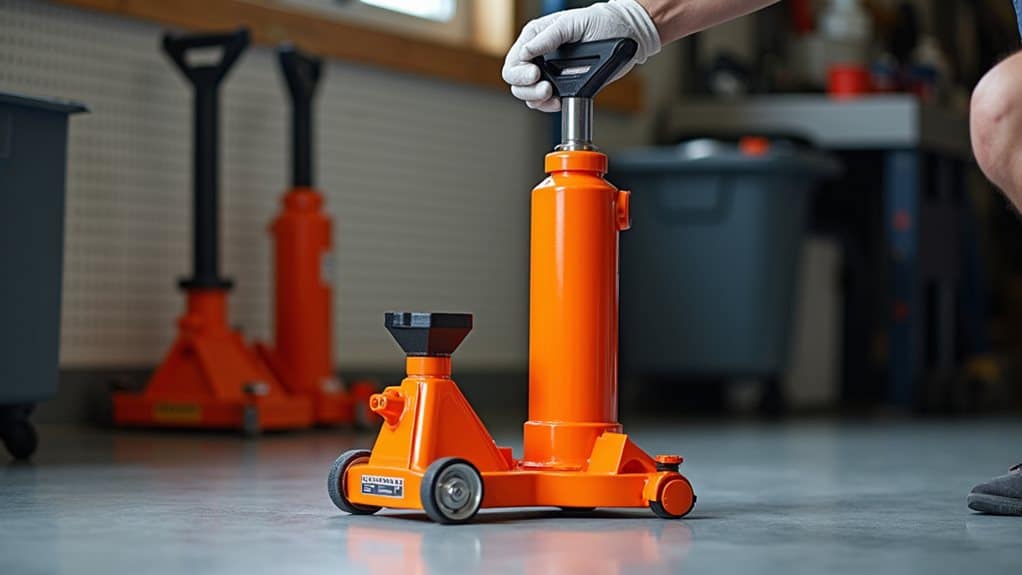
Functionality Test Run
Perform a controlled test run of your jack and stands using a safe, measured load to confirm they function properly under stress.
Use 50–70% of rated capacity, lift to a modest height and hold several minutes, watching for leaks, slow or uneven lift, drifting or droop.
Cycle the unit, test release valve smoothness, and verify wheel movement, stability, and structural integrity under load.
Choose a Safe Site and Stabilize the Vehicle

On a flat, solid surface—ideally a concrete garage floor—you’ll set up and stabilize the vehicle so lifting is safe and predictable; avoid grass, gravel, dirt, or hot asphalt that can soften and let the jack or stands sink.
Clear the area, engage the parking brake, place transmission in Park or gear, and chock the diagonally opposite wheel; verify lighting, surface dryness, and equipment integrity.
New ceramic brake pads may produce temporary grinding or squealing during the initial bedding process, so inspect brakes before lifting and check for debris to ensure safe operation.
Find and Use Your Vehicle’s Designated Lift Points
Start by consulting your owner’s manual for the exact lift point diagrams and any manufacturer notes so you know which locations are OEM-approved.
Next, visually confirm the markings or reinforced areas on your vehicle—look for circles, arrows, thicker seams, or the frame rails near the suspension—and avoid plastic trim, exhaust parts, or suspension links.
Finally, position the jack saddle squarely on the reinforced area (use a rubber pad on pinch welds), keep the jack vertical, and raise a few inches to verify secure contact before lifting fully.
Always ensure the jack capacity meets or exceeds your vehicle’s weight and use designated lift points when positioning the jack.
Consult The Owner’s Manual
Consult your vehicle’s owner’s manual before you lift anything, because it contains the manufacturer‑recommended lift points that are engineered to support the car’s weight without causing deformation or damage.
Read the diagrams to find jacking and lifting locations, note pinch welds, frame rails, or central lift spots, and follow specified pad contact areas.
Consult service manuals or the manufacturer if the manual is unclear.
Identify Manufacturer Markings
Before you lift, identify the manufacturer markings that show where the vehicle is designed to be supported, because these stamped symbols, notches, and reinforced plates mark the safest lift points and help prevent damage or instability.
Look for stamped symbols, triangle marks on rocker panels, pinch-weld notches and smooth flat sections, reinforced tabs, subframe plates, and door-jamb decals or manual diagrams; verify online forum photos.
Position On Reinforced Areas
When positioning your jack, locate and use the vehicle’s designated reinforced lift points so you’re supporting the structure where it’s strongest, not bending sheet metal or stressing suspension components.
Find pinch-weld notches, frame rails, OEM subframe zones, reinforced center points, or structural links.
Verify steel reinforcement, alignment with your jack adapter, clear surfaces, and no corrosion, fluid lines, or wiring before lifting.
Lift Slowly, Seat on Stands, Transfer the Load
To transfer a vehicle from the jack to stands safely, work deliberately and control every small movement: pump the jack handle with smooth, measured strokes to raise the vehicle just high enough for stand placement, then place rated jack stands under the manufacturer-recommended lifting points and position rubber blocks or protective pads for full saddle contact.
Lower using tiny valve turns, modulate descent, and keep the jack as a light backup. Heavy-duty floor jacks designed for trucks from 3-ton to 22-ton capacities provide the necessary lifting power and clearance for larger vehicles, so choose one rated for your vehicle’s weight and required lift height, such as a 3-ton to 22-ton jack.
Verify Stability: Push Tests, Stand Placement, Load Checks

After you’ve put the vehicle onto properly placed stands and lowered the jack to act as a light backup, confirm that everything will hold by performing controlled stability checks.
Push each lifted corner with about 50 lbs, from four sides; movement over 1/16″ or any swaying means reposition stands.
Verify stands centered on approved lift points, vertical, on solid concrete, and rated for double the vehicle weight.
Work Under the Vehicle Safely : Props, Clearance & Rescue Steps
Because a hydraulic jack can fail without warning, you must always use properly rated props or jack stands as a secondary support and verify clearances before getting under the vehicle.
Use stands rated above vehicle mass, place them under designated lifting points on solid chassis rails, chock wheels, deflate air suspensions, verify level ground and clearances, and keep a helper and emergency jack ready.
Regular maintenance like periodic fluid changes and inspection of related components helps prevent failures that could leave a vehicle unsupported.
Maintain, Store, and Retire Your Floor Jack and Stands
You’ll need more than proper lifting and support to keep your jack and stands reliable; routine maintenance, correct storage, and timely retirement of worn units protect both people and equipment.
Check hydraulic fluid every three months, replace leaking seals, bleed air semiannually, and lubricate annually.
Store lowered, upright, dry, covered.
Inspect for cracks, worn fittings, or erratic pressure; retire or dispose per manufacturer guidance.
Wrapping Up
You’ve chosen equipment rated for the vehicle, inspected and tested the jack and stands, and picked a level, stable work area; now lift slowly to the manufacturer’s lift point, seat the vehicle on stands, and transfer the load from the jack to the stands. Verify stability with gentle pushes and visual checks, use props or extra supports if needed, and maintain clearance before working beneath. After use, clean, service, and store or retire gear per guidelines to guarantee future safety.