If you see a bubble in a tire, stop driving immediately and don’t try a field repair: a bulge means internal cords or plies have failed and the tire’s structural integrity is compromised. Pull to a safe level spot, chock wheels, call roadside help or fit a rated spare, and don’t drive on the damaged tire even short distances. Photograph DOT codes and the bubble for warranty or insurance, then replace with a matched tire to restore safe handling—keep going to learn exact removal and documentation steps.
Quick Tips
- Stop driving immediately, pull to a safe level area, and activate hazards.
- Do not attempt field repairs; a sidewall bubble indicates internal structural failure requiring replacement.
- Photograph the bubble and DOT code, note odometer and tire details for warranty or insurance.
- Use a spare or call roadside assistance; if removing the wheel, chock wheels, set the brake, and fully deflate first.
- Replace the damaged tire with a matching-spec, professionally mounted and balanced tire before driving normally.
Quick Safety Checklist for a Tire Bubble
What should you do first when you spot a bubble in a tire? Stop driving immediately, pull to a safe, level area, and activate hazards.
Do a walk-around: look for raised or soft spots, inspect the rim for damage, and gently feel the sidewall and tread. Check that the damaged area is more than 1/2 inch from the sidewall before considering any repair.
Photograph the bubble, note odometer and tire details, and confirm spare readiness before calling roadside or a tire professional. Also remember that a visible bulge means the tire has suffered internal structural damage and must be replaced.
What a Tire Bubble Means for Safety
A sidewall bulge means the tire’s internal cords or plies have torn or separated, creating a weak spot that can’t withstand normal road forces, so you shouldn’t drive on it.
Because the damage is structural, industry guidance and manufacturers require replacement rather than patching—patches and sealants can’t restore the tire’s load-bearing layers.
In short, treat any bulge as an immediate safety hazard: replace the tire promptly to avoid sudden blowouts, loss of control, or damage to rims and suspension.
Regular visual inspections, including checks for visible bulges, help catch these issues early.
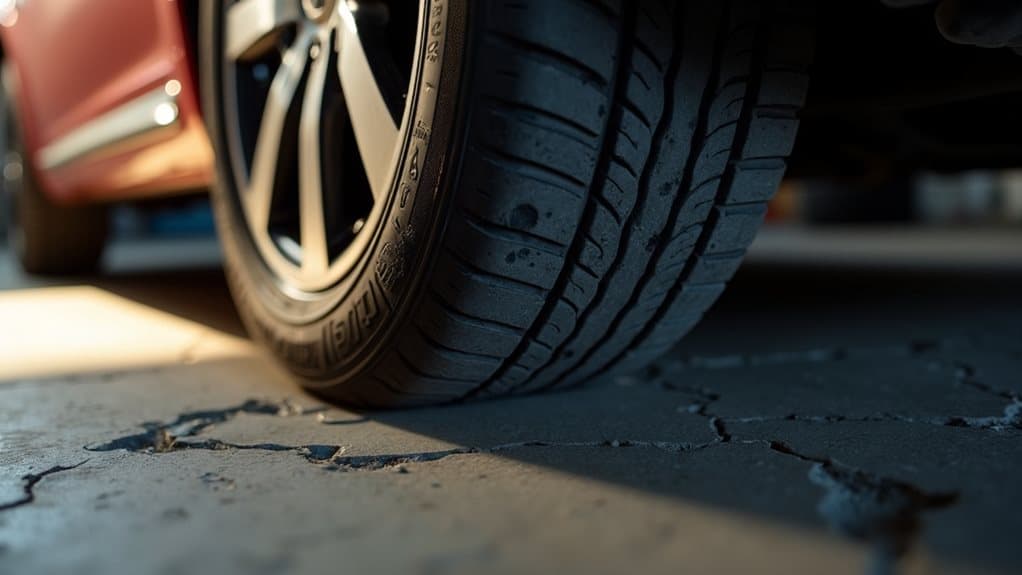
Sidewall Bulge Danger
If you spot a bulge on the tire sidewall, treat it as a sign of structural failure and stop driving on that tire immediately; the bump usually means internal cord separation or ply rupture has disrupted the carcass, so the fabric and steel cords that hold the tire’s shape and contain the air are compromised even if the tread looks normal.
You must avoid driving: sudden blowout, loss of control, rim damage, and rapid air migration can occur.
Repair Versus Replacement
Because a bulge in the sidewall shows that the tire’s internal cords or plies have failed, you must treat it as non-repairable and proceed directly to replacement: no patches, plugs, or sealants can restore the structural integrity lost when cords separate or the carcass delaminates.
Replace immediately, matching size, load and speed ratings; driving risks catastrophic blowout, loss of control, and injury.
Identify Sidewall vs Tread Bubbles
When you inspect a tire for dangerous bulges, focus first on where the bulge sits—on the vertical sidewall or the horizontal tread—because location tells you how the internal structure is damaged and how urgent replacement is.
Sidewall bubbles are egg‑shaped, permanent, and indicate broken cords in the flexing sidewall.
Tread bubbles are round, under the contact patch, and show inner liner breach beneath the tread.
Regular inspections and monitoring of tire plugs can help detect related issues early.
Immediate Steps When You Spot a Bubble
If you spot a bubble in your tire, stop driving immediately to minimize the risk of a sudden blowout and, if possible, slow down gently without hard braking or sharp steering.
Move the vehicle to the nearest safe location—such as a parking lot or quiet side street—only if you can do so without stressing the damaged tire; otherwise leave it where it’s and set the parking brake.
Once stopped, call for professional help or roadside assistance so a certified technician can inspect the tire, remove it from the rim if needed, and advise on safe replacement rather than attempting a field repair.
Continuing to drive on a damaged tire can quickly worsen the problem and significantly increase the risk of a blowout.
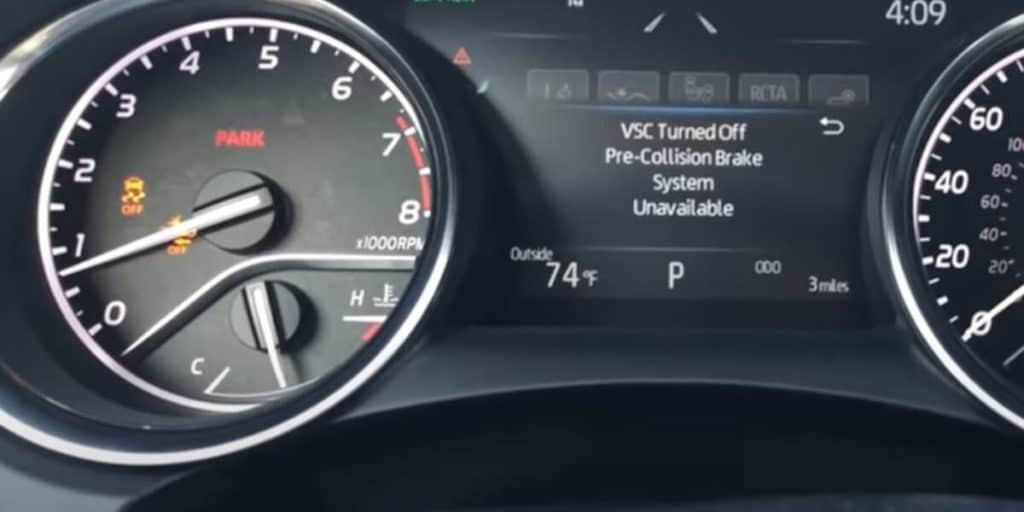
Stop Driving Immediately
Stop the vehicle as soon as you notice a bubble in the tire and pull over to a safe, level location away from traffic; continuing to drive risks further internal cord separation and can lead to a sudden blowout, especially at higher speeds or during abrupt steering inputs.
Don’t keep moving unless absolutely necessary; reduce speed below 35 mph, avoid rough roads, and call for a tow if a spare isn’t ready.
Move To A Safe Spot
After you’ve pulled toward the roadside as advised, move the vehicle to a safe spot with care and purpose: look for a flat, level area well clear of traffic, curves, and intersections—ideally a wide shoulder, parking lot, or rest area—so the car sits stable and visible.
Slow gradually to 25–35 mph, keep steering straight, activate hazards, check overhead hazards, engage parking brake.
Call For Professional Help
What should you do first when you spot a bubble on your tire while stopped?
Call roadside assistance or a tow immediately and avoid driving on the tire.
Request a mobile tire technician or tow to a certified shop, confirm they can handle sidewall bubbles, and ask for a full inspection of tires, rims, alignment, and suspension.
Photograph damage and keep receipts for claims.
When You Can : and Cannot : Drive on a Bubbled Tire
When you see a bubble in your tire, treat it as a structural failure and don’t assume it’s safe to keep driving; a visible bulge means the tire’s internal cords and carcass have been compromised and can’t be repaired.
You mustn’t drive normally: only crawl off a dangerous road to safety, avoid sudden maneuvers, fit a proper spare, or call for tow—replacement is required.
Proper repair is not an option for a bulged tire because the damage affects the tire’s internal structure and must be replaced rather than patched; consult a local expert if unsure.
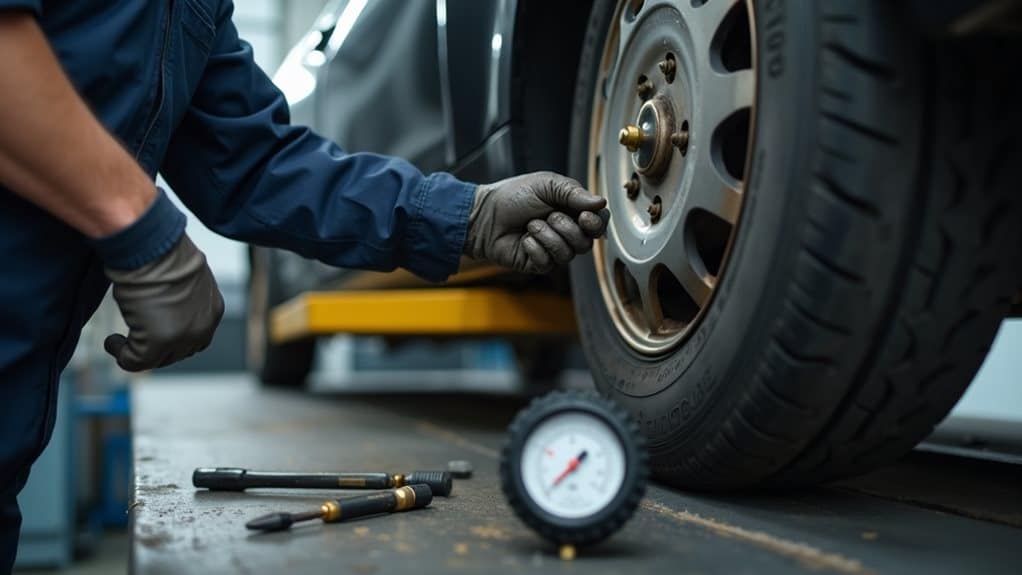
How Technicians Inspect and Diagnose Tire Bubbles
How do technicians approach a tire bubble, and what steps do they take to determine its cause and severity?
You’ll see them secure the vehicle, cool the tire, and use good lighting.
They visually inspect inner and outer sidewalls, palpate for soft raised areas, check pressures, and note impact marks.
Technicians review service history and consult specialists to confirm diagnosis and next steps.
They will also evaluate whether the damage requires tire replacement because sidewall bubbles often necessitate replacing the tire for safety.
Can a Tire Bubble Be Repaired? (Sidewall vs Small Tread)
If you spot a bubble on a tire, don’t assume it can be repaired—sidewall bubbles are structural failures and must be replaced, while some small tread punctures can be fixed under strict conditions.
Sidewall bubbles mean broken internal cords and irreversible damage; replacement is required.
In the tread, punctures under 6 mm, not driven flat, with legal tread depth, can get a plug-and-patch.
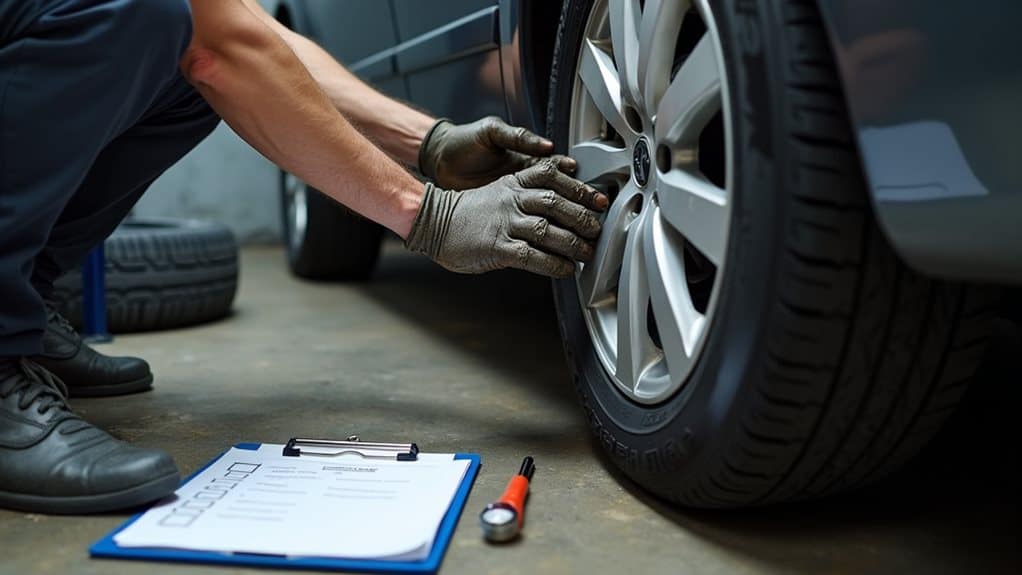
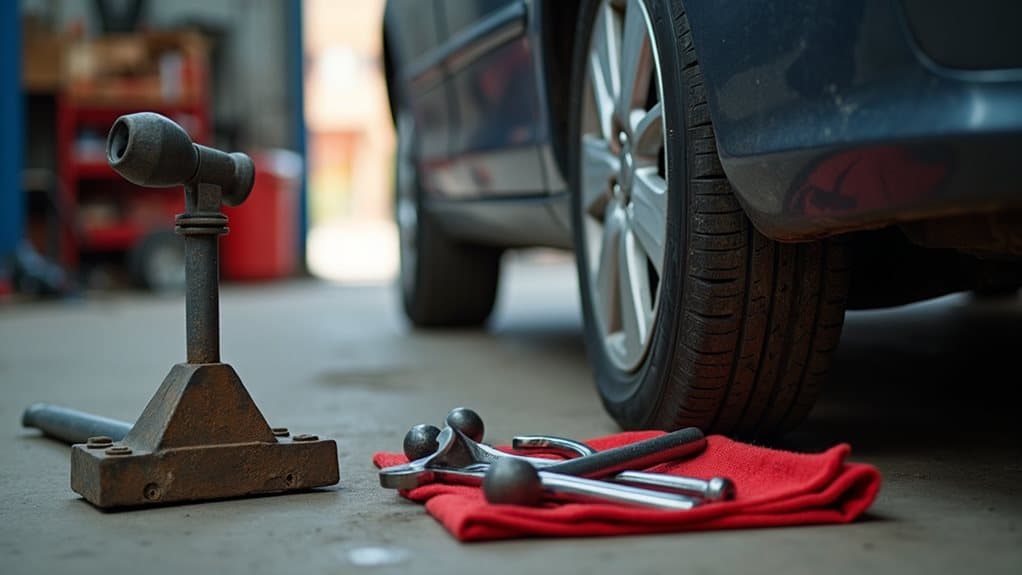
Remove a Bubbled Tire Safely : Step-by-Step
Before you start, walk through a quick assessment so you know what you’re dealing and can remove the wheel safely; inspect the bubble’s size and exact location (sidewall, shoulder, or tread), check for visible cuts or separation, and confirm tire pressure with a gauge—any sign of sidewall bubbling, large bubbles (greater than about 1/4 inch), or internal cord damage means the tire is unsafe to repair and must be handled as a replacement rather than a fix.
Park level, chock opposite wheels, set brake, loosen lug nuts, deflate tire fully, jack up vehicle, remove lug nuts in a star pattern, pull wheel straight off, inspect inner liner for debris or cord separation, photograph damage, fit spare, lower and torque lug nuts.
Replace a Bubbled Tire: Matching Size, Load, and Pairing
Once you’ve removed a bubbled tire and confirmed it can’t be repaired, you’ll need to replace it with a tire that matches the vehicle’s specifications exactly, because differences in size, load capacity, or construction can alter handling and safety.
Identify exact sidewall size, speed rating and load index, match brand/model if possible, and install paired tires on the same axle or replace both.
Document a Tire Bubble for Warranty or Insurance
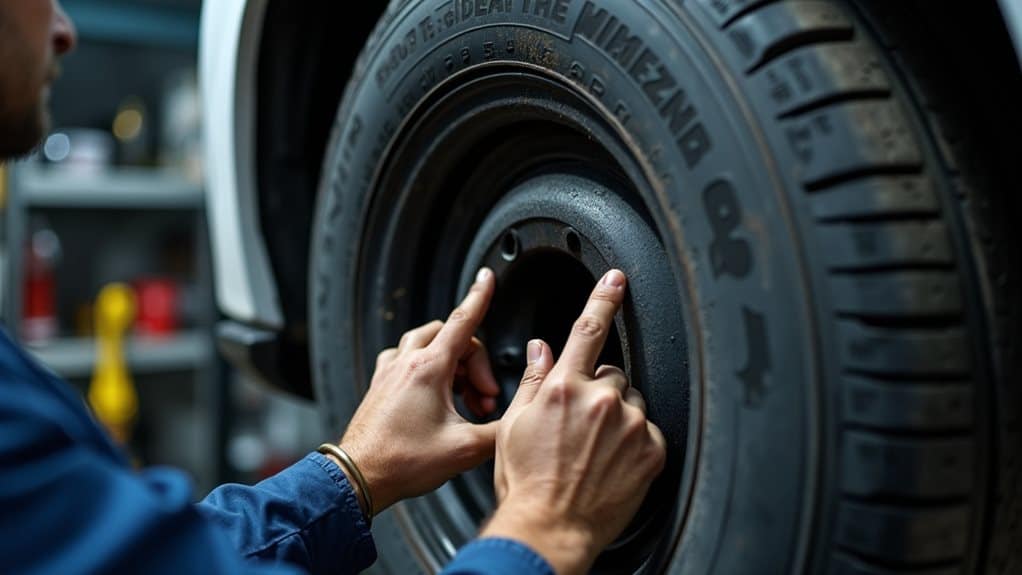
Start by photographing the bubble in high resolution from multiple angles and lighting conditions, making sure one image clearly shows the tire’s DOT code or production week so you can record the production date.
Keep the failed tire and any inspection reports from an authorized technician, asking them to note cause, inner-liner condition, and any safety risks in writing.
Compile these photos and reports with your purchase receipt and warranty details before contacting the dealer or insurer so you can submit a complete claim.
Photo Evidence Of Damage
How should you document a tire bubble so warranty or insurance reviewers can verify the claim?
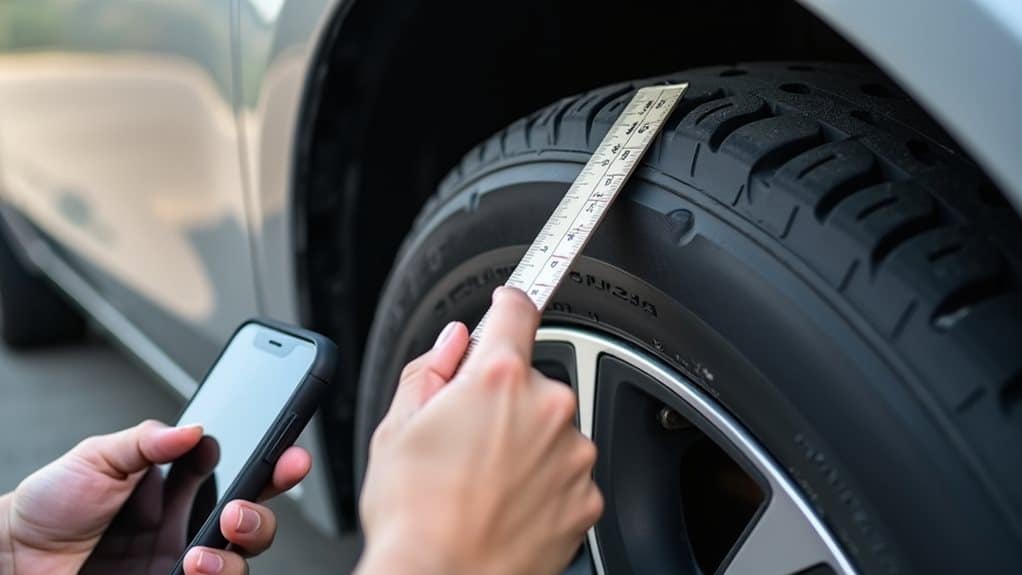
Photograph the whole tire at a 45° angle, include full DOT and sidewall markings, then take a close-up of the bubble apex with a ruler for scale.
Capture nearby scuffs, rim damage, road hazards and tread wear.
Make sure high resolution to show internal belt separation and legible DOT characters.
Record Production Date
Why does the production date matter when you document a tire bubble for warranty or insurance? You must note the DOT date code (final four digits) and plant code, since week/year prove tire age and origin.
Insurance uses the production date to assess coverage for manufacturing defects versus wear, and warranties require age verification; record the molded code clearly for claims.
Keep Inspection Reports
After noting the DOT date code and plant information, you should keep detailed inspection reports that document the sidewall bubble from detection through any professional assessments.
Photograph the bubble with DOT code visible, include a ruler for scale, and record video.
Log mileage, discovery date, road conditions, prior services, dealer reports, invoices, warranty documents, and all communications in a dated folder.
Prevent Tire Bubbles: Maintenance and Driving Habits
Because regular maintenance and careful driving directly reduce the risk of tire bubbles, you should adopt a few consistent habits that protect the tire’s internal structure and sidewalls.
Check pressure weekly, follow load ratings, and rotate tires regularly.
Avoid potholes and curbs, distribute cargo evenly, inspect sidewalls monthly, and schedule alignment and suspension checks to prevent hidden layer separation and uneven stress.
Wrapping Up
You should treat any tire bubble as a structural failure and stop driving as soon as it’s safe, because the internal cords have been damaged and the tire can blow out without warning. Don’t try to patch or drive long distances; remove the wheel and install a spare, or call roadside service. Replace the bubbled tire with a new, correctly sized and rated unit, and document the damage for warranty or insurance before disposing of the failed tire.