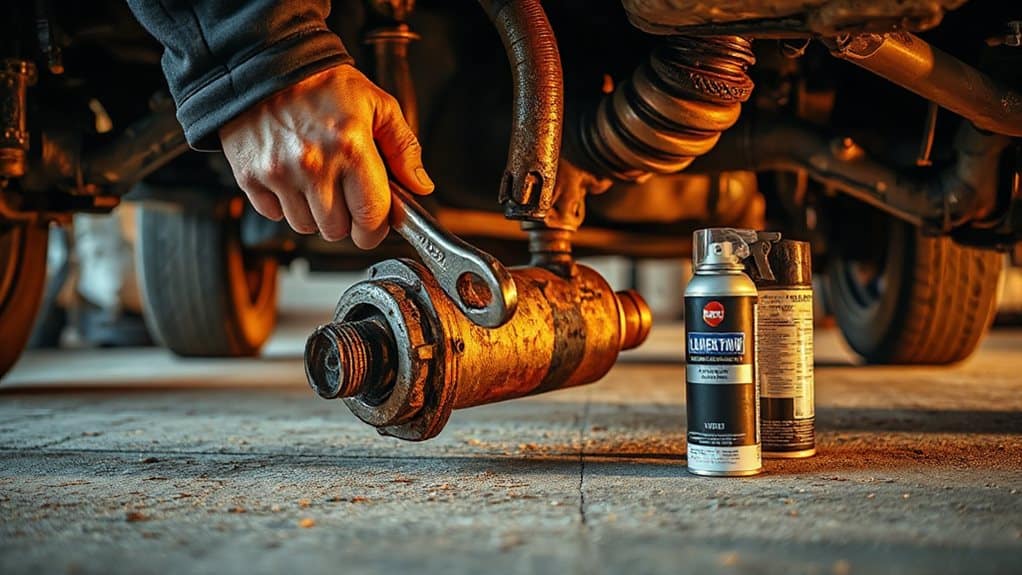
You’ll need a 14 mm socket and a long breaker bar to loosen the rusted fasteners, a heavy‑duty floor jack (3‑ton capacity) and jack stands to lift and support the vehicle, and safety gear like goggles, gloves, and a mask for dust. A corded reciprocating saw or a battery‑powered cutter with the appropriate blade will cut the converter’s mounting bolts and pipe. After removal, reconnect the O₂ sensors, torque them to 33 ft‑lb, and address any P0420/P0430 codes. Upgrading to professional cutters or high‑flow mounts can improve efficiency and compliance, and the next sections will show you how.
Quick Tips
- Use a 14 mm socket with a long breaker bar or nut splitter to disengage the fasteners that secure the converter.
- A heavy‑duty floor jack (≥3 ton) and jack stands provide the lifting power and clearance needed to remove the converter safely.
- Corded reciprocating saws with metal‑cutting blades or professional U‑shaped cutters cut through rusted or welded brackets quickly and reliably.
- Safety gear—gloves, goggles, steel‑toed boots, and a dust mask—protects against sharp metal fragments, rust dust, and hot surfaces.
- After removal, reconnect O₂ sensors, torque them to 33 ft‑lb, and verify sensor placement to avoid P0420/P0430 codes and maintain drivability.
What a Catalytic Converter Removal Tool Actually Does for You
How does a catalytic converter removal tool actually work for you? It disengages the fasteners and lifts the converter, letting you replace it with a straight pipe. By eliminating back‑pressure, exhaust gases exit faster, increasing horsepower 5‑20 % and improving fuel efficiency up to 10 %. The engine runs cooler, sound becomes louder, and DIY costs stay under $50. Reduced back pressure also allows the engine to operate with less strain, further enhancing overall efficiency. Heavy-duty floor jacks rated for 3-ton capacity provide the lifting power and clearance needed for many truck exhaust jobs.
Essential Hand Tools for Catalytic Converter Removal
What hand tools should you keep on hand for removing a catalytic converter? Use a 14 mm socket and breaker bar to loosen rusted nuts, and a pair of long breaker bars with 6‑point sockets for stubborn fasteners. Carry a nut splitter for locked nuts, a cold chisel for non‑destructive work, and snug‑fit safety goggles with ledges to protect your eyes from metal debris. Consider also using cross bars to stabilize loads when transporting removed parts and tools roof racks to and from the worksite.
Reciprocating Saw vs. Battery‑Powered Cutter: Which One to Choose?
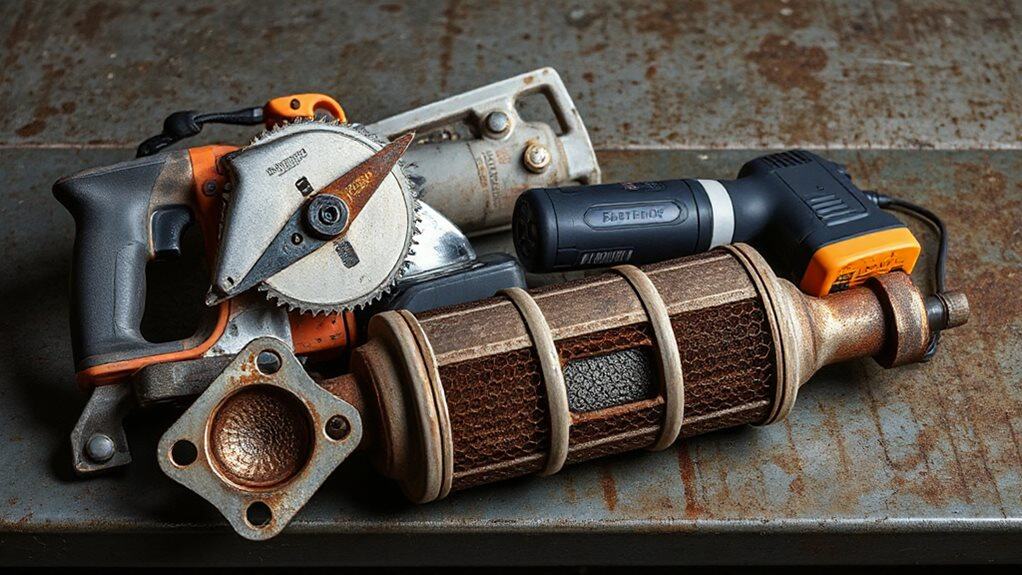
You’ll compare the power source first, noting that a corded reciprocating saw gives unlimited runtime while a battery‑powered cutter relies on limited charge cycles and may need spare packs for long jobs.
Next, examine blade type efficiency: a chainsaw‑style blade cuts wood quickly, whereas a reciprocating saw’s aggressive tooth pattern penetrates thicker metal or pipe material more effectively.
Finally, weigh the trade‑offs—corded tools stay lighter and vibrate less, but cordless options provide the mobility you often need in tight, automotive spaces.
Also consider airflow and ventilation when cutting rusted or coated exhaust components to reduce fumes and improve worker comfort, since proper airflow enhances cabin comfort and safety.
Power Source Comparison
Choosing between a reciprocating saw and a battery‑powered cutter hinges on power availability, torque, and workflow constraints. A corded saw gives unlimited runtime and higher torque for thick, rusted steel, but it needs an extension cord and creates vibration and noise.
A cordless cutter offers portability, lighter weight, and quieter operation, yet its battery limits runtime and torque.
Match the tool to your power source and job demands.
Blade Type Efficiency
When comparing blade efficiency, the key difference lies in how each tool’s blade interacts with the converter’s metal layers. Reciprocating saws use carbide‑tipped blades that cut cleanly but overheat and wear quickly on stainless steel, especially at 0.059″.
Battery‑powered hydraulic cutters employ O‑style oscillating blades, delivering 27‑ton force for 1/8‑inch slices, maintaining speed and durability across ferrous and non‑ferrous metals.
Pick the Right Blade for Exhaust Steel and Rusted Bolts
What blade you select determines how efficiently you’ll slice through exhaust steel and wrestle rusted bolts from catalytic converters. Choose U‑shaped scissor blades for tight spaces; they pull material toward the strongest point and stay lightweight.
O‑style blades give a wide opening and 27‑ton force for everyday recycling.
High‑quality hydraulic cutters eliminate oxy‑fuel hazards, while reciprocating saw blades cost more and cut slower.
Replace worn blades regularly to maintain performance.
Be mindful that working near the exhaust can set off vehicle warnings, so check the door ajar sensor and other related systems before cutting.
Safety‑First Prep: Lifting, Securing, and Clearing the Converter Area
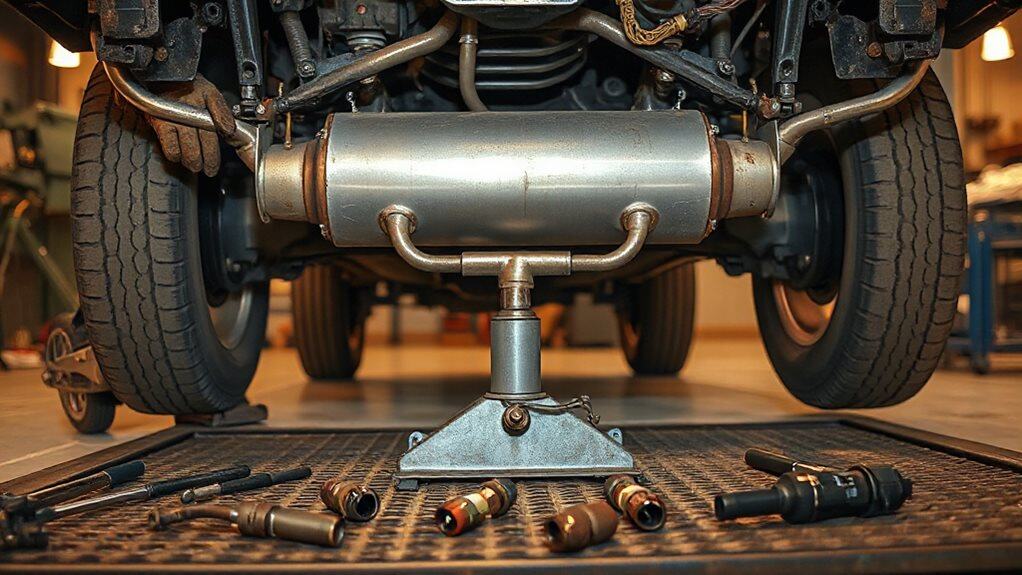
How do you guarantee a safe workspace before tackling a catalytic converter? Choose a flat, level surface, engage the parking brake, and chock the wheels. Position the hydraulic jack at the manufacturer‑recommended lift points, raise the vehicle slowly, then place jack stands under frame rails and lower onto them. Verify stability, wear thick leather gloves, safety goggles, steel‑toed boots, and a mask if dusty. Clear debris, remove shields, and ensure proper lighting and ventilation. Be aware of local rules for storing or disposing of inoperable vehicles if the converter removal renders the car unusable or part of a larger junk vehicle issue, especially regarding storage limits.
Step‑by‑Step Procedure for Cutting and Removing the Converter
A solid, organized approach makes cutting and removing the catalytic converter both efficient and safe.
First, secure the pipe with a bungee cord, locate the drop, and loop a tow‑rope around the downpipe flange.
Use an angle grinder to slice each pipe end, then a Sawzall for straight cuts.
Insert a flathead screwdriver, hammer the honeycomb, and tension the rope to snap the pipe for quick removal.
How to Reconnect O₂ Sensors and Mark the Socket After Removal
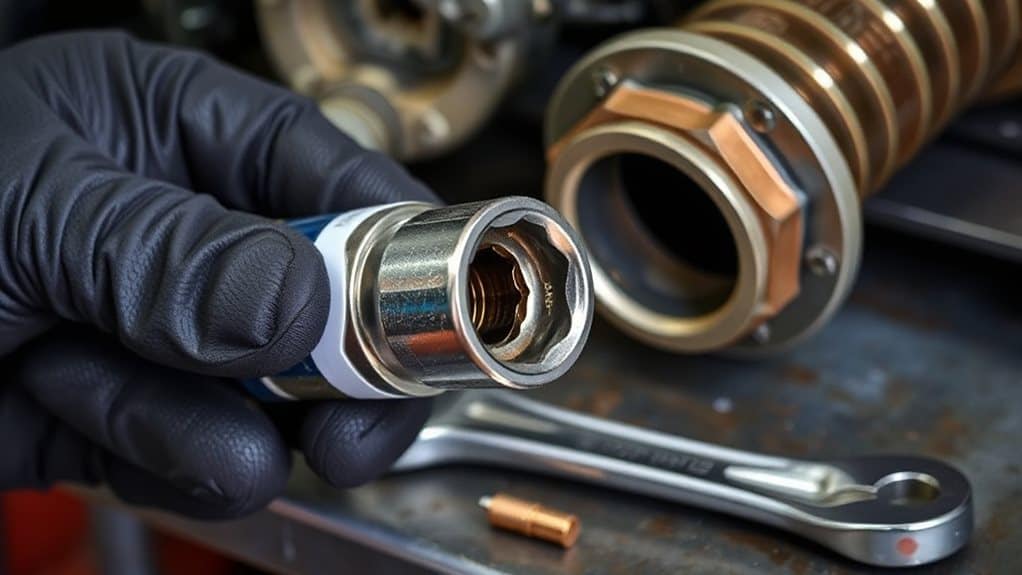
Typically, after you’ve removed the O₂ sensor, the first step is to clean its threads and prepare the socket for reinstallation. Use a thread chaser, run it in and out until metal shavings disappear, then rinse.
Reconnect the wiring harness by pressing the tab and snapping it securely. Push the sensor back, torque to 33 ft‑lb, and mark the socket with a permanent marker for future reference. Be sure to inspect for scorch marks or other signs of electrical damage that could indicate a blown fuse.
Industrial Cutters for Stubborn Exhaust Bolts (Heavy‑Duty Options)
Cutting stubborn exhaust bolts efficiently requires a tool that can deliver high force while staying safe in a recycling environment. You’ll likely choose Edilgrappa hydraulic cutters—27‑ton O‑style blades, >5‑inch opening, mounted on mobile carts with 110 V/220 V or DeWalt FlexVolt battery packs. Hose lengths reach 30 ft, letting you access tight bolt locations.
Pneumatic grinders offer spark‑less cutting, reducing labor from hours to minutes while protecting paint and avoiding electrical discharge risks.
Troubleshooting Post‑Removal Codes (P0420, P0430) and Mount Choices
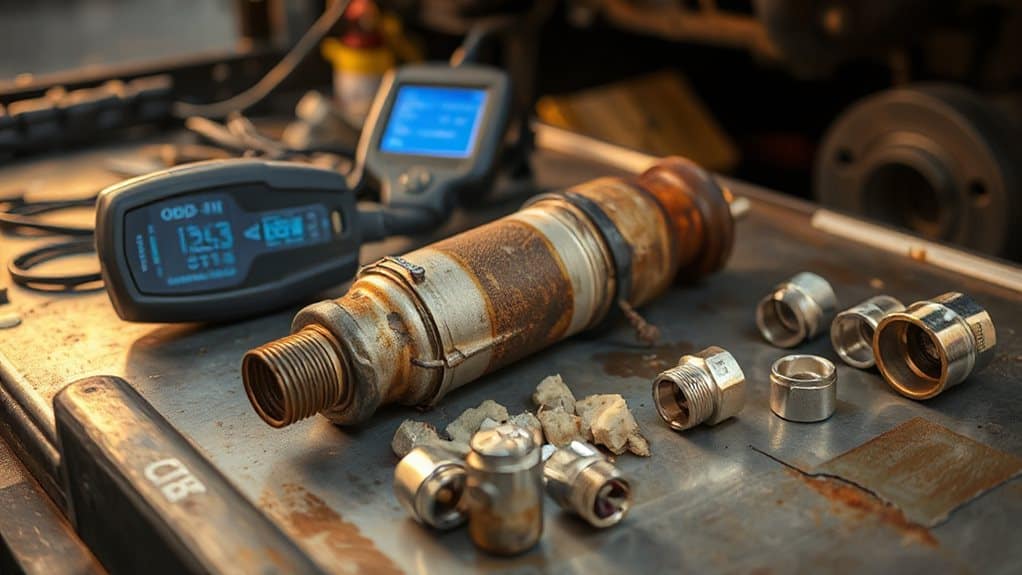
You’ll start by checking the upstream and downstream O₂ sensors, confirming they’re undamaged and correctly wired before you consider moving them to a new location. If the P0420 or P0430 code persists, you’ll need to choose a mount that preserves proper exhaust flow—whether you keep the original stays, install flange clamps, or use new gaskets—while torquing to manufacturer specifications. Finally, select a mounting method that balances performance and durability, ensuring rubber hangers and heat shields stay in place to avoid leaks and sensor errors.
Sensor Diagnosis Basics
How do you diagnose the O₂ sensors after a catalytic converter has been removed? First, locate the upstream sensor before the converter and the downstream sensor after it. Use a multimeter: upstream voltage should swing 0.1‑0.9 V, downstream stays near 0.45 V if the catalyst works. Inspect wiring, apply penetrating oil to seized sensors, and compare readings after a 30‑minute test drive to confirm code persistence.
O₂ Sensor Relocation Options
Where should you place the oxygen sensor after the catalytic converter is gone, and how does that choice affect P0420 or P0430 codes?
Mount it downstream, directly behind the former converter, to let the sensor monitor efficiency and avoid false triggers. Seal the upstream bung with a plug or welded plug. Wire the sensor correctly, use anti‑seize, and verify clean threads to prevent cross‑threading and intermittent codes.
Mount Selection for Performance
Choosing the right exhaust mount after a catalytic converter delete determines whether you’ll keep the engine’s computer happy and still reap performance gains. Straight‑pipe mounts cut backpressure, adding 5‑20 % horsepower, but trigger P0420/P0430 unless you install O₂ sensor simulators or retune the ECU. High‑flow cat mounts stay legal, improve flow by up to 10 %, and avoid codes. Test pipe mounts mimic cats, offering modest torque gains while keeping diagnostics clear. Verify upstream O₂ sensors and adjust fuel maps to maintain drivability.
Cost‑Effective Alternatives vs. Professional‑Grade Gear: When to Upgrade?
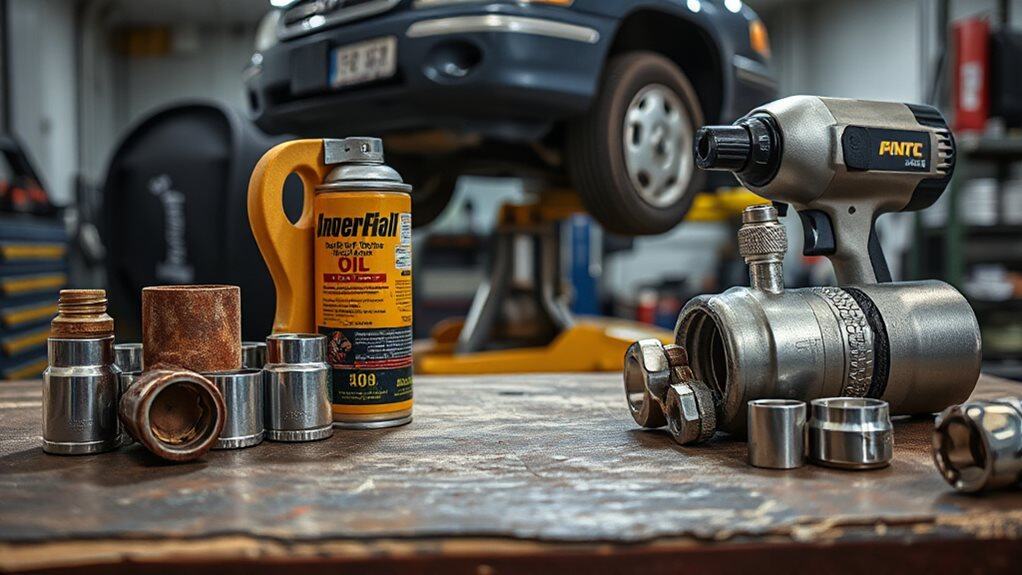
When you’re handling a handful of catalytic converters in a small shop, a reciprocating saw, a basic socket set, and some penetrating oil often suffice, but as volume climbs and safety standards tighten, the limitations of those cost‑effective tools become clear.
Upgrade once consumable expenses outpace savings, cuts slow, and safety interlocks are missing; professional cutters like Holmatro’s low‑weight CAT cutter with U‑shaped blades, dead‑man activation, and guards enhance speed, reduce blade wear, and meet stricter safety criteria.
Wrapping Up
By following the outlined steps, you’ll safely remove the catalytic converter, select the proper tools, and reconnect sensors without triggering error codes. Using the right blade and cutter reduces torque and prevents damage to exhaust steel. Securing the vehicle and clearing the work area minimizes injury risk. If stubborn bolts persist, consider an industrial cutter before resorting to professional service. Proper post‑removal troubleshooting ensures the O₂ sensor readings remain accurate and the vehicle passes emissions inspections.