You’ll see a negative‑pressure code when the intake‑manifold vacuum pulls air through the charcoal canister, creating sub‑atmospheric pressure in the fuel tank that the ECM monitors. The ECM expects about –2 to –4 in‑H₂O; values outside this range trigger P0440‑P0456 DTCs, indicating leaks, valve failures, or canister saturation. A stuck vent solenoid blocks the vacuum link, while a clogged filter or pinched hose prevents proper pressure readings. If the purge valve clicks but pressure doesn’t change, replace it; otherwise clean the lines. Continuing will reveal deeper diagnostic steps.
Quick Tips
- A negative‑pressure reading (‑2 to ‑4 in‑H₂O) in the EVAP tank indicates normal vacuum created by the intake manifold pulling vapors into the canister.
- If the pressure sensor stays excessively negative or drifts, it often signals a saturated or blocked charcoal canister, causing P0460/P0461 or P018C codes.
- Small‑leak codes (P0442) and large‑leak codes (P0455) are triggered when the EVAP system cannot maintain the expected negative pressure due to vent or purge valve faults.
- Faulty purge‑valve operation (stuck open/closed) disrupts vacuum flow, leading to rough idle, rich mixtures, and related DTCs such as P0440 or P0449.
- Regular inspection of hoses, canister filter, and vent solenoid, plus smoke testing, helps verify proper negative‑pressure operation and prevents unnecessary code generation.
What Is Negative Vapor Pressure in an EVAP System?
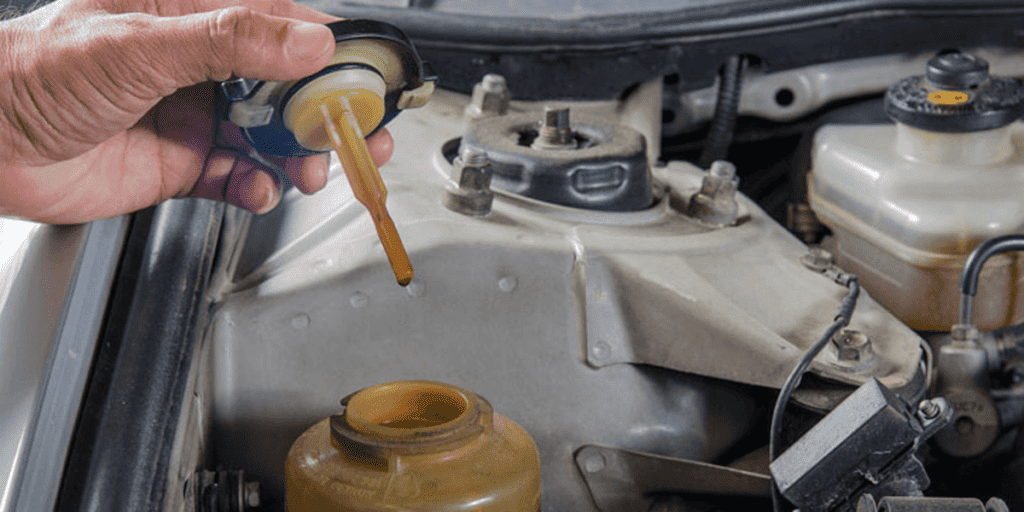
When the intake manifold creates a vacuum, it pulls air through the EVAP canister and into the engine, generating a negative pressure—often called a vacuum—inside the fuel tank. This vacuum draws fuel vapors into the canister, preventing them from escaping to the atmosphere. Sensors monitor the pressure, usually 2‑3 in‑H₂O negative, to ensure the system stays sealed and vapors flow toward combustion, not the environment. The PCM controls the purge valve timing based on engine temperature and load. TPMS technology similarly monitors pressure to help maintain proper system function and safety, so consider inspecting related pressure sensors.
How the ECM Generates and Interprets Negative‑Pressure Codes
How does the ECM turn a tiny voltage dip into a diagnostic trouble code for negative pressure? You monitor the fuel‑pressure sensor’s voltage, compare it to expected ranges, and flag values below normal.
When the signal stays low long enough, the ECM logs a DTC such as P018C, sets the appropriate FMI (e.g., 1, 4, 5), and illuminates the warning lamp, indicating a possible short, open circuit, or sensor malfunction.
Regular inspection of related components like the blower motor can help identify unrelated airflow issues that coexist with sensor faults.
What Those EVAP DTCs (P0440‑P0456) Really Mean
The ECM’s voltage‑dip detection you just examined feeds directly into the suite of EVAP‑related trouble codes, ranging from P0440 to P0456, each pinpointing a particular fault within the evaporative emissions system. P0440 signals a general EVAP failure, P0442 a minor leak, P0455 a large leak, and P0456 an extremely small leak. P0449‑P0455 indicate vent‑solenoid problems, causing pressure buildup, hissing noises, and fuel‑gauge errors. These codes guide you to specific components—canister, hose, or valve—requiring inspection or replacement.
How Physical Restrictions Cause Negative‑Pressure Errors (Air Filter, Pinched Hoses, Sensor Blockages)
So what actually happens when something blocks the flow of vapors in the EVAP system? A clogged air filter or dust‑filled canister acts like a closed vent, preventing pressure changes and triggering P0448.
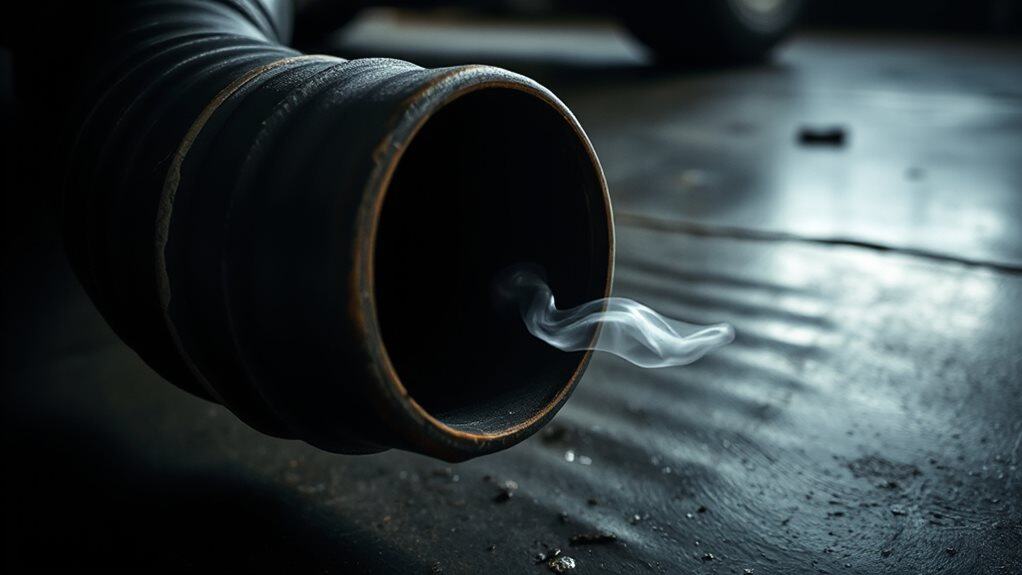
Pinched hoses collapse the vapor path, so the FTP sensor can’t register the vacuum, causing P0456 errors.
Blocked sensor ports misread pressure, logging false negative‑pressure faults.
Why a Stuck CVS Triggers Immediate Negative‑Pressure Failures
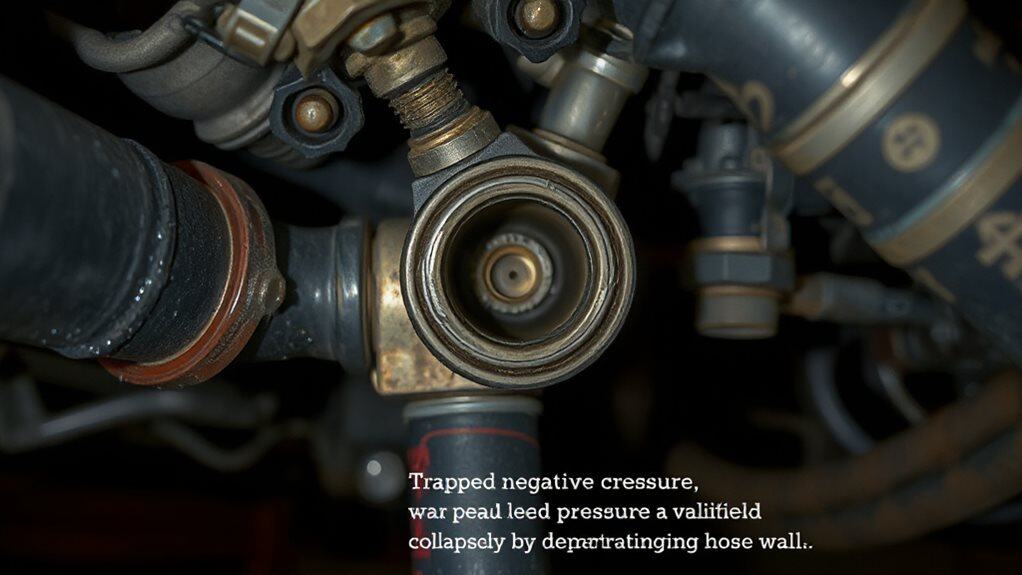
What happens when the canister vent solenoid (CVS) sticks closed? You instantly block the vacuum link between the purge control solenoid and the charcoal canister, so pressure can’t equalize. Fuel‑tank vapors accumulate, creating a sealed chamber that refuses to accept more vapor. PCM sensors read abnormal pressure, triggering negative‑pressure test failures and diagnostic codes the because the system can’t vent or draw vapor. Trickle chargers can protect vehicle batteries during long storage by supplying a low, steady charge to prevent drain and sulfation battery maintenance.
The Role of the Charcoal Canister and How Saturation Affects Readings
You’ll notice that the charcoal canister’s job is to trap fuel vapors in its micro‑porous carbon, preventing them from escaping into the atmosphere. When the carbon becomes saturated, its ability to absorb vapors drops sharply, and liquid fuel can even seep into the canister, blocking airflow.
This loss of absorption capacity disrupts the EVAP system’s pressure balance, often producing the negative‑pressure readings that trigger diagnostic codes. Components like downpipes and headers are not interchangeable, and installing the wrong exhaust part can change backpressure and affect EVAP behavior by altering engine vacuum and exhaust scavenging exhaust backpressure.
Charcoal Canister Function
How does the charcoal canister actually keep fuel vapors from escaping into the atmosphere? It captures vapors from the tank via hoses and a valve, then stores them in a porous activated‑carbon matrix. The carbon’s huge surface area absorbs gasoline molecules, preventing release. When the engine runs, the purge valve opens, drawing the stored vapors into the intake for combustion, consequently recycling emissions and meeting environmental standards.
Saturation Reduces Vapor Absorption
The charcoal canister, which you already know captures fuel vapors, has a finite capacity that depends on the saturation vapor pressure of the gasoline‑air mixture inside it. As temperature rises, saturation vapor pressure climbs exponentially, limiting how much additional vapor the charcoal can absorb.
When the canister nears saturation, condensation outpaces evaporation, reducing net absorption and causing sensor readings to flatten or drift.
Impact on Negative Pressure Readings
So, when the charcoal canister becomes saturated, the negative pressure (vacuum) readings the PCM relies on start to drift. Saturation blocks airflow, so the fuel‑tank pressure sensor can’t see true vacuum. Dust and debris further restrict the vent, preventing equalization. The PCM then reads lower vacuum, flags a leak, and may set P0460/P0461 trouble codes.
Faulty Purge Valve: Symptoms & Test Steps
Why does a faulty purge valve cause such a range of drivability problems? It lets excess vapor flood the intake, richening the mixture and causing rough idle, hesitation, and stalling. You may notice a check‑engine light with codes P0441‑P0456, a fuel odor, or a clicking sound. Test by confirming 12 V power, ground, and vacuum operation with a scan tool, then listen for proper valve actuation.
Malfunctioning Vent Valve: Symptoms & Diagnostic Procedure
Ever noticed the check‑engine light flash while you’re refueling, or smelled gasoline near the fuel tank after a short drive? A stuck‑open vent valve lets vapors escape, while a stuck‑closed valve builds pressure, causing hissing when you remove the gas cap and pump clicks during fill‑up.
Inspect the valve, hose, and filter for debris or damage; verify wiring and connectors; retrieve DTCs P0449‑P0455; run a smoke test to confirm leaks; monitor pressure release while refueling to confirm proper operation.
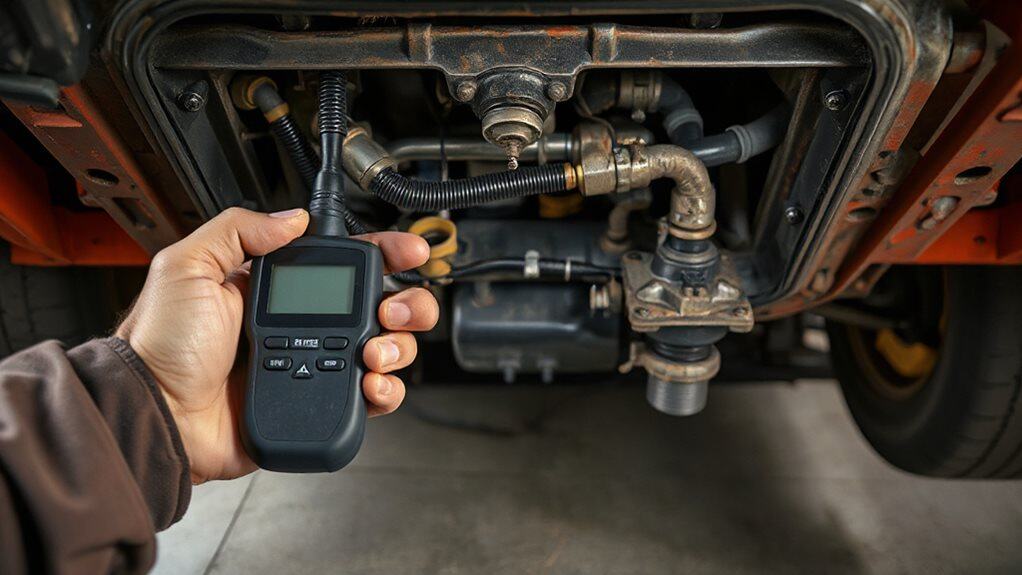
Step‑by‑Step KOER Test for Verifying Pressure Changes
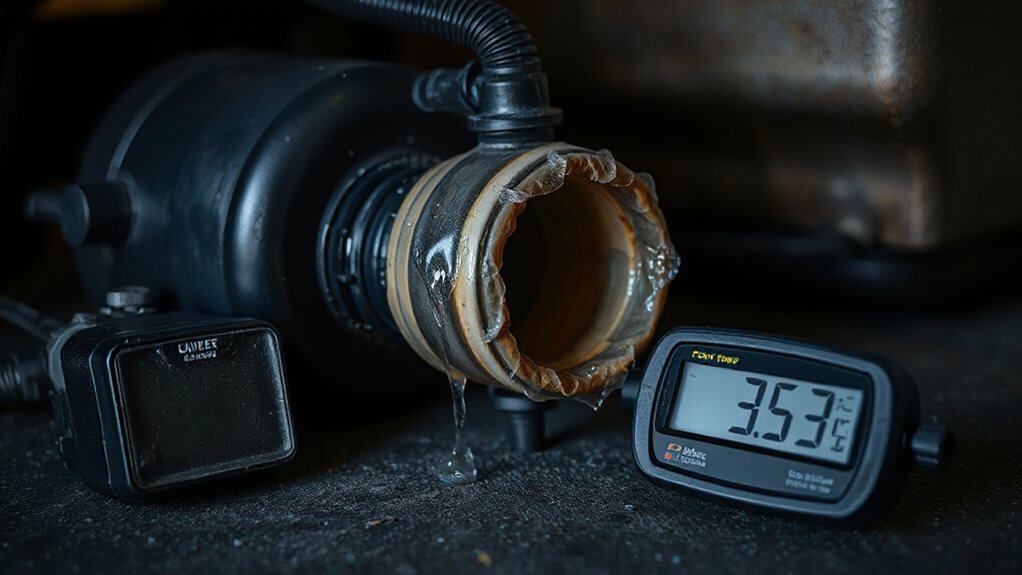
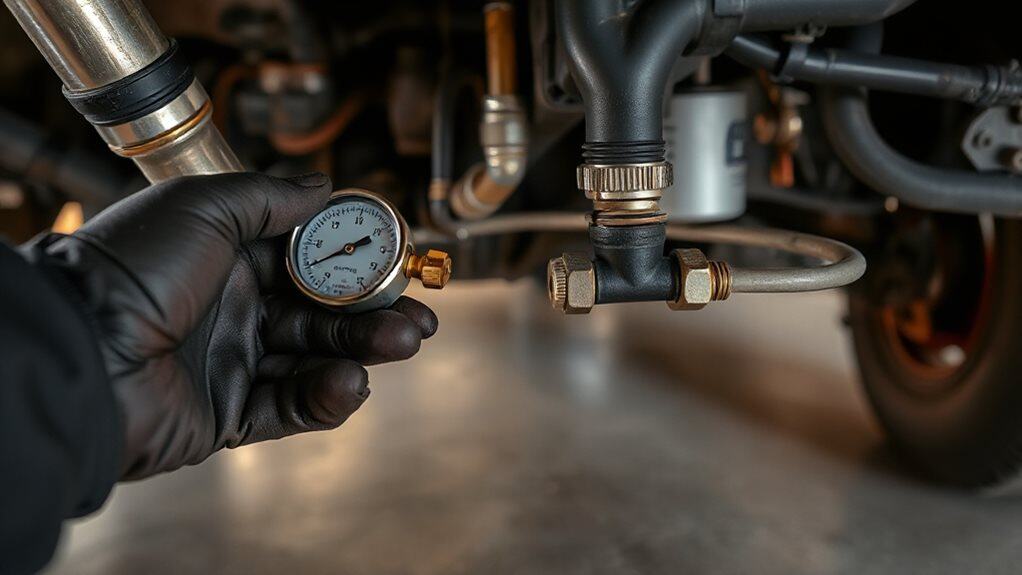
How do you verify that the EVAP system’s pressure changes behave as expected during a KOER (Key On Engine Running) test? Connect a scan tool, confirm FTPS voltage around 2.5 V, and ensure no DTCs block the test. Activate the purge valve, watch fuel‑trim and O₂ sensor responses, then seal the system, monitor FTPS decay, and confirm pressure stays within -8 in‑H₂O limits for a successful pass. Persistent negative pressure beyond startup can indicate a leak or stuck valve causing evap system failure.
When to Repair vs. Replace Specific EVAP Parts (Purge Valve, Vent Valve, Canister)

You should first assess the purge valve’s function by checking for debris, electrical continuity, and proper opening and closing cycles.
Next, evaluate the vent valve’s condition, looking for blockages, stuck positions, and any wiring issues that could cause pressure buildup.
Finally, determine the canister’s health by inspecting the charcoal media for saturation, testing vapor absorption, and confirming that it still traps fuel vapors effectively.
Also perform regular inspections of related components and tire-pressure–like systems to monitor for slow losses such as natural air permeation that may indicate gradual degradation.
Assess Purge Valve Function
What you need to know first is how to determine whether a purge valve should be repaired or replaced. Inspect connectors and hoses for looseness or cracks, then measure solenoid resistance with a multimeter. Apply battery voltage; listen for a click. If the valve won’t click or vacuum leaks, replace it. Clean it if debris blocks movement but the click remains. Use live data to confirm abnormal fuel trim or sensor readings.
Evaluate Vent Valve Condition
When the EVAP vent valve shows a steady engine‑light code or a noticeable fuel odor, you need to assess whether it can be repaired or must be replaced. Scan for P0449, inspect wiring, and perform a smoke test; stuck open or closed, debris, or physical damage usually means replacement. Minor contamination or wiring faults may be cleaned or repaired, but age‑related seal wear often warrants a new valve.
Determine Canister Health
After checking the vent valve’s wiring and code, the next step is to assess the canister itself. Look for fuel odor, rough idle, or failed emissions; these indicate a saturated or deteriorated canister. Inspect for rust, broken charcoal, or hissing vacuum leaks. If you find multiple signs—odor, refueling difficulty, or emissions failure—replace the canister; otherwise clean lines or repair minor leaks.
Preventive Maintenance for Reliable EVAP Negative‑Pressure Performance
If you keep the charcoal canister and its integral filter clean, you’ll prevent the airflow restrictions that cause the EVAP system’s negative‑pressure readings to climb past the normal –2.0 to –4.0 in‑H₂O range and trigger P1450 or P0441 trouble codes.
Inspect the canister filter each service, clean vent valves, test solenoid closure, verify purge‑valve movement, and calibrate the tank pressure sensor annually to maintain reliable negative‑pressure performance.
Wrapping Up
By understanding how the EVAP system creates and reports negative vapor pressure, you can pinpoint faulty components quickly. Inspect hoses, filters, and sensors for restrictions; test the vent and purge valves with a KOER procedure; and replace only the parts that truly fail. Regular maintenance—checking for clogs, verifying valve operation, and clearing error codes—keeps emissions low and prevents costly repairs. Follow these steps methodically, and the system will stay within spec.