
You start by locating the fuel‑pump fuse in the service manual and pulling it to relieve system pressure, then disconnect the fuel lines and catch any residual fuel. A pressurized cleaning kit is attached to the fuel rail’s threaded fitting, the canister is filled with a detergent‑based solution (usually a 1:10–1:15 mix with gasoline), and the gauge is set 2–3 psi below the manufacturer’s fuel pressure, typically 30–65 psi for MPFI systems. The engine runs for 10–15 minutes while you monitor for error codes, after which the kit is removed, original lines and fuse are restored, and codes are cleared to verify smoother idling. Continuing will show you the differences between on‑vehicle flushing and full ultrasonic cleaning.
Quick Tips
- Dealerships locate the fuel‑rail connection, attach a pressurized cleaning kit, and run the engine for 10–15 minutes at 40–50 PSI.
- They set the cleaning pressure 2–3 psi below the vehicle’s normal fuel pressure (30–65 PSI for MPFI, 13–17 PSI for TBI).
- The cleaning solution is mixed 1:10–1:15 with gasoline, using a PEA‑based detergent compatible with the fuel type.
- After flushing, they restore original fuel lines, reinstall the pump fuse, clear error codes, and verify smoother idling.
- For severe fouling, they may remove injectors, ultrasonic‑clean them, inspect O‑rings, and reinstall, which takes 2–5 hours.
What Does a Dealership Fuel‑Injector Flush Involve?
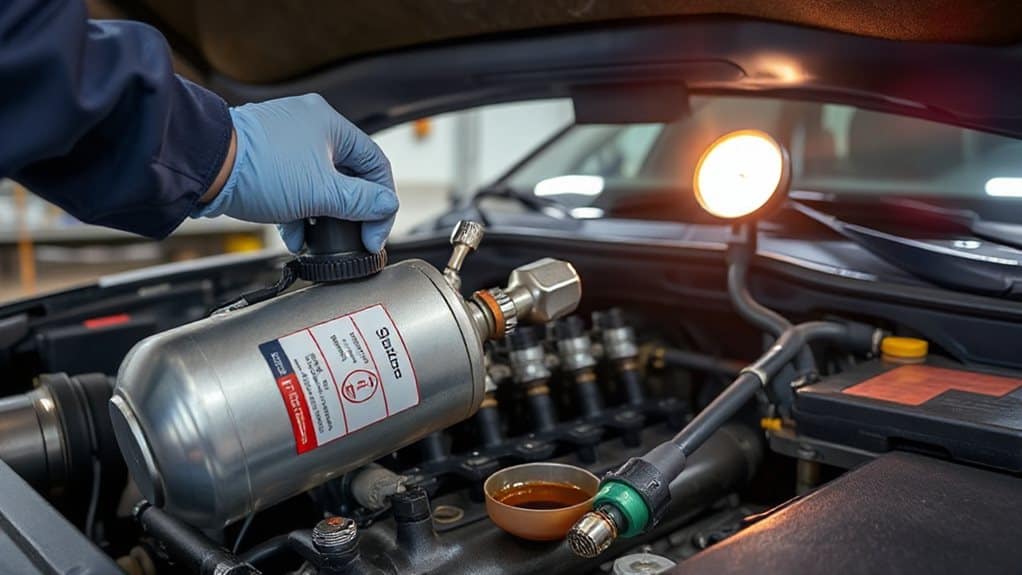
How exactly does a dealership perform a fuel‑injector flush? You locate the injection components in the manual, then remove the fuel‑pump fuse to relieve pressure. Disconnect the fuel lines, catch residual fuel, and attach the cleaning kit to the rail. Fill the canister with the recommended solution, set the gauge to 40‑50 PSI, and run the engine for ten to fifteen minutes while monitoring for error codes. Regular maintenance, including track lubrication, can help prevent related mechanical issues from worsening. Finally, disconnect the kit, reconnect the original lines, reinstall the fuse, clear any codes, and verify smoother idling. The process may be halted if geographic restriction blocks access to the service portal.
How Is an On‑Vehicle Cleaning Kit Connected to the Fuel Rail?
First, you’ll need to locate the connection point on the fuel rail, which is usually a threaded fitting or a rubber‑hose tap that the vehicle’s service manual identifies.
Then match the kit’s adapter to that fitting, secure the hose from the canister, and verify the seal.
Close the shut‑off valve, attach the compressed‑air line, and check for leaks before pressurizing.
Be careful to avoid introducing debris into the fuel system by cleaning the fitting area beforehand and using a threaded fitting adapter that matches the rail.
What Are the Typical Pressure and Cleaner‑to‑Gasoline Ratios?
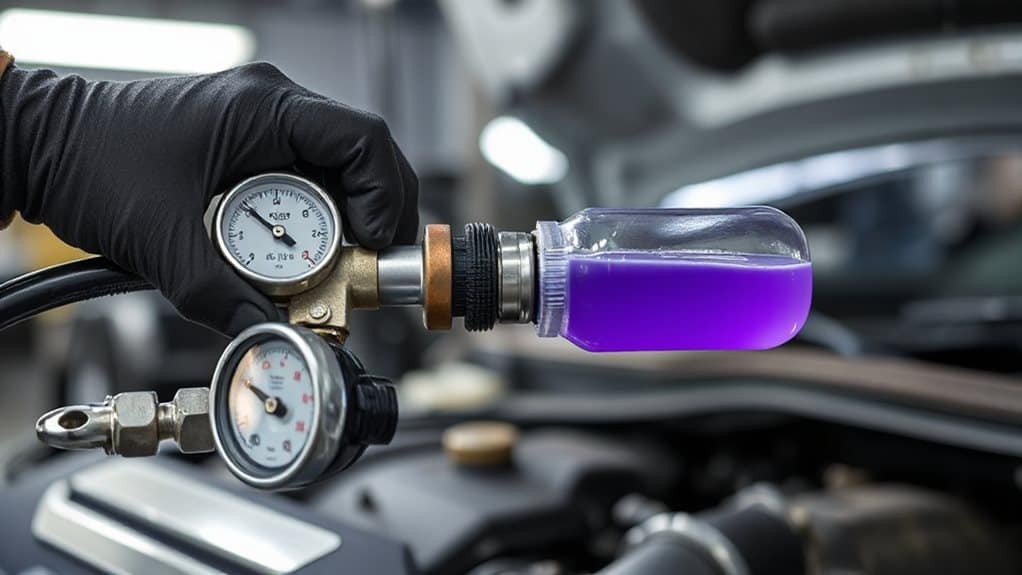
After you’ve secured the hose and verified the seal on the fuel rail, the next step is to set the correct cleaning pressure and mix the appropriate cleaner‑to‑gasoline ratio.
Aim for 2‑3 psi below the manufacturer’s fuel pressure; most MPFI systems run around 30‑65 psi, while TBI low‑pressure units sit near 13‑17 psi.
Mix cleaner at roughly 1:10 to 1:15 with gasoline, adjusting slightly per vehicle.
Be aware that worn suspension or tire issues can cause a car to rock while driving, which is unrelated to fuel system cleaning but important for overall vehicle stability and safety — check suspension and tire problems if you notice instability.
How Long Does an On‑Vehicle Flush Take Compared to Machine Cleaning?
You’ll find that an on‑vehicle flush usually finishes in 20‑45 minutes, because the engine stays running and the additive cleans the external injector surfaces without removal.
In contrast, a machine‑based cleaning requires you to disassemble the injectors, run them through an ultrasonic bath, and then reinstall and test them, which typically takes 2‑5 hours.
The on‑vehicle method is thus four to six times faster, though it only addresses surface fouling, while the machine cycle offers deeper internal cleaning at the cost of substantially longer shop time.
Regular maintenance also helps prevent performance loss and can improve efficiency by preserving proper airflow in related HVAC and engine systems.
On‑Vehicle Flush Duration
How long does an on‑vehicle flush actually take compared with a machine‑cleaning process? You’ll spend roughly 30‑45 minutes on the vehicle, including connector setup, solvent circulation, and rinse. Larger or older engines can push the cycle toward 60 minutes, while a skilled tech may finish in 20‑40 minutes.
In contrast, off‑vehicle ultrasonic cleaning requires disassembly and typically consumes 2‑4 hours of labor.
Machine Cleaning Cycle Time
A machine‑cleaning cycle typically takes several hours, far longer than the 30‑45 minutes you’ll spend on an on‑vehicle flush.
You’ll first remove each injector, inspect it, then submerge it in an ultrasonic bath where high‑frequency sound waves and chemicals agitate deposits.
The POWERFLUSH unit drives the injector, followed by rinsing, drying, and flow‑testing with calibration fluid before reinstallation.
This thorough process guarantees specifications are met, but it extends labor time considerably.
Comparative Efficiency and Results
Typically, an on‑vehicle flush wraps up in about 20‑45 minutes, while a full machine‑cleaning cycle can stretch from one to two hours per injector set. You’ll notice the flush finishes quicker because it stays attached to the fuel rail and runs at idle, avoiding injector removal.
Machine cleaning, though slower and more labor‑intensive, reaches deeper carbon deposits and verifies flow, delivering superior results for severe clogs.
When Do Dealerships Remove Injectors for Ultrasonic Fuel‑Injector Cleaning?
You’ll usually see a dealership pull the injectors when the car’s mileage tops 60,000 miles or when you notice persistent rough idling, loss of power, or other performance‑related symptoms that simple on‑engine cleaners can’t fix. If the vehicle uses a direct‑injection system, they’ll also remove the injectors to guarantee the ultrasonic bath can fully dislodge carbon and varnish deposits that accumulate in the tiny passages. Finally, scheduled maintenance intervals—often every six years for high‑mileage drivers—prompt removal so the shop can inspect O‑rings, test flow, and verify the injectors are back to 100 % functionality. Driving with clogged injectors can lead to decreased fuel efficiency and unpredictable stalling, so addressing them promptly protects performance and safety; see decreased fuel efficiency for more details.
Mileage IndicatorsMileage High‑MileageSymptomsSymptoms‑‑ Performance‑Related Issues
When does a dealership decide to pull out the injectors for ultrasonic cleaning?
If your odometer reads 60,000 miles or more, or the check‑engine light flashes, you’re likely in the high‑mileage zone where carbon deposits shrink combustion capacity.
Black smoke, idle roughness, or misfires signal clogged tiny filters.
Ultrasonic removal targets internal passages when tank additives fail, restoring fuel economy and power.
Scheduled Maintenance Intervals‑
How often a dealership pulls the injectors for ultrasonic cleaning hinges on mileage, time, and vehicle age. For post‑2004 models, they usually schedule removal at 45,000 miles or every three years, whichever comes first; older cars may see it at 30,000 miles or annually. Technicians also check injector condition during overdue service, test fuel pressure, and only proceed when additives have failed to keep deposits at bay.
How Are Flow‑Rate and Spray‑Pattern Tests Performed on the Bench?
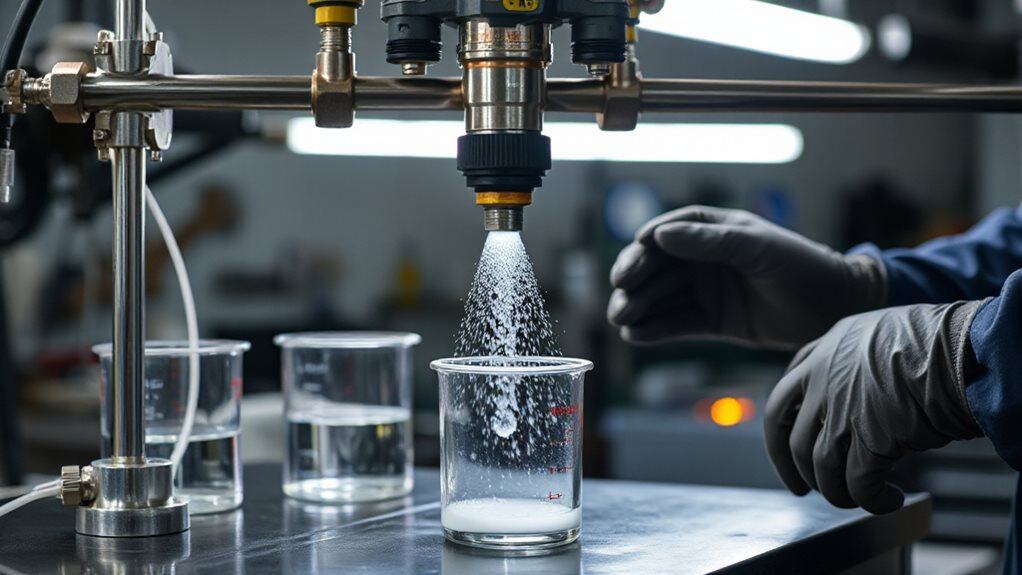
What you’ll see on the bench is a tightly controlled setup where each injector is clamped in a test tube that lines up with the fuel supply, ensuring the fuel travels the same path it would in a vehicle. You set pressure to 43.5 psi, run a 15‑second static flow, record cc/min, then pulse at 3‑12 ms widths while simulating RPMs. Finally, you inspect the spray fan for uniform atomization. Modern shops often use OBD2 scanners to cross-reference injector performance with engine fault codes.
How Much Do a Flush, Machine Clean, and Replacement Really Cost?
A typical dealer flush runs between $174 and $350, depending on the brand and vehicle line, because the service includes a pressurized canister of solvent that’s hooked directly onto the fuel rail and a technician’s labor time.
Machine cleaning costs a similar range, while replacement—rare and only after diagnosis—often exceeds $500.
DIY additives can achieve comparable results for under $20, so you should weigh symptoms like rough idle or check‑engine light before paying dealer premiums.
Should You Add Detergent Additives Before a Flush? Technicians Explain
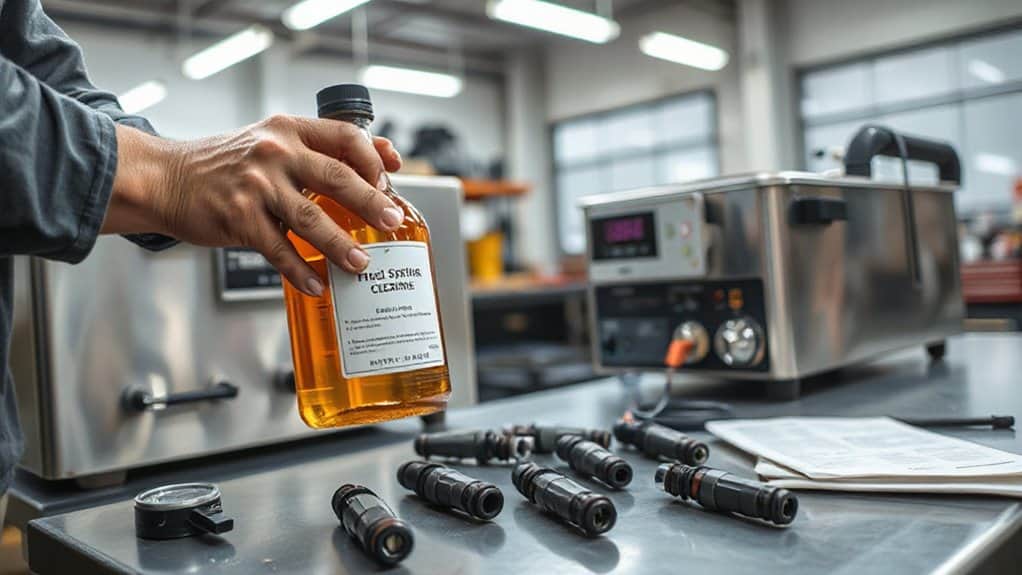
You’ll want to add the detergent additive when the tank is nearly empty so the fuel mixes evenly and the solvent can break down carbon bonds before the flush.
Make sure the product matches your fuel type—polyetheramine works for gasoline and diesel, but heat‑stable formulas are needed for high‑temperature engines.
This timing and compatibility enhance cleaning efficiency by softening sludge, preventing filter clogging, and allowing the flush to remove both internal and external deposits more completely.
Additive Timing Benefits
When you add a detergent additive before a fuel‑injector flush, the chemical softens existing carbon deposits, making the subsequent mechanical cleaning more efficient. Timing it with regular service intervals—every 3,000–5,000 miles for preventive care or aligned with oil changes—ensures deposits stay loose. This pre‑softening improves spray patterns, enhances fuel‑economy gains by 2–5 %, and cuts replacement risk dramatically.
Compatibility With Fuel Types
Which fuel type you drive determines whether a detergent additive should be mixed in before a flush, and the answer hinges on the chemistry of the additive and the engine’s injection system. If you run gasoline—including ethanol blends—use a polyether‑amine (PEA) formula that meets Top Tier standards and is safe for GDI, PFI, and carbureted systems.
For diesel, select a product containing PEA and PIBA, which tolerates up to 1200 °F and includes cetane boosters. Follow the label’s dosage and add the additive to an empty or near‑empty tank to ensure proper concentration.
Impact On Cleaning Efficiency
Although a pre‑flush detergent additive isn’t strictly required, it can markedly enhance the efficiency of the subsequent mechanical cleaning. You’ll notice that polyetheramine (PEA) dissolves carbon deposits, softening hardened buildup before the flush. This improves spray pattern, increases cetane, and reduces DPF regeneration cycles, leading to smoother acceleration and higher mileage gains after professional service.
What Signs Indicate Your Vehicle Needs a Dealer‑Provided Cleaning Service?
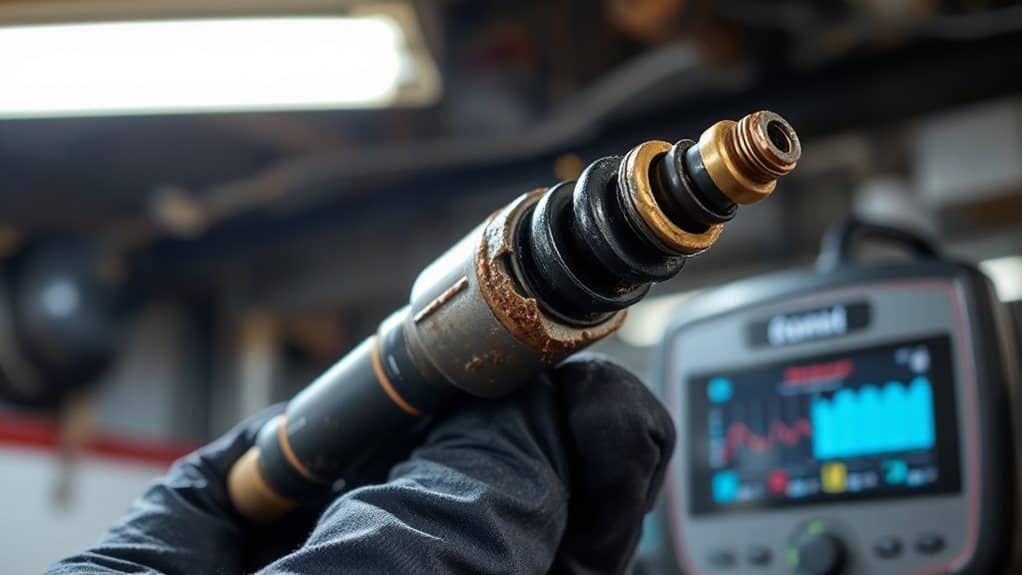
Ever wondered why your car feels off at a stoplight? Rough idle, shaking steering, or stalling can signal uneven fuel delivery. Hesitation when you press the gas, sluggish acceleration, or a loss of power points to clogged injectors. Notice higher fuel consumption, frequent trips to the pump, or a check‑engine light flashing? Those signs suggest you need a dealer‑provided cleaning service.
Are Dealer Injector‑Cleaning ‘Scams’ Real? Myths vs. Facts and DIY Comparison
When the symptoms you noticed—rough idle, stalling, or a sudden loss of power—point to clogged fuel injectors, the next question often becomes whether a dealer’s cleaning service is worth the price tag or merely a scam.
Dealers use pressurized alcohol blends (45 PSI) that reach internal passages, outperforming simple tank additives.
DIY kits cost under $50 but need skill, safety gear, and lack warranty.
Both methods use pressurized solutions; dealers provide certified records, while DIY offers lower cost and flexibility.
Wrapping Up
By now you’ve seen that dealership injector cleaning can be an on‑vehicle flush, a machine‑based ultrasonic service, or a full replacement, each with distinct procedures, pressure settings, and costs. On‑vehicle kits connect directly to the fuel rail, use a 1:10‑1:20 cleaner‑to‑gasoline ratio, and usually finish in 30‑45 minutes, while ultrasonic cleaning removes the injectors for a deeper, longer process. Regular maintenance, such as adding approved detergents, can prevent buildup, but replace signs—rough idle, misfires, or reduced fuel economy—should prompt a professional inspection. Understanding these options helps you choose the most effective, cost‑efficient solution for your vehicle.