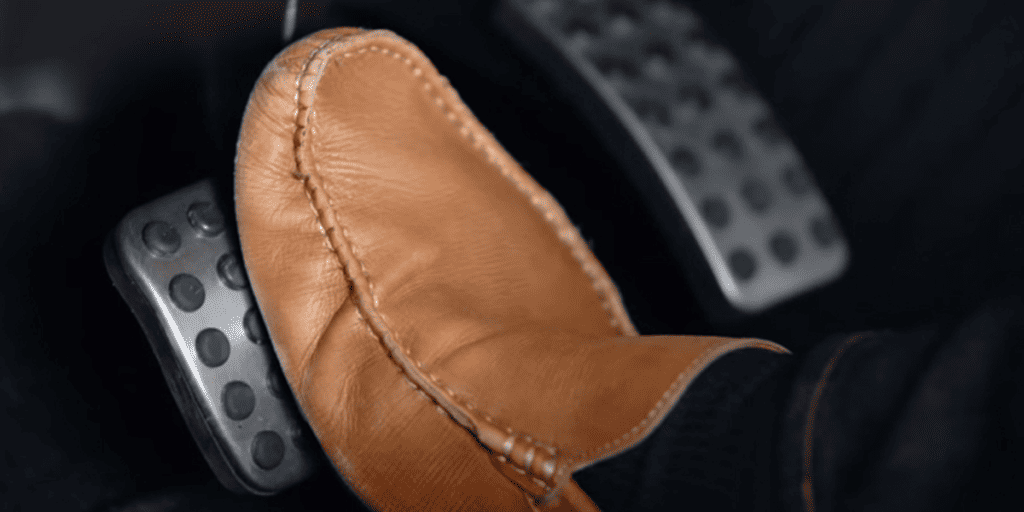
To properly break in ceramic brake pads, you’ll need to perform controlled bedding cycles that transfer friction material onto your rotors. Start with a gentle warm-up phase by driving under 30 mph with light brake applications, then complete five to six moderate-speed cycles from 30–40 mph down to 5 mph without fully stopping. Follow with three to six high-speed cycles from 55–60 mph, maintaining firm pressure while decelerating. After completing these cycles, drive continuously for 5–15 minutes without braking to allow proper cooling, and avoid parking until components cool below 40°C. Understanding the complete process guarantees peak performance and longevity.
Quick Tips
- Start with gentle driving under 30 mph using light brake pressure to warm components and remove protective coatings without thermal shock.
- Perform five to six moderate cycles: accelerate to 30–40 mph, then firmly brake to 5 mph without stopping completely.
- Complete three to six high-speed cycles: accelerate to 55–60 mph, apply firm pressure, decelerate to 5–10 mph with coasting between cycles.
- Cool brakes by driving 5–15 minutes at 40–50 mph without braking; avoid parking until components drop below 40°C.
- Use gentle braking for the first 500 miles post-bedding to allow proper friction layer formation and prevent glazing.
Understanding the Brake Bedding Process

When you install new ceramic brake pads, they won’t deliver their full stopping power immediately—they need a proper bedding process first.
This procedure applies controlled heat and pressure through specific braking cycles, transferring a thin layer of pad material onto your rotors.
The transferred material creates an ideal friction interface, allowing your pads to bond with the rotor surface rather than simply grinding against it. Without proper bedding, you risk uneven pad wear that leads to vibrations, noise, and inconsistent braking performance. These issues can be reduced by ensuring components like abutment clips and caliper hardware are inspected and installed correctly during the brake job.
The Importance of Properly Breaking In Ceramic Brake Pads
Although ceramic brake pads offer superior performance and longevity compared to their semi-metallic counterparts, they won’t deliver these benefits unless you complete the bedding process correctly. Regular inspection and following manufacturer guidance help ensure consistent wear and correct installation.
Skipping this vital step causes uneven pad material transfer onto your rotors, resulting in brake judder, reduced stopping power, and premature component wear.
Proper bedding establishes an even friction layer across the entire rotor surface, maximizing braking efficiency and extending system lifespan. This transfer layer of pad material forms on the disc surface to improve bite and overall braking performance.
Benefits of Complete Brake Bedding for Ceramic Pads

Properly bedding ceramic brake pads converts your braking system from a collection of new components into an integrated, high-performance unit. You’ll experience superior stopping power as the transfer layer maximizes friction between pads and rotors.
Complete bedding eliminates brake judder, vibration, and noise while preventing premature wear. This process extends component lifespan, reduces maintenance costs, and guarantees predictable braking response across all operating conditions throughout your brake system’s lifecycle. Proper bedding also helps prevent brake fade by ensuring the pads and rotors heat and cool evenly during the initial break-in period.
Preparing Your Vehicle and Brakes Before Bedding
Before you begin the bedding process, you’ll need to confirm that your entire brake system is correctly installed and ready for operation.
Start by visually inspecting the brake pads, rotors, and calipers to make certain they’re properly seated, with all bolts and fasteners tightened to manufacturer specifications.
Once you’ve verified the installation, drive your vehicle gently at moderate speeds for several minutes to warm up the brake components and bring them to operating temperature, which distributes the brake fluid evenly throughout the system.
Also, make sure to clean visible brake dust and surface contaminants from the rotors and pads using an appropriate cleaner to avoid embedding debris during bedding brake dust.
Verify Complete System Installation
Successfully bedding ceramic brake pads depends entirely on verifying that every component in your brake system has been correctly installed and secured.
You’ll need to confirm all bolts and fasteners are tight, rotors are properly mounted to the wheel hub, and brake pads are seated correctly on the caliper bracket.
Visual inspection should reveal no gaps between pads and rotors, ensuring peak contact and performance.
Initial Warm-Up Drive
Starting your initial warm-up drive requires moving to a safe, open area where you can perform repetitive braking cycles without traffic interference or safety concerns.
Begin driving slowly under 30 mph, applying gentle brake pressure to remove protective coatings from new rotors.
This gradual approach prevents overheating and thermal shock while conditioning brake surfaces.
Continue light braking for several minutes, bringing components up to operating temperature without aggressive stops.
Safety Considerations and Choosing the Right Location

You’ll need to find a safe, legal location that allows multiple controlled braking cycles without interference from other vehicles or pedestrians.
Look for open roads with minimal traffic where you can reach moderate speeds safely, such as empty parking lots, industrial areas during off-hours, or quiet rural roads with good visibility.
The chosen area must provide enough distance for gradual speed reduction during your braking applications, and it should include adequate space for emergency stopping in case something goes wrong during the procedure.
Select Safe Open Roads
Before attempting to bed in your new ceramic brake pads, the location you choose for this procedure directly impacts both your safety and the quality of the bedding process.
You’ll need flat, straight roads allowing at least 20 moderate decelerations from 60 mph to 20 mph.
Select routes with minimal traffic controls, wide shoulders, and low traffic volume during daylight hours in dry weather conditions.
Avoid Heavy Traffic Areas
When you’re breaking in ceramic brake pads, heavy traffic areas present significant safety hazards that can compromise both the bedding process and your well-being on the road.
Stop-and-go conditions prevent consistent braking cycles and cause uneven heat distribution on rotors.
Dense traffic also increases collision risks during repeated braking maneuvers.
Instead, choose industrial parks during off-peak hours or dedicated testing tracks where you’ll maintain steady speeds without sudden interruptions.
Emergency Stopping Space Required
Emergency stopping space becomes critically important during the break-in period, as your ceramic brake pads haven’t yet achieved their full friction potential.
You’ll need approximately 20–30% more distance to stop compared to fully bedded pads.
Choose flat, straight roads with clear sightlines and minimal traffic for your bedding procedure.
Maintain extra following distance, and select open areas like empty parking lots where unexpected stops won’t endanger others.
Initial Warm-Up Phase for New Brake Components

As you prepare to break in your new ceramic brake pads, understanding the initial warm-up phase becomes critical to achieving peak braking performance throughout the life of your components.
Begin by driving gently for several minutes, applying light to moderate brake pressure. This gradual approach brings the system to operating temperature, evaporates protective solvents from the pad material, and initiates uniform friction layer formation on the rotor surface without causing glazing or hotspots.
Moderate Speed Braking Cycles
After completing the initial warm-up phase, you’ll shift into moderate speed braking cycles, which form the foundation of proper ceramic brake pad bedding.
Accelerate to 30-40 mph, then apply firm, progressive pedal pressure to slow down to approximately 5 mph without stopping completely.
Repeat this process five to six times, allowing brief cooling intervals between cycles to establish an even friction layer across your rotor surfaces.
High-Speed Firm Braking Applications

Once you’ve established the initial friction layer through moderate braking, you’ll need to advance to high-speed firm braking applications that generate the substantial heat required for proper ceramic pad bedding.
Accelerate to 55-60 mph, then apply firm pressure to decelerate to 5-10 mph without stopping completely. Repeat this cycle three to six times, allowing coasting periods between each stop to manage heat buildup and prevent rotor warping.
Proper Cooling Techniques After Bedding
After you’ve completed the final high-speed braking application, the cooling phase becomes critical to lock in the pad material transfer you’ve just created on your rotors.
You’ll need to drive continuously at moderate speed for 5–15 minutes without touching the brake pedal, and parking immediately can trap heat that causes warping or uneven material deposits.
Once your brakes have cooled completely, you should inspect the rotors and pads for signs of proper bedding, including an even, matte gray film on the rotor surface rather than shiny spots or discoloration.
Cooling Drive Duration Guidelines
When the bedding process is complete, your brake pads and rotors have reached extremely high temperatures that require controlled dissipation to preserve the friction surface integrity you’ve just established.
Drive at a steady 40-50 mph for 5-10 minutes without applying brakes. This cooling drive allows airflow to gradually reduce component temperatures, preventing thermal shock and warping while solidifying the transfer layer onto your rotors.
Avoiding Immediate Parking Risks
Your brakes have now undergone controlled cooling during that steady-speed drive, but the job isn’t finished yet.
Don’t park immediately or apply the parking brake while rotors remain hot. Doing so transfers pad material unevenly, causing hot spots, glazing, and potential warping.
Wait until components drop below 40°C—cool enough to touch comfortably—before parking. This prevents pulsation issues and maintains proper pad-rotor bonding.
Post-Cooling Inspection Requirements
Once your brake components have cooled to ambient temperature, you’ll need to conduct a thorough inspection to verify the bedding process was successful and hasn’t caused any damage.
Examine pads and rotors for cracks, glazing, or discoloration indicating excessive heat.
Check hardware like shims and clips for deformation.
Measure rotor temperatures across all wheels; differences exceeding 50°F front-to-rear or 10°F side-to-side suggest imbalanced braking requiring correction.
Post-Bedding Driving Recommendations
The critical cooling phase immediately following your final bedding cycle requires careful attention to driving habits and brake usage.
Maintain speeds between 40-50 mph without using your brakes for 5-10 minutes, allowing natural cooling to occur. This prevents thermal shock and enables proper resin curing on rotor surfaces.
Once cooled to standard operating temperature, resume normal driving while employing gentle braking techniques for the first 500 miles.
Common Mistakes to Avoid During Break-In

While ceramic brake pads offer superior performance and longevity, improper bedding procedures can permanently compromise their effectiveness and require costly replacements.
Avoiding complete stops during heat-up phases prevents uneven pad deposits that cause vibrations.
Don’t brake aggressively, as excessive heat glazes surfaces and reduces friction.
Always complete the cool-down phase to prevent warped rotors and make certain proper material transfer sets correctly.
Maintaining Your Ceramic Brakes After Bedding
Proper maintenance after the bedding process guarantees your ceramic brake pads deliver peak performance throughout their service life.
Schedule visual inspections every 10,000–15,000 miles to monitor pad thickness and rotor condition.
Clean brake components twice yearly using brake cleaner spray, removing dust that reduces friction surfaces.
Practice smooth, gradual braking to minimize heat buildup and pad glazing.
Flush brake fluid every 2–3 years to maintain system responsiveness and prevent moisture contamination.
Wrapping Up
Breaking in your ceramic brake pads correctly guarantees peak performance, safety, and longevity. You’ve now learned the proper bedding process, which transfers a thin friction layer onto your rotors. Remember to follow the cooling intervals, avoid complete stops during break-in, and drive cautiously for the first few hundred miles. If you skip these steps, you’ll risk reduced braking power and uneven pad wear. Properly bedded ceramic pads will deliver consistent, quiet stopping performance for thousands of miles.