
Your Jeep radio cuts out when the AM/FM chip near the antenna overheats, the speaker impedance trips the protection circuit, U‑Connect firmware glitches, loose wiring, or cold weather destabilizes electronics. First, pull and reseat the 10 A radio/TBM fuse, checking the filament and cleaning the slot, then reconnect the battery. If the radio still won’t respond, perform a soft reset by holding the power and tuning knob for 10–20 seconds, which keeps presets and Bluetooth intact. Should the problem persist, safely disassemble the dash, re‑flow the chip with a heat gun, and re‑bond it using a thin epoxy bead. After re‑installing, reconnect the antenna, test FM reception, retrieve the security code with your VIN and serial number, and verify all audio, U‑Connect, and camera functions. Continuing will reveal deeper troubleshooting steps.
Quick Tips
- Overheating AM/FM chip near the antenna or bad speaker impedance can cause intermittent loss of radio signal.
- Pull, inspect, and reseat the 10 A radio/TBM micro‑fuse, then reconnect the battery to reset the system.
- Perform a soft reset by holding the power and tuning knobs for 10‑20 seconds while the radio is on.
- Safely disassemble the dash, remove the radio, reflow the AM/FM chip with a heat gun, and apply JB Weld epoxy for a durable bond.
- After reassembly, reconnect the antenna, enter the four‑digit security code using VIN/T‑number, and verify FM, AM, XM, Bluetooth, CarPlay, and reverse‑camera functions.
Why Is My Jeep Radio Cutting Out?

Why does your Jeep radio keep cutting out? It’s often the AMF chip near the antenna overheating and losing contact, which interrupts audio. Bad speaker impedance can trigger the protection circuit, halting playback every few seconds. Loose wiring, especially a hanging loop above the brake pedal, creates intermittent connections. U‑Connect glitches also cause regular cuts, and cold weather may destabilize the electronics. Rear wiper activity can also affect the radio’s stability, as seen in multiple forum reports.
Quick Fix: Pull and Reseat the Radio Fuse
Ever wonder why a simple fuse pull can restore your Jeep’s radio? Turn the ignition off, locate the RADIO/TBM micro‑fuse (usually 10 A) in the hood or interior box using the cover diagram, and pull it with a fuse puller or needle‑nose pliers. Inspect the filament, clean the slot if needed, then reseat the fuse fully until it clicks. Reconnect the battery and test the radio. A faulty or intermittent door ajar switch can sometimes cause electrical oddities that affect accessories like the radio, so check the door ajar sensor if problems persist.
Perform a Soft Reset When the Radio Won’t Respond
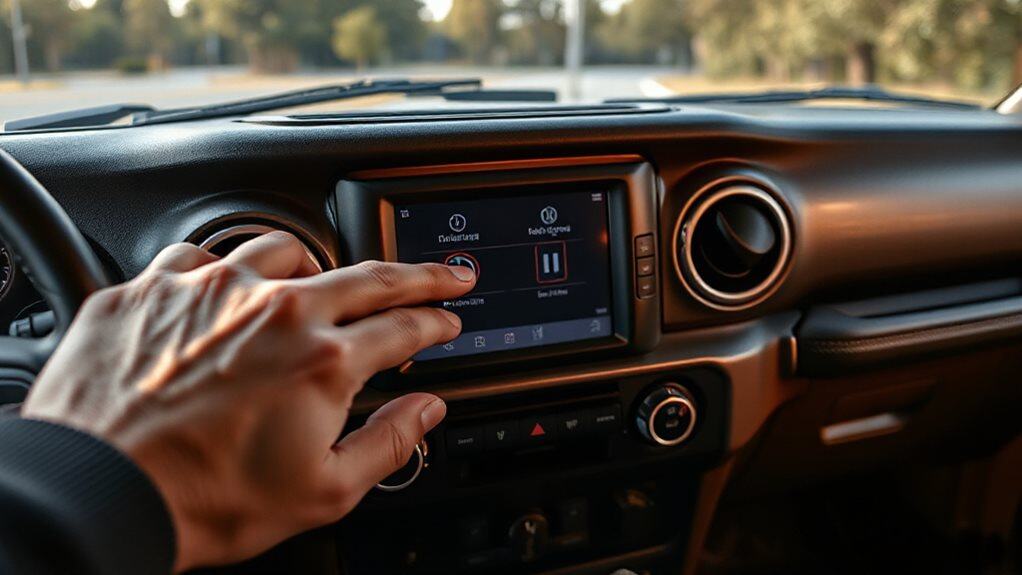
When the radio stays silent or freezes, a soft reset often revives it without erasing your presets or Bluetooth pairings. Start the Jeep, put it in Run mode, then press the power button and tuning knob together for ten‑to‑twenty seconds; the screen will flash the logo, go dark, and reboot.
This cycle retains contacts, apps, and settings while clearing glitches in Bluetooth, CarPlay, or Uconnect. Many owners also keep essential small items like wheel lock keys in hidden trunk compartments such as modular drawer systems, which can be useful to check if you need tools or parts while troubleshooting.
Disassemble the Radio Safely (Screws, Plugs, Bezel)
First, you’ll undo the 7 mm Phillips screws that hold the radio in place, then gently pry the surrounding bezel away using a flat‑head tool while the steering wheel is tilted down to release the clips.
Next, pull the radio back just enough to expose the main and secondary harnesses, and unclip each connector—watch for the red release clip on the master switch.
Finally, set the detached bezel and any rubber trays aside, making sure you’ve disconnected the negative battery terminal first to avoid any short circuits. Also, ensure the metal surfaces are clean and degreased before reconnecting components to prevent future corrosion, especially when treating rust with phosphoric acid.
Radioel Removal Steps
How do you begin safely taking the radio apart? First, lower the steering‑wheel tilt and pry off the dash panel with plastic tools, avoiding damage to clips. Remove the rubber trim trays, then locate the four 7 mm mounting bolts around the radio frame. Use a 7 mm socket or Phillips driver to extract each bolt fully before gently pulling the radio forward.
Connectors and Bezel Detachment
What you’ll do next is detach the bezel and disconnect the radio’s wiring before you can pull the unit out. Pry the dash panel, lower the steering wheel tilt, and release the bezel clips; set the bezel aside carefully. Locate the main, secondary, and antenna connectors, press each release button, and separate them. Then remove the four 7 mm Philips screws, confirming all fasteners are out before extracting the radio.
Repair the Loose Chip With Heat & Jb Weld
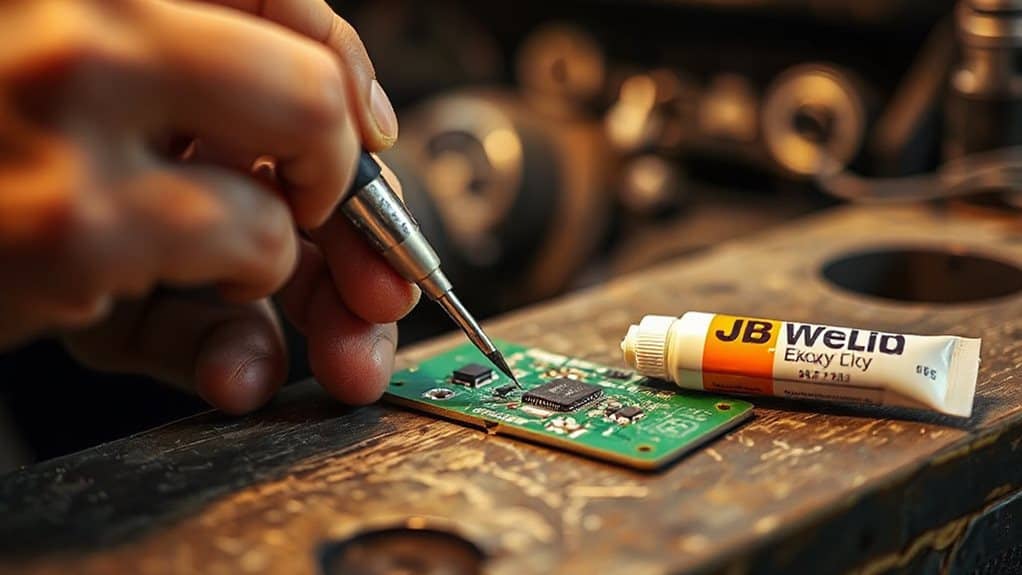
You’ll start by heating the loose chip with a low‑cost heat gun until the solder melts, keeping the temperature high enough to flow the metal but low enough to protect nearby components. After the solder softens, press the chip firmly back into place, then clean all four sides with 91 % isopropyl alcohol to remove oxidation that could impede electrical contact. Finally, apply a thin bead of JB Weld epoxy over the chip’s surface, let it cure, and you’ll have a permanent, non‑conductive seal that resists vibration and future heat cycling. Be sure to test the related electrical circuits afterward to rule out issues like damaged wiring that may have caused the failure.
Chip Heating Technique
Ever wondered why the AM/FM chip in a 2015 Jeep Wrangler two‑door Sport loses its signal after a few months?
You’ll heat the chip with a gun or 858D hot‑air station at 205 °C, press it gently with a flathead screwdriver, and let the solder flow for about 30 seconds.
After cooling, clean the legs with 91 % isopropyl alcohol, apply flux, and test the radio.
This re‑flows the joints, restoring signal until the glue weakens again.
JB Weld Application Steps
After the chip has been heated and pressed, the next step is to secure it with a non‑conductive epoxy such as JB Weld, which is formulated for electronic repairs and will harden into a durable, vibration‑resistant seal.
Clean the area with 91% isopropyl alcohol, dry it, then scoop a tiny mixed bead onto the chip edges.
Press firmly, avoid overflow, and let it cure undisturbed for 24 hours before reassembling and testing the radio.
Reconnect Antenna & Test FM After the Repair
When you finish routing the antenna cable and securing it above the glove box, the next step is to reconnect the antenna connector to the radio and then test the FM reception.
Plug the 3‑ft F‑female pair into the radio’s back, tighten the screws, and power the unit.
Scan the FM band, verify signal strength, and compare it to the stock windshield antenna to confirm proper operation.
Retrieve the JK Radio Security Code (VIN & Serial Needed)
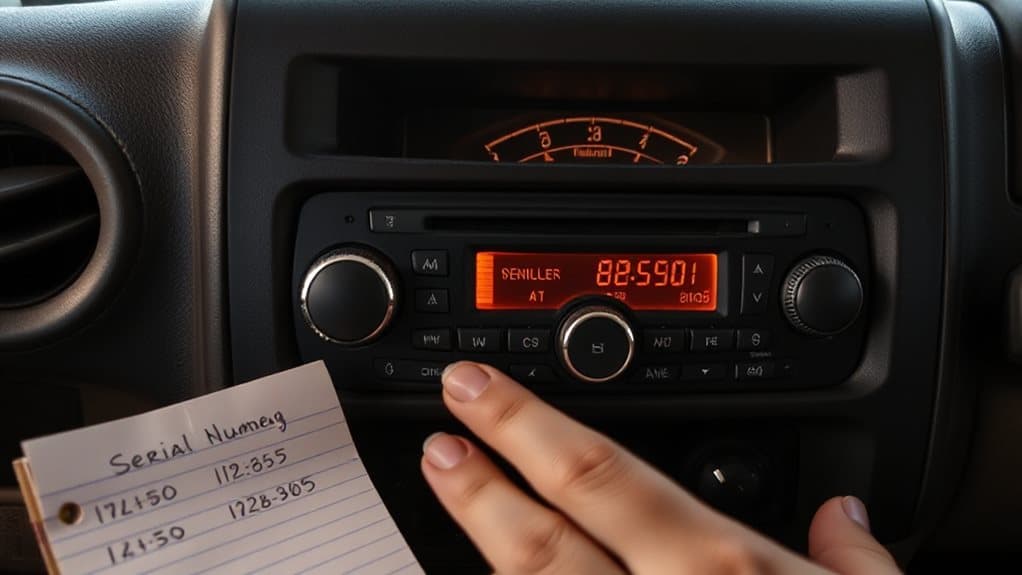
Now that the antenna is back in place and the FM signal checks out, you’ll need the radio’s anti‑theft code before you can power it up again. Locate the VIN on the dashboard or driver’s door jamb, then find the radio’s T‑number and P‑serial on the unit. Call a Jeep parts department, give them the VIN, T‑number, and P‑serial; they’ll verify ownership and read out the four‑digit code. Enter the code with ignition on, press ON/VOL, and accept to release the radio. Transmission fluid deterioration from excessive heat can cause shifting problems as temperatures rise, so check fluid condition if you notice delayed or slipping symptoms.
Final Checklist: Verify Audio, Uconnect, and Camera Functions
How can you be sure every system in your Jeep Wrangler is functioning correctly after the radio repair? Test FM, AM, XM, Spotify, and CarPlay volumes; listen for cuts every two seconds; verify aux input needs volume adjustment. Hold the green phone and voice command buttons for thirty seconds, then cycle power. Confirm reverse camera activates on gear shift and displays without glitches. Pull the M12 amplifier fuse, check battery voltage, and restart to validate all fixes.
Wrapping Up
By checking the fuse, performing a soft reset, and, if necessary, reseating the radio’s connectors, you’ll often restore functionality without professional help. Should the unit remain unresponsive, disassemble it carefully, repair any loose chips with heat‑based soldering, and verify the antenna and FM reception. Finally, retrieve the security code using your VIN and serial number, then confirm that audio, Uconnect, and camera systems operate correctly. This systematic approach maximizes the chance of a successful repair.


