
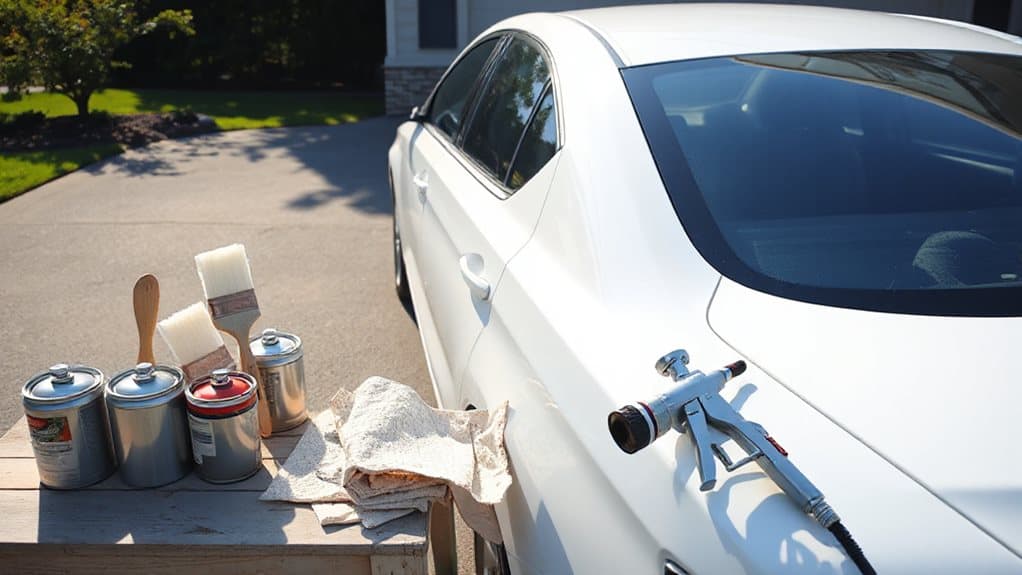
You’ll find that white is the easiest car color for beginners because its high reflectivity hides minor scratches, its titanium‑dioxide pigment stays stable and matches easily, and it works with a simple primer‑basecoat‑topcoat system that avoids complex blending. Light solid shades like gray or blue also perform well, requiring only three layers and quick drying, which speeds repairs. Acrylic urethane offers a single‑stage, glossy finish that adheres to primed metal without needing reducers. Proper surface prep—cleaning, progressive sanding, and compatible primer—ensures adhesion and durability. Avoid metallic or pearlescent paints, as they demand precise humidity control and pigment ratios. Follow a checklist: apply wet primer, sand to 320‑600 grit, spray basecoat with 50‑75 % overlap, and finish with wax or ceramic coating. Continue for, you’ll uncover more detailed steps.
Quick Tips
- Light colors like white or light gray hide scratches, dry quickly, and require only three basic coats (primer, basecoat, clear).
- White’s titanium‑dioxide pigment offers high stability, easy touch‑ups, and simple color matching.
- Use a compatible urethane primer with a urethane white basecoat for best adhesion and durability.
- Proper surface prep—cleaning, progressive sanding (80‑120‑180‑320‑2000 grit), and tack‑cloth wiping—is essential for a flawless finish.
- Avoid metallic or pearlescent paints as beginners; they demand precise blending and humidity control, increasing the risk of defects.
Is White the Easiest Car Color for Beginners?
Why is white often considered the easiest car color for beginners? You’ll notice that white reflects most sunlight, so it stays cooler and resists UV‑induced fading, which prolongs paint life.
Its titanium‑dioxide pigment offers high stability, making touch‑ups simple and color matching straightforward.
Additionally, white masks minor scratches and dirt, reducing the frequency of polishing and preserving resale value. Proper surface preparation is essential for maximizing longevity. Electric chokes on carburetors also benefit from correct setup to avoid stalling during warm‑up, so beginners should be aware of basic engine tuning choke adjustment.
Why Light Solid Colors Are the Easiest Car Paint for Beginners?
Do light solid colors simplify car painting for beginners? You’ll find they require only three layers—primer, paint, lacquer—so mixing is straightforward and no metal flakes complicate spraying.
Drying is quick, and repairs use inexpensive touch‑up pens that match the uniform opacity.
Production costs stay low, and the finish hides minor imperfections, making the process affordable, efficient, and easy to understand.
Using proper surface prep like degrea sing and rust treatment improves long-term results and protects against corrosion.
Acrylic Urethane: The Easiest DIY Paint for Beginners
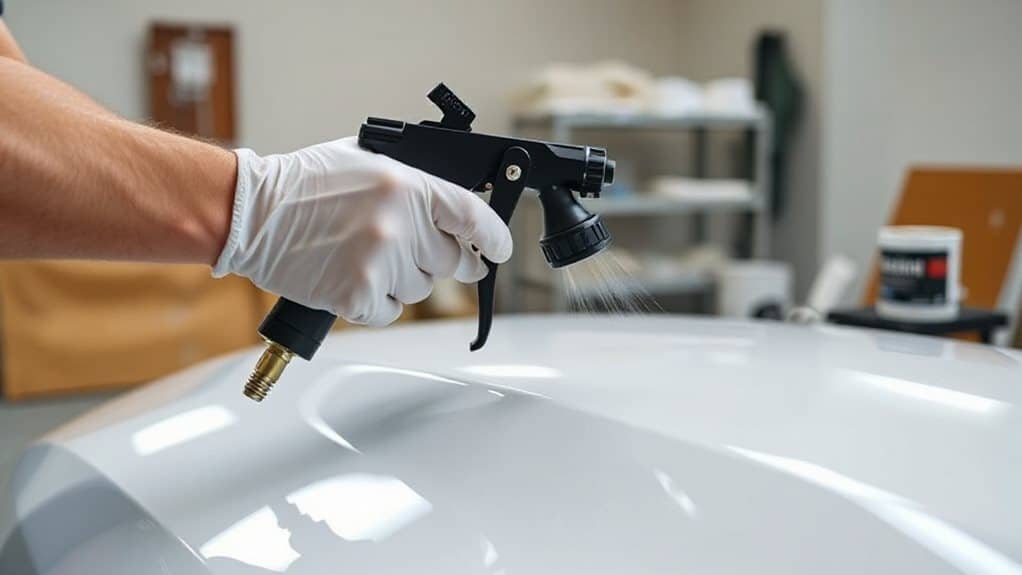
Can you get a professional‑looking finish without the hassle of multi‑stage systems? Acrylic urethane mixes 3 parts paint with 1 part activator, giving you a single‑stage, glossy coat that adheres directly to primed metal. Prep the surface, degrease, and apply a 2K primer or 1K sealer. Spray two to three medium‑wet coats, flashing ten minutes between layers, and finish with a fog coat for metallics. No reducer is needed for beginners, and the paint resists UV and weather when applied correctly. You can also get dealer‑level diagnostics at home with professional OBD2 scanners to help troubleshoot paint-related electrical issues like sensor faults or module errors dealer‑level diagnostics.
What Base Coat Works Best Under White Paint?
You should verify that the primer you choose is compatible with the urethane or acrylic basecoat you plan to use, because mismatched chemistry can cause adhesion problems.
Selecting a light‑reflective basecoat, such as a high‑gloss 1K urethane with packed pigment, helps the white topcoat achieve a uniform finish and reduces the number of coats needed.
Finally, proper surface preparation—cleaning, sanding to the right grit, and removing all contaminants—ensures the basecoat adheres evenly and the final paint looks professional.
For added workshop safety, consider using jack stands with overload protection to prevent collapse during maintenance.
Primer Compatibility Check
Why does the choice of primer matter when you’re planning a white topcoat? You need a primer that matches the chemistry of the white basecoat; a urethane primer pairs best with urethane white paint, while enamel primers cause adhesion problems. White primer gives the brightest finish, but grey works for metallic whites. Match primer to substrate—metal needs epoxy, fiberglass urethane, plastics an adhesion promoter—to ensure even coverage and optimal color pop.
Light‑Reflective Base Selection
What makes a basecoat ideal for a white topcoat is its ability to reflect light evenly and support the bright, crisp finish you expect from white paint.
Choose a 4:1 activated urethane base; it mixes 4:1 with low‑VOC activator, yields high pigment coverage, and tolerates up to 300 °F without delamination.
This untinted white base provides a flat lay, excellent coverage, and reliable adhesion for the white topcoat.
Surface Preparation Essentials
A clean, properly primed surface sets the stage for any white topcoat, because imperfections will show through the bright finish. Choose a 1K urethane basecoat mixed 1:1 with reducer for easy sprayability, or a low‑VOC urethane system at 4:1 with activator for stricter emissions.
Apply two medium wet coats, allowing five‑to‑ten minutes flash time, then clearcoat.
Adjust activator speed to ambient temperature, and keep humidity low for optimal adhesion.
Preparing the Surface for an Easy Beginner Paint Job
How do you ensure a flawless foundation before painting a car? First, wash the vehicle with automotive soap or a degreaser, then wipe it down using a lint‑free rag to eliminate residues. Inspect for missed spots.
Sand with 80‑grit to expose low spots, follow with 120‑180 grit for smoothing, then block sand with 320 grit after epoxy primer. Finally, wipe with thinners and a tack cloth, resand with 2000‑grit wet‑and‑dry paper, and apply prep‑blend paste before inspecting for imperfections. Also ensure your roof rack and cross bars are removed or securely protected to prevent damage during sanding and painting, as cross bars can scrape or contaminate the paint surface.
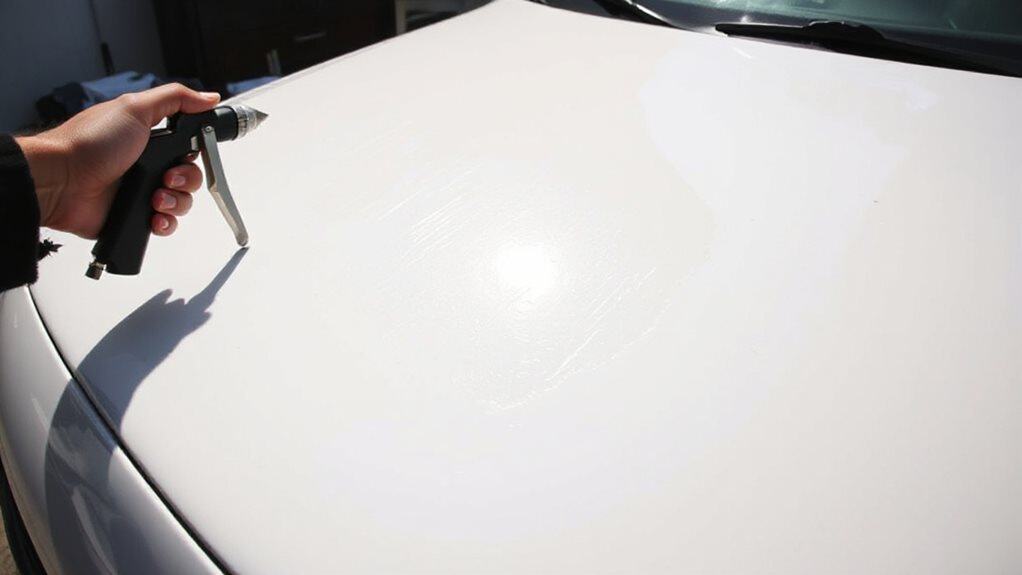
How to Spray Light Paint Without Swirls

Ever wondered why swirls appear even when you’re using a light‑weight paint? First, pre‑wash the car with snow foam and a pressure washer, then rinse top‑down to remove loose dirt. Use a two‑bucket wash: one with soap, one with clean water, adding grit guards. Apply paint in thin, straight passes, keeping the gun moving and maintaining consistent pressure. Finish with a microfiber blot‑dry and a ceramic coating for protection. Many European cars, like Audi and Volkswagen, commonly use a 5×112 bolt pattern which is an important specification to verify when selecting wheels or hub‑centric accessories.
Keeping Your White Car Looking Fresh: Maintenance Tips
You should stick to a regular wash schedule—weekly in summer and every one to two weeks in harsher climates—to prevent grime from settling on the white paint.
After each wash, apply a thin, even layer of protective wax or a ceramic spray such as Tough As Shell, which creates a hydrophobic barrier that repels water spots and road film.
This combination of consistent cleaning and periodic coating keeps the finish bright and reduces the need for intensive polishing later.
Wash Regular Wash Schedule
When should you schedule your next wash? Aim for a 1‑2‑week interval for a white car, adjusting to weekly in winter or coastal areas where salt accelerates corrosion.
Spot‑clean bird droppings, bugs, and sap immediately to prevent bonding.
Use water‑less detailing sprays between washes for minor contaminants.
Regularly washing undercarriage and exposed panels preserves paint integrity and prevents long‑term damage.
Protective Wax Coating
After you’ve established a regular wash schedule, the next step is to protect the freshly cleaned surface with a wax coating. Apply foam‑pad wax in small sections, using a carnauba‑infused soap activated with warm water (1 fl oz per bucket).
Perform a water‑beading test; beads mean the wax holds, sheeting signals reapplication.
Spray wax biweekly, touch up high‑wear zones, and avoid pH‑neutral detergents that strip the layer.
Beginner‑Friendly Alternatives to White: Champagne, Light Grey, Light Blue
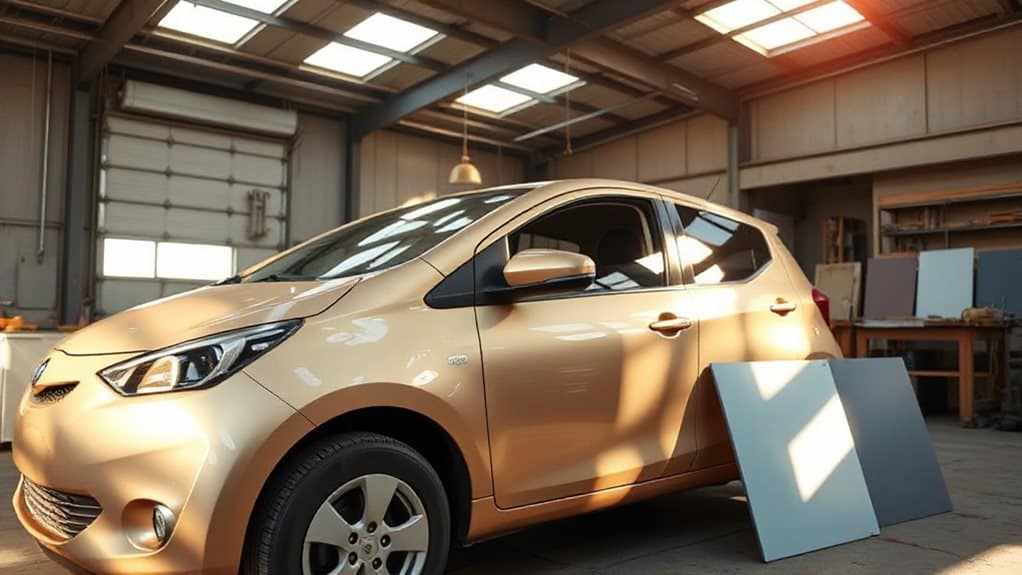
Why consider alternatives to white when painting a car as a beginner? Champagne reflects heat like white, avoids metallic corrosion, and sprays smoothly from cans, so you’ll face minimal nozzle issues.
Light grey hides scratches, matches repairs easily, and lasts over a decade with proper waxing.
Light blue reduces sun‑induced oxidation, prevents clear‑coat blistering, and stays bright when maintained.
Use single‑stage paint, allow 10‑15 minutes flash time, and overlap 75‑80 % for uniform coverage.
Why Beginners Should Skip Metallic and Pearlescent Finishes?
Do you know that metallic and pearlescent finishes demand far more skill and resources than solid colors? They require precise blending, special sealers, and controlled humidity, making application tricky. Repairs become costly because matching exact shades is hard, especially for larger dents. Pearlescent paints need exact pearl‑to‑base ratios, and mismatches cause blotches.
Consequently, beginners face higher material costs, complex techniques, and frequent touch‑up failures.
Common Mistakes Beginners Make With Light Car Paints
You might be tempted to saturate light shades with too much paint, but that creates uneven color and visible orange‑peel texture.
Ignoring surface imperfections—like rust, dust, or minor dents—means the paint won’t adhere properly, leading to bubbles or peeling.
Skipping a proper primer after repairs leaves the light base coat thin and translucent, so the final finish looks blotchy and lacks the desired gloss.
Over‑Saturating Light Shades
When painting a light‑colored car, beginners often over‑saturate the shade, applying too much pigment or too many layers too quickly. Excessive pigment creates uneven gloss and can mask underlying imperfections, while multiple thick coats trap solvent, leading to runs and orange‑peel texture.
Light colors need thin, even coats; use proper spray‑gun settings, dilute paint to manufacturer‑recommended viscosity, and allow each layer to flash before adding the next. This prevents saturation, maintains opacity, and yields a smooth, uniform finish.
Ignoring Surface Imperfections
Why overlook surface imperfections before painting a light‑colored car? You’ll see fish‑eyes, swirls, and orange‑peel texture if dirt, oil, or polishing residue remain. Incorrect gun distance or pressure creates runs that betray pale shades. Using the wrong polishing pad either hazes or leaves scratches visible under bright light. Skipping LED inspection means defects stay hidden until the final coat, ruining the glossy finish.
Skipping Proper Primer Application
Skipping the primer step is a common shortcut that quickly backfires when painting a light‑colored car. You lose the adhesive layer that bonds new paint to the old surface, so peeling and chipping appear early. Humidity slows primer drying; without waiting the recommended 24‑hour to 7‑day recoat window, adhesion stays weak. Even high‑quality spray paints need a clean, lightly sanded base; otherwise flaking replaces a smooth finish. Proper primer protects durability and resale value.
Quick Checklist for a Beginner‑Friendly Car Paint Job
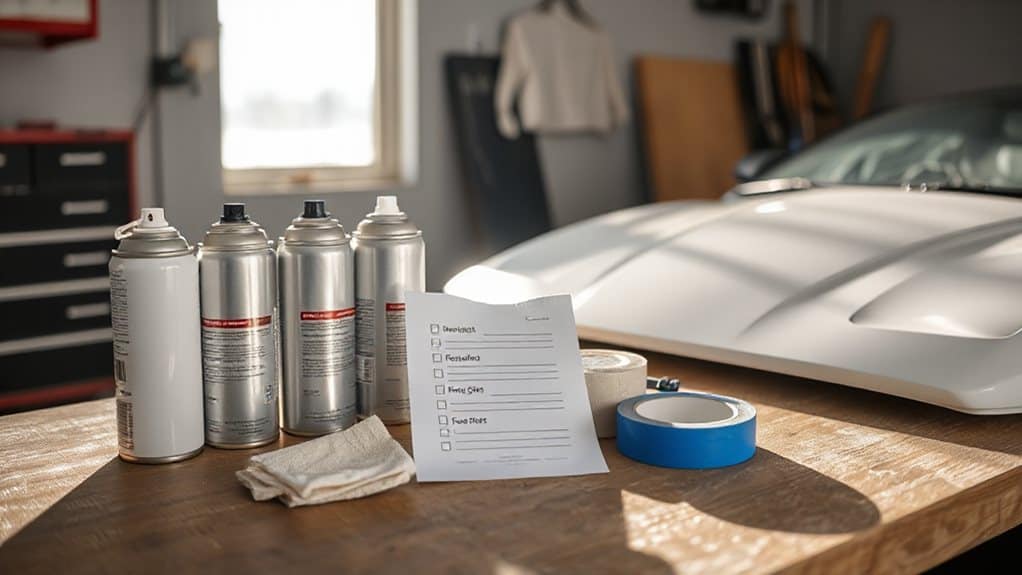
Ever wondered how to keep a beginner‑friendly car paint job from turning into a costly mistake?
Follow this checklist: choose a single‑stage, light color like white or gray; apply three wet primer coats with 15‑minute flashes; sand with 320‑600 grit; use a CC500 gun for 2‑3 basecoat layers, overlapping 50‑75%; let each coat cure a day; wipe with tack cloth; finish with carnauba wax and orbital polishing.
Wrapping Up
You’ve learned that white and other light solid colors simplify prep, masking, and touch‑up, while acrylic urethane offers a beginner‑friendly DIY formula. Choose a compatible primer, sand to a smooth finish, and apply thin, even coats to avoid runs. Skip metallic or pearlescent pigments until you’ve mastered basic techniques, as they demand precise layering and polishing. Follow the checklist, stay patient, and your first paint job will be both manageable and durable.


