
You’ll torque Tacoma lug nuts to specific values by year and wheel type: 1995–2023 models use M12 conical lugs at about 83 ft‑lb with a 21 mm socket; 2024–25 trucks moved to M14 (flat seat) with recommended ranges roughly 97–131 Nm for aluminum and higher for steel—some sources list ~103.5 ft‑lb—using a 21–22 mm socket. Use a calibrated torque wrench, star pattern, snug in stages, then recheck after 50–100 miles to confirm seating, and continue for full procedures and variants.
Quick Tips
- 1995–2023 Tacoma lug torque: 83 ft‑lb (M12 conical seat, use 21–22 mm socket).
- 2024–2025 Tacoma commonly uses M14x1.5 lugs, recommended torque ranges ~97–131 Nm (≈72–97 ft‑lb) depending on wheel material.
- Use a calibrated torque wrench, tighten in a star pattern, snug in stages, then final torque with wrench clicks.
- Recheck torque after a short drive and again at 50–100 miles; inspect after off‑road or high‑speed driving.
- Clean dry studs and hub face, avoid lubricating seats, and never rely on an impact gun for final torque.
Quick Lug Torque Table : Tacoma (1995–2025)
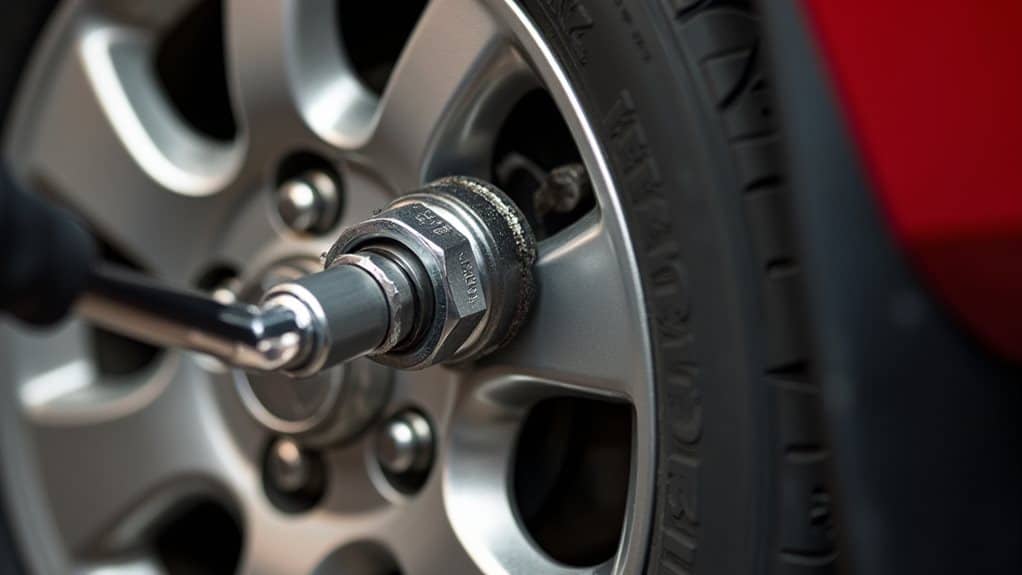
Because lug torque affects wheel safety and bolt longevity, you should follow the correct torque specs for your Tacoma by year and wheel type.
For 1995–2023 use 83 ft‑lb (M12, conical seat, 21 mm).
For 2024–25 use M14: aluminum wheels ~97–131 Nm, steel up to 209 Nm; some specs list 103.5 ft‑lb.
Recheck 50–100 miles; clean studs.
Note that the 2024–2025 Tacoma commonly uses M14x1.5mm lug threads.
Always use a calibrated torque wrench when applying final lug torque to ensure accuracy and avoid damage.
How to Torque Tacoma Lugs: Tools, Pattern & Steps
Start by gathering the right tools and safety gear so you can torque the lugs correctly and safely: you’ll need a calibrated digital or cone‑type torque wrench with the appropriate 21 mm (13/16″) or 19 mm (3/4″) socket depending on your Tacoma’s model year.
You’ll also need a 6‑inch extension if clearance is tight, a wire brush and degreaser to clean studs, gloves and safety glasses, and wheel chocks to secure the vehicle.
Use a star pattern, snug in stages, then set the wrench to spec and click each lug in sequence, rechecking torque after a short drive.
Always torque to the manufacturer’s specification — typically around 76 ft·lb for many Toyota models — and recheck after 50–100 miles.
Thread Sizes, Seat Types & Which Socket to Use
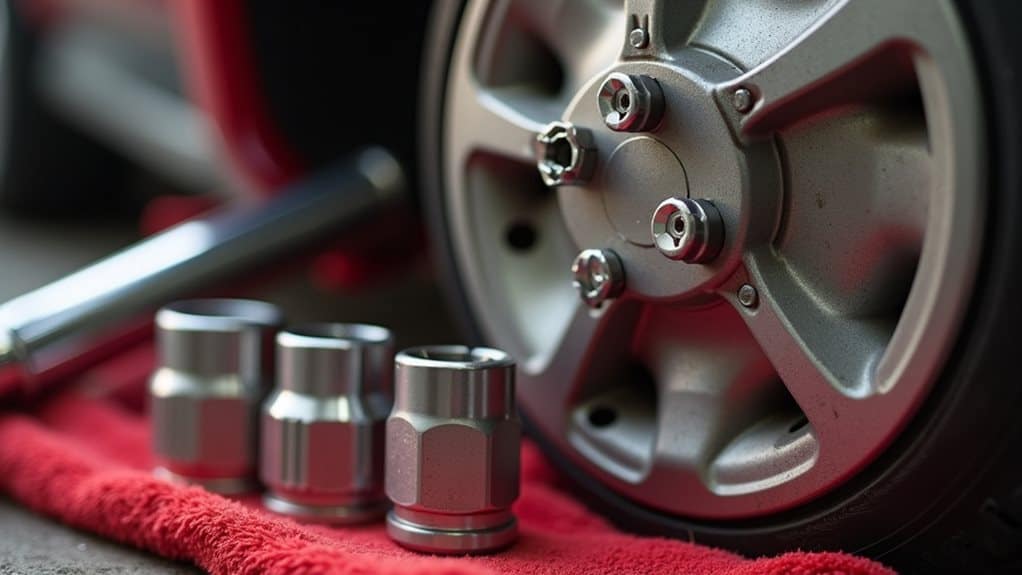
A few key measurements determine which lug nuts and sockets you need for a Tacoma, so you should confirm thread diameter, pitch, and seat type before buying tools or wheels.
Pre‑2024 Tacomas use M12x1.5 threads with 60° conical seats and a 22mm (13/16″) socket; 2024–2025 N400 trucks use M14x1.5 with flat seats and a larger 21–22mm hex.
Verify with calipers and a pitch gauge.
Torque Differences: Aluminum vs Steel & TRD/Aftermarket
When you’re working with Tacoma wheels, aluminum and steel require different torque approaches: aluminum wheels typically call for around 70 ft-lb on standard 1/2‑inch lug nuts, while steel wheels usually need about 85 ft-lb to achieve proper clamp without deformation.
TRD wheels commonly follow the factory steel spec at 85 ft-lb, but aftermarket wheels can vary widely—mag and aluminum aftermarket wheels may specify 70–100 ft-lb, trailer aluminum wheels often need 90–120 ft-lb, and seat type (acorn vs flared) affects how torque is transmitted to the wheel.
Always follow the wheel or lug manufacturer’s published spec and use a calibrated torque wrench, since vehicle load, wheel size, and lug material change the required torque and repeated over-torquing can stretch aluminum nuts.
Many manufacturers and service manuals also recommend re-torquing lug nuts after driving a short distance to ensure proper clamping re-torque recommendation.
Aluminum Wheel Torque
Because aluminum and steel distribute clamping forces differently, you’ll need to use lower torque values on aluminum Tacoma wheels than you’d on steel ones, and you must follow any specific TRD or aftermarket wheel instructions rather than assuming OEM numbers always apply.
Typical OEM aluminum: 76–83 ft‑lbs; TRD/aftermarket ranges vary widely (85–120+ ft‑lbs).
Always use a calibrated torque wrench and re‑torque after initial miles.
Steel Wheel Requirements
Though steel and aluminum wheels may look similar at a glance, they demand different lug nut torques because their materials and hub designs transfer clamping loads differently, so you’ll need to follow specific specs rather than assume one value fits all.
For Tacoma steel wheels, follow stud size: 1/2″ commonly 85–100 ft·lb (heavy duty up to 120), 5/8″ applications require much higher values; re-torque after 50 miles.
TRD & Aftermarket Specs
After covering steel wheel requirements, you’ll need to pay close attention to how TRD and aftermarket aluminum wheels are torqued, because their specified values can differ markedly from both stock aluminum and steel specs.
TRD aluminum wheels require 97 ft-lb, 14 ft-lb above aftermarket aluminum at 83 ft-lb, matching stock steel values less, so follow manufacturer or hub specifications precisely.
Re‑Torque, Maintenance & Post‑Drive Safety Checks
After you install wheels, recheck lug nut torque after about 50 to 100 miles to confirm initial seating hasn’t allowed fasteners to loosen.
Before torquing, clean studs thoroughly—remove dirt, rust, and debris so the wrench reads true and clamp force is accurate.
Always inspect for any signs of looseness, damaged threads, or uneven tension and correct any fasteners that fall below the specified torque.
Use soapy water to lubricate and help ensure proper seating when reinstalling tires, and consider a ratchet strap to apply even pressure during fitment.
Recheck After 50 Miles
Because new wheels and studs can settle under load, you should recheck and re-torque the lug nuts within the first 50 miles of driving to make sure proper clamping force and prevent loosening from vibration or thermal expansion.
Use a calibrated torque wrench, lower the vehicle so full weight rests on wheels, follow a star pattern, and document mileage and torque values for safety.
Clean Studs Before Torque
When you prepare to torque lug nuts, clean, dry studs and mating surfaces first so your torque wrench reads accurately and the wheel seats correctly; rust, grit, oil, or residue on threads or the wheel face changes friction and can produce a false torque reading or allow the nut to loosen under load.
Wire‑brush studs, wipe the hub face, make certain dry, chase damaged threads, avoid lubricant on seats.
Inspect For Looseness
Start by scheduling a recheck of lug nut torque within the first 25–50 miles of driving after you install a wheel, because initial seating, vibration, and thermal changes can cause fasteners to settle or loosen; use a calibrated torque wrench and the vehicle manufacturer’s specified value to verify each nut.
Recheck after off‑road or high‑speed driving, at 5,000‑mile service, and after vibration or noise, retorquing to spec.
Common Torque Errors, Diagnosis & When to Replace Studs
If you skip proper procedures or rely on the wrong tools, lug nuts can be mis-torqued in ways that compromise wheel clamping and vehicle safety, so it’s important you understand the common errors, how to diagnose problems, and when studs or nuts must be replaced.
Common mistakes include impact guns, wrong pattern, dirty threads, or over-torque.
Diagnose by vibration, noises, corrosion, low pressure, then re-check with a calibrated torque wrench; replace damaged studs/nuts or upgrade thread size if torque won’t hold.
Using proper safety gear and rust relief methods can help prevent and address seized or stripped fasteners.
Wrapping Up
You’ve learned the correct lug torque ranges for Tacoma models, how to use a torque wrench and follow the tightening pattern, and which socket fits each seat type; now apply that knowledge every time you change a wheel. Torque aluminum and steel wheels per manufacturer specs, re‑torque after initial driving, and inspect studs and threads for wear. If lugs loosen or studs deform, stop driving and replace components to maintain safety and prevent damage.


