A key component of a vehicle’s safety system is the brake proportioning valve. Every vehicle’s braking system has a brake proportioning valve that controls the pressure applied to the rear brakes. When emergency brakes are applied, it is accomplished by keeping the fluid flowing to the rear brakes.
The front and rear brakes need the correct amount of pressure applied, which is the primary function of the proportioning valve, which offers stable performance as you use the brakes. The rear wheel won’t lock up, and the rear end won’t slide out of control.
The rear wheel stops first when braking quickly as they need less pressure, which causes you to lose control of the vehicle if it is wet or snowy. In our guide, you can learn more about resetting proportioning valves. By the end, you’ll see that once you carry out a proportion valve reset, your brakes will apply pressure in the right amounts, and your car will stop properly. (Read AC Compressor Stays On All The Time)

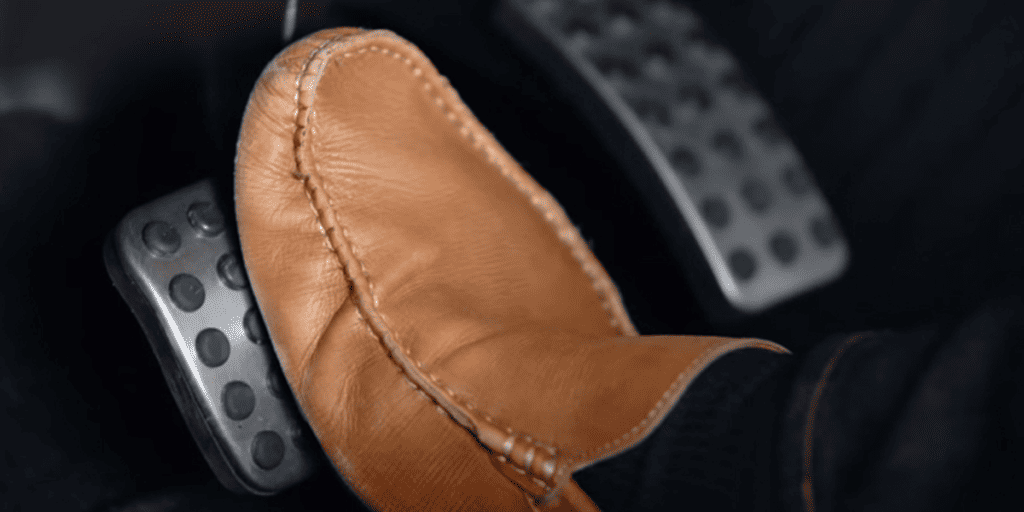
Understanding Your Brake Pedal and Brake System
If you have issues with your brake light? It may not be the electricity of the lights but your brake proportioning valve. Resetting these brake valves appears intimidating, but it doesn’t have to be.
Here you can see the main process in this step-by-step guide on resetting a brake proportioning valve and ensuring it’s properly bench-bled.
Understanding the Proportioning Valve
A car’s brake system is not complete without proportioning valves, which enable the brakes to be changed in accordance with the vehicle’s weight. You can solve any brake issues you may have by comprehending how they operate and how to reset them.
An electrical connection is required for a proportioning valve to function correctly. This gives the car’s electronic control module (ECM) the ability to regulate the brakes’ pressure and ensure that each wheel gets enough braking power. Incorrect installation of this component may cause uneven braking or other issues with your car’s stopping power.
Tools and Supplies
Having the proper equipment and supplies is crucial to success. Make sure you have a steady pressure bleeder kit, which consists of a transparent hose with a one-way valve on the end, before attempting to reset the brake proportioning valve in your car.
This is done while keeping the pressure in the brake lines constant to bleed air from each wheel cylinder or caliper. Additionally, you’ll need a wide-bladed screwdriver, two adjustable wrenches—one small and one large—an old toothbrush (for cleaning), and some clean towels for wiping up spills. (Read High Exhaust Temperature Indicator)
Removing and Replacing the Old Valve
Removing and replacing the old valve is needed to reset a brake proportioning valve. You can find this near the rear brake line.
Locate the old valve first. Once you find it, pump your brakes gently and release any pressure. After that, remove the valve’s mounting bolts with a wrench or socket. The old valve can then be removed from the frame rail and discarded.
After disposing of your old proportional valve, find a new one that fits your vehicle’s make and model.

Step-by-step to Remove and Replace
A brake proportioning valve, or shuttle valve, is an essential feature of your car’s braking system to maintain front-rear braking balance. A worn-out prop valve can diminish braking performance; therefore, it should be inspected regularly and changed as needed.
Here are some steps on how to reset a brake proportioning valve:
- Start by removing the battery cables from the negative and positive posts of your car’s battery.
- With a wrench or socket set, locate the prop valve and turn it until it comes loose.
- Then remove its rubber boot to gain access to all of the parts inside its casing.
- Find the red and black wires attached to the valve and the black wire for the valve. Connect them to their appropriate colors on a new prop valve after disconnecting them from the original valve.
- Replace the rubber boot after installing your new prop valve and tightening it with a wrench or socket set.
- Start your automobile and look for leaks after reattaching the battery cables to the positive and negative posts.
Testing Your New Valve
An essential step in correctly resetting a brake proportioning valve is testing the replacement valve.
Find the master cylinder reservoir and bleeder screws on each brake to get started. Before making any adjustments to the proportioning valve, these bleeder screws must be gently loosened to permit fluid passage. Ensure that levels are kept at or close to their maximum levels by carefully draining out some of the used brake fluid from these spots and replacing it with the old fluid.
After that, manually reset each valve per the manufacturer’s instructions, carefully paying particular attention to any special information like pressure settings or opening dimensions. (Read Can You Mix Oil Types)

Troubleshooting Proportioning Valve Problems
Brake proportioning valve troubleshooting can be difficult. Reset your proportioning valve if your brake warning light is on or you have a rear brake imbalance.
The proportionality valve in your car’s brake system ensures safe braking. When something goes wrong due to age or wear and tear, the valves should be adjusted until the front and rear brakes are balanced.
The first step in troubleshooting a faulty proportionality valve is checking for physical damage, such as leaking fluid or corrosion. If everything appears fine, reset the valves.
Alternative Steps To Fix Brake Light Problem
Besides the above steps to fix brake problems caused by these valves. There are alternative solutions if you only need to reset the proportioning valve.
- The brake proportioning valve should be found close to the rear brake line.
- One or two buttons will be present on it. Typically, the reset button is covered with a rubber cap. It is a metal valve with an “L” shape switch.
- Using your fingers, push the reset button on the valve to get it working again.
- Look at the brake pressure. Your brakes will appear to be functioning again if the pressure in the brake line is restored and the reset button is successful.
- Brake fluid will not reach the brakes if the proportioning valve needs reset.
What You Need:
Vehicle jack
Screwdriver
Tips
- Raise your vehicle on a jack to give access to the brake line.
- The reset button may get stuck, so use the screwdriver to help push the button.
When To Reset Brake Proportioning Valve?
Frequent rear lock-ups are the main sign of a broken brake proportioning valve.
The car slows whenever you apply the brakes, but the rear wheels will start sliding since the rear wheels stop before the front wheels. This reduces tire life, and you can lose control.
Additionally, it’s time to examine the brake proportioning valve when you notice that the rear brakes are more sensitive to touch. (Read Unhooking A Car Battery Guide)
How To Test Your Proportioning Valve Performance
- Use a test light by fastening a clip to a positive contact on the vehicle and touching the test point and the combination valve electrical connection.
- If the light stays off, the valve system operates correctly, and no further testing is needed.
- The pressure differential valve may be stuck in the front or rear position if the light does turn on.
- To find out which is blocked off, bleed the brake system. In time to perform simultaneous bleeding, set up one front wheel and one rear wheel.
- Gently pump the brake pedal a few times while cracking the bleeder screw.
- When the bleeder screw is split, and the pedal is depressed, fluid will trickle out of the blocked side. The unblocked line will cause the bleeder to squirt fluid.
- To create pressure on that side, the blocked lines should have the bleeder screws tightened, while the clear lines must be left open.
- Use the standard bleeding procedures to stop air from entering the brake system.
- To turn off the light, repeatedly slowly press the pedal.
- The differential valve will then be centered. Additionally, the proportioning valve may make a popping sound.
- The metering valve returns to its equalized position in this manner.
- Close the bleeder screw as soon as the light goes out.
How to Fix Anti-Lock Brakes
When you press the brake pedal, brake fluid presses the shoes against the metal drum to slow the car. Since front brakes do most of the work, many cars still employ rear drum brakes.
If your brake pads wear so thin that the brake fluid level drops in the master cylinder reservoir, bubbles can form in the brake lines. Bleeding brakes will flush the air. The ABS hydraulic pump forces brake fluid via small valves at several thousand psi. This can whip brake fluid and air into a foam, making the process of bleeding air from the system more challenging.
Air can be bled from the ABS controller. Some automobiles require an ABS scan tool to cycle the pump and valves to purge air. You may avoid ABS problems by bleeding and flushing your brake fluid at home.
How To Test Your Combination Valve
- Use a test light by fastening a clip to a positive contact on the vehicle and touching the tester’s tip to the combination valve’s electrical connection.
- If the brake light tester stays off, the master cylinder, valve system, and brake line are functioning properly, and no additional testing is needed.
- If the light does come, the pressure differential valve may be stuck in either the front or rear position.
- To find out if the front or rear lines are blocked, bleed the brake system. In time to perform simultaneous bleeding, set up one front wheel and one rear wheel.
- Gently pump the pedal a few times while cracking the two bleeder screws.
- When the bleeder screw is split, and you have the pedal pressed, it will trickle fluid out of the blocked side. Fluid will pour out of the front bleeders unblocked line.
- To create pressure on that side, the blocked lines should have the bleeder screws tightened, while the clear lines must be left open.
- To prevent air entering the system, follow the recommended bleeding measures.
- To center the differential valve, steadily press the pedal a number of times until the light turns off.
- Additionally, the proportioning valve may make a popping sound. The metering valve returns to its equalized position in this manner. Close the bleeder screw as soon as the light goes out.

FAQs
How to reset the brake proportioning valve?
Find the valve on the rear brake line, and then briefly press the reset button. The valve will be reset. To test the outcome, install a pressure gauge in the brake hydraulics.
Can I repair a proportioning valve?
The valve cannot be fixed. If you aren’t trying to change it, don’t try to take it apart.
Can my car run without a brake proportioning valve?
Without a brake proportioning valve, your car’s braking system would continue to lock up.
How will I know when brake proportioning valve needs to be replaced?
It’s a solid indication that your proportioning valve is broken if the rear wheels of your car are sliding more than usual.
What happens if I accidentally hit or move the valve?
Knocking your proportioning valve out of center if you have bled or replaced your rear calipers is easy. This can stop the flow to your rear brake calipers. You’ll need to reset it before you can bleed the brakes.
Why is my brake pedal soft?
New brake pads won’t fix a soft brake pedal. After replacing your brake pads, you may have observed that you still have to press the pedal hard before you stop. These are indicators of air in the braking system, which happens over time.