A non‑clicking gas cap means the seal isn’t engaging, so fuel vapors can escape and trigger EVAP‑system codes like P0455 or P0456. Common causes are dirty or cross‑threaded filler neck threads, a cracked or hardened rubber gasket, a bent cap, or an incorrect or defective cap. Test the cap by pressurizing it to about 3 psi with compressed air and watching for a pressure drop or bubbles. When installing a new cap, press it flush, turn clockwise until you hear a click, and lock it with the key. Confirm the cap matches your vehicle’s specifications to stop leaks and clear codes; the next steps will show how to verify the repair and reset the check‑engine light.
Quick Tips
- Dirt, debris, or a damaged O‑ring on the filler neck prevents the cap from sealing and producing the click.
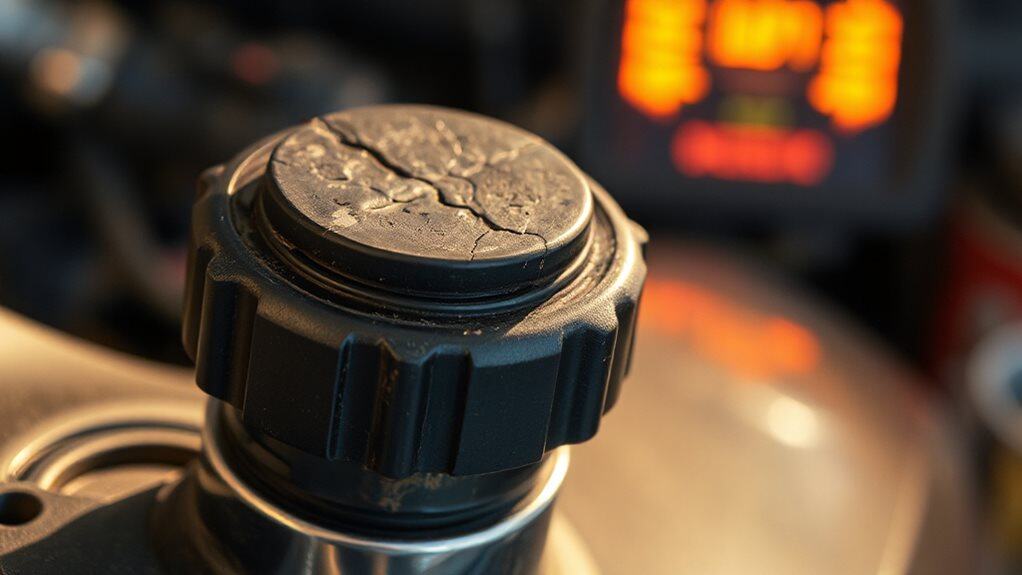
- A cracked, hardened, or incorrectly sized rubber gasket/compression ring stops the cap from engaging its locking mechanism.
- Bent, cross‑threaded, or overly loose/tightened threads misalign the cap, preventing the audible click and proper sealing.
- Using a non‑OEM or wrong‑size cap can fail to engage the lock; always match the vehicle’s specified cap model.
- After installing a new cap, rotate it until you hear a click, then lock it with the key; verify the tether moves freely and the cap stays secure.
Identify What a Non‑Clicking Gas Cap Means
What does a non‑clicking gas cap actually indicate? It means the cap isn’t sealing the fuel tank, so EVAP pressure drops and vapors escape. The powertrain control module may log P0455 or P0456 codes, and you might smell gasoline near the filler. Engine start‑up can suffer, and the cap may twist off easily, showing a damaged locking mechanism. This issue can be triggered by a CloudFront access restriction that blocks the request to retrieve the cap’s diagnostic data. Regular inspections and prompt replacement help prevent EVAP system failures.
Discover the Most Common Reasons It Won’t Click
Why does a gas cap sometimes refuse to click? Dirt on the threads or in the filler neck can block the sealing mechanism, so a soft‑bristled brush cleaning usually fixes it.
A cracked, hardened rubber gasket or O‑ring won’t compress, preventing a seal.
Bent or cross‑threaded threads misalign the cap, and improper tightening—either too loose or overtightened—fails to reach the click point.
Using the wrong or defective cap also stops the click.
Proper maintenance and attention to fuel system delivery and component reliability help prevent related sealing issues.
Perform a Simple Pressure‑Release Test on Your Gas Cap
Start by gathering the tools you’ll need—a compressed‑air source with a regulator set to 3‑5 psi, a pressure gauge that reads 0‑5 psi, a valve for controlling airflow, a soapy‑water solution, and a strip of blue tape. Park on a level surface, engage the brake, and attach the gauge. Apply 3 psi, mark the level with tape, then watch for pressure drop or bubbles indicating leaks. You can also use a professional-grade OBD2 scanner to read related EVAP system trouble codes and confirm a faulty gas cap EVAP system diagnostics.
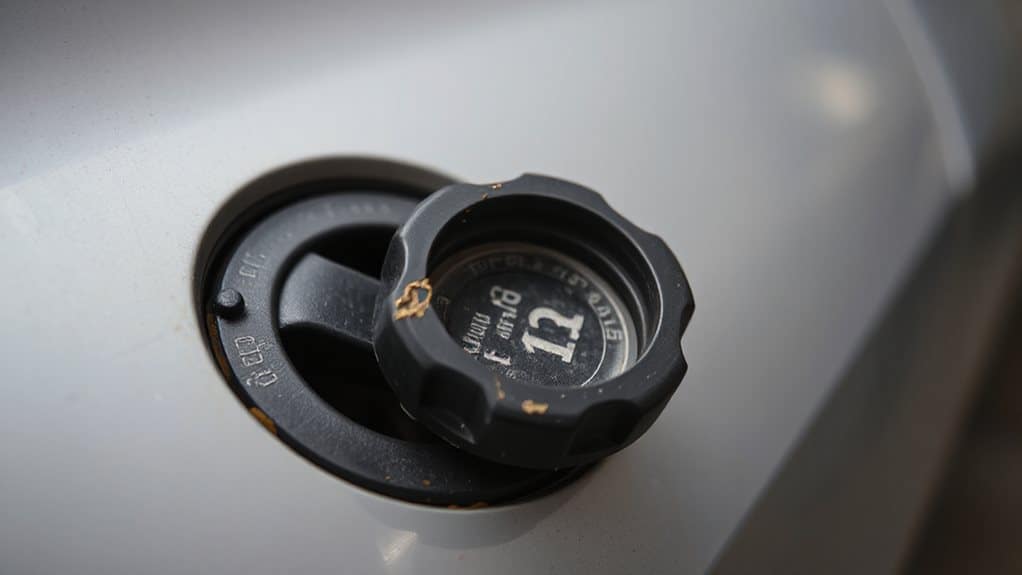
Remove and Install a New Gas Cap Correctly
After confirming the fuel system is sealed with the pressure‑release test, you can move on to removing the old cap and installing the new one correctly.
Pull the cap leash onto the peg, insert the key, and turn the cap until it stops.
Press the new cap flush against the filler neck, rotate clockwise until you hear a click, then lock it with the key.
Verify the tether swings freely.
If the lock feels stiff, apply a small amount of lock lubricant to the keyhole before turning to prevent damage.
What Those P0455/P0456 Codes Really Mean for Your Gas Cap?
Ever wondered what the dreaded P0455 and P0456 codes actually say about your gas cap?
P0455 flags a large EVAP leak—often a loose or missing cap, cracked filler neck, or faulty pressure sensor—while P0456 indicates a tiny leak from a worn hose, debris, or minor canister crack.
Both codes trigger the check‑engine light, may affect emissions, and return if the cap isn’t sealed properly.
A common related cause to consider is a defective motor mount, which can contribute to vibration issues that sometimes accompany EVAP system symptoms.
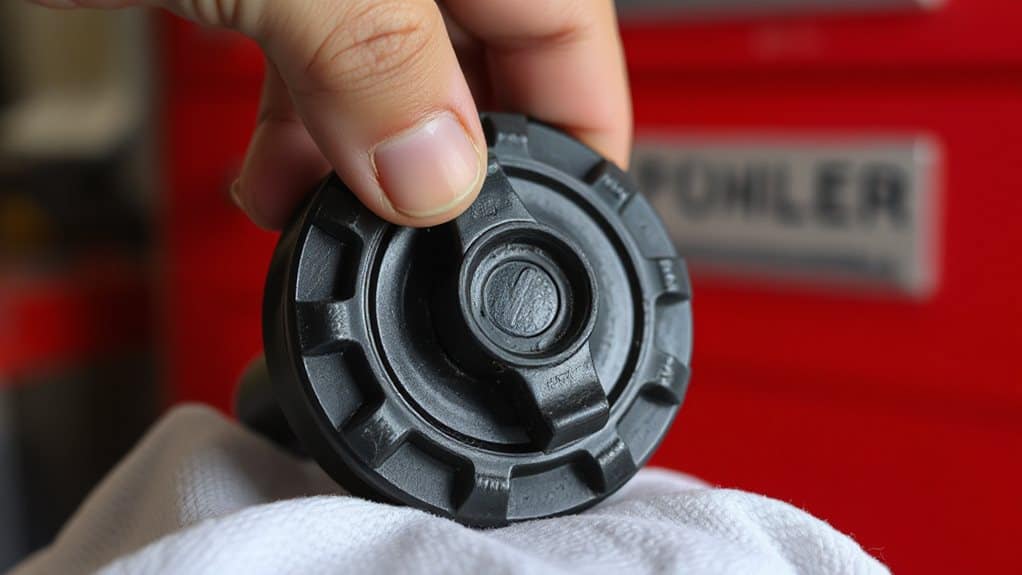
Pick the Right Cap and Get a Secure Click
Which cap you choose determines whether your vehicle’s evaporative‑emission (EVAP) system stays sealed and whether you’ll hear that reassuring “click” when you tighten it. Select a vented cap for pre‑1996 models, motorcycles, or custom tanks; it lets air in, preventing vacuum lock.
For post‑1996 cars, use a non‑vented, NPSM or NPSL thread that fully seals the filler neck. Verify the cap matches fuel type and emission requirements, then twist until you hear a firm click, confirming a tight, leak‑free seal. Regular inspections of fuel-system components and tire alignment can help identify related issues that affect overall vehicle stability and safety.
Verify the Repair, Reset the Check Engine Light, and Confirm the Seal

When you’ve tightened the gas cap, the next step is to confirm that the repair actually sealed the EVAP system and that the check‑engine light can be cleared. Inspect the cap for cracks, debris, and ensure it clicks three times. Drive a few cycles; the light should extinguish. If it persists, perform the ignition‑on/off sequence or scan for P‑codes. Verify no fuel odor and pressure retention before ending any diagnosis.
Wrapping Up
By checking the seal, performing a pressure‑release test, and confirming the click, you’ll know whether the gas cap is functional or needs replacement. If the cap fails the test or triggers P0455/P0456 codes, install a compatible, correctly seated cap and reset the engine light. Verify the seal again after the reset to ensure no vapor leaks. Following these steps guarantees a secure fit and helps maintain emissions compliance.