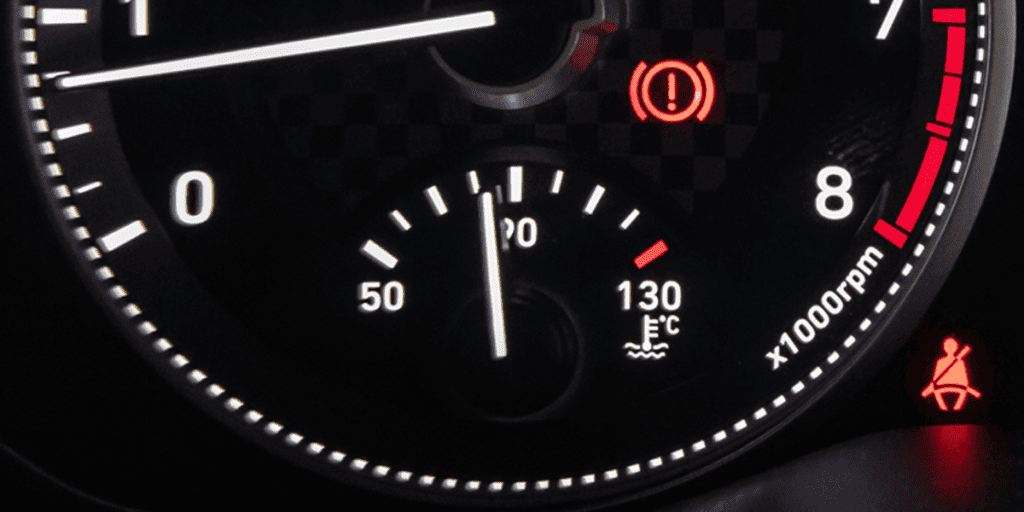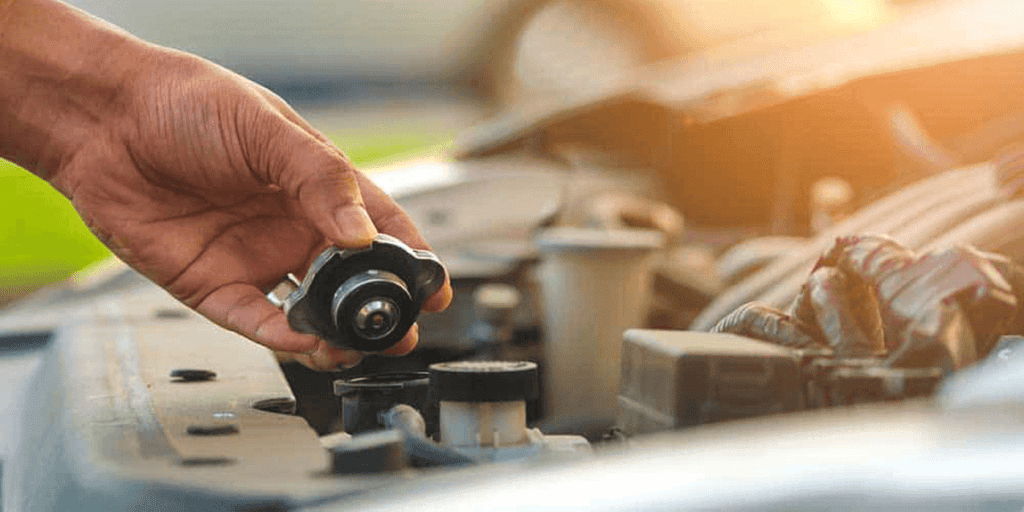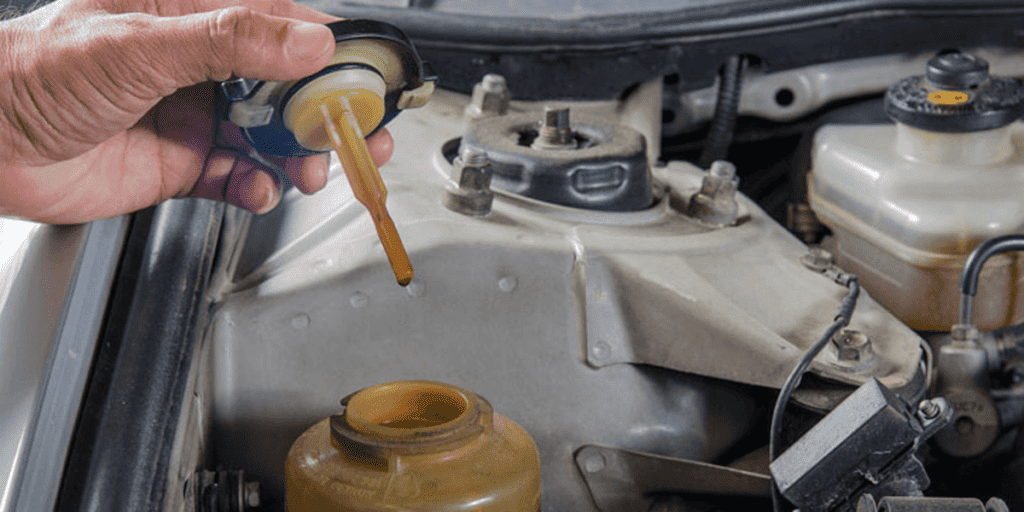
When your dash says “Check Fuel Fill Inlet,” it means the EVAP (evaporative emissions) system detected fuel vapors escaping at the filler neck or cap area, so the tank isn’t sealing properly and emissions control is compromised. You should safely stop, inspect the gas cap or capless inlet for loose threads, damaged gaskets, or debris, tighten or reseat components, and run an OBD2 scan for leak codes; if the warning stays on, professional EVAP diagnostics are recommended to learn more.
Quick Tips
- It means the EVAP system detected fuel vapors leaking at the fuel filler neck or cap area, indicating a sealing problem.
- The most common cause is a loose, damaged, or missing gas cap failing to create an airtight seal.
- Debris, damaged gaskets, or worn O-rings in capless (Easy Fuel) systems can also prevent proper sealing.
- Immediate checks: tighten or reseat the gas cap, inspect the filler area for damage or foreign objects.
- If the warning persists, run an OBD2 scan for EVAP codes and have a mechanic perform a pressure/leak test.
What “Check Fuel Fill Inlet” Means on Your Dashboard
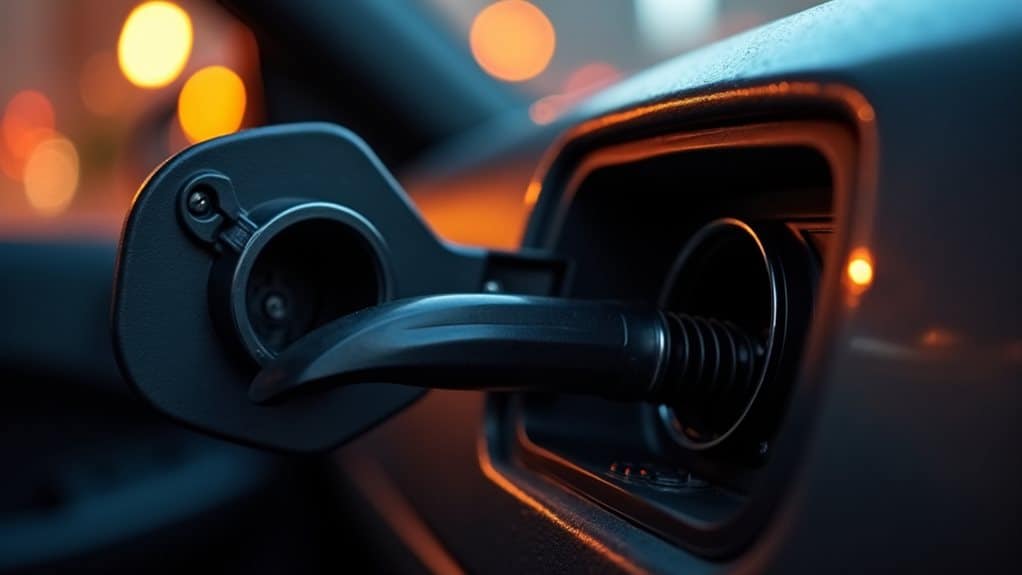
When your dashboard displays “Check Fuel Fill Inlet,” it’s telling you that the vehicle’s evaporative emission control (EVAP) system has detected fuel vapor escaping specifically at the fuel fill inlet—the area where you put fuel into the tank.
It means the fuel system isn’t sealed, vapors are leaking from the filler neck or cap area, and the EVAP’s integrity is compromised, affecting emissions control. Fuel fill inlet is a crucial component of the vehicle’s EVAP system that helps prevent gasoline fumes from escaping into the atmosphere. A common cause is a faulty or poorly sealing gas cap that fails to seal properly and can trigger EVAP leak codes.
Immediate Steps When the Light Appears
Now that you know the dashboard message points to a leak at the fuel fill inlet, you should take specific immediate actions to limit vapor loss and confirm the problem.
Park safely, turn off the engine, and check the gas cap—tighten or reseat it.
Inspect the filler area for damage or fuel smell.
If uncertain, avoid driving and contact a mechanic for diagnostic testing.
Use a pressure test to confirm whether the fuel system is leaking under operating pressure.
Why EVAP & Fuel Fill Inlet Matter for Safety and Driveability
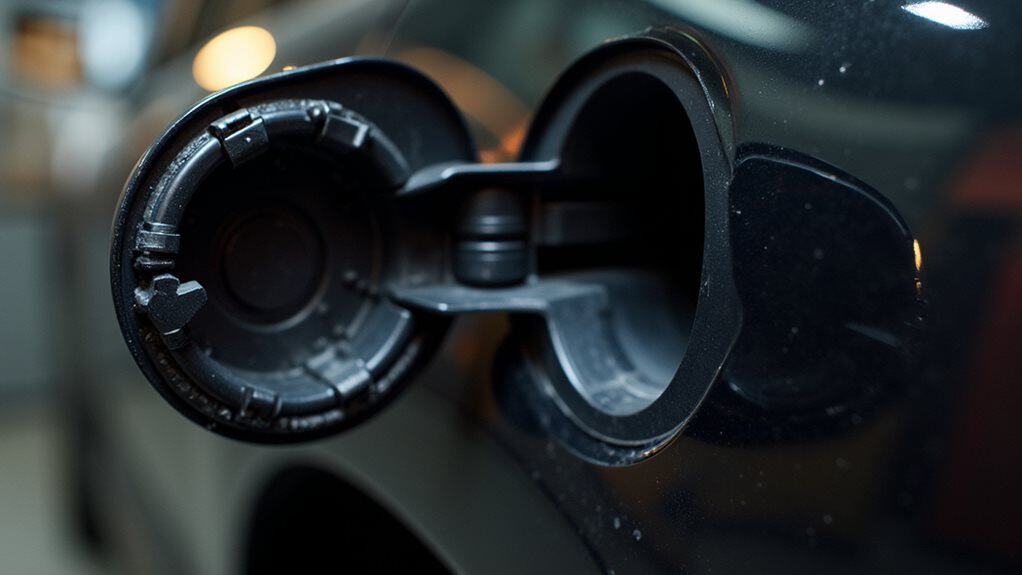
Because the EVAP system and the fuel fill inlet together control how fuel vapors are contained and how tank pressure is managed, you should understand their roles for both safety and driveability. They stop vapor release that forms ozone, maintain tank vacuum cycles, and prevent false engine codes.
Leaks raise fire risk, reduce fuel economy, and can damage pumps or sensors if left unaddressed. A common cause of EVAP-related faults is a blocked or saturated charcoal canister, which can disrupt vapor flow and trigger diagnostic codes like negative vapor pressure and P0440.
Common Causes: Gas Cap, Seals, Debris, Sensors
If your vehicle shows a “check fuel fill inlet” message, start by checking the gas cap—if it’s missing, loose, or not clicking into place the evaporative (EVAP) system can immediately detect a pressure fault.
Inspect the cap gasket and filler tube seals next, since hardened, cracked, or misaligned gaskets stop the cap from forming an airtight seal and let vapors escape.
Finally, look for debris or contaminants in the filler neck (dirt, sand, rust, or lodged objects) that can block the flapper or prevent the cap from seating, because these physical obstructions often mimic or cause the same EVAP warning.
Persistent illumination may indicate other EVAP issues such as leaks, faulty sensors, or blockages that require diagnostic scanning and professional inspection, especially if the light does not clear after repairs and several driving cycles EVAP system.
Loose Or Missing Cap
Although it seems like a small thing, a loose or missing gas cap is the single most common cause of a “Check Fuel Fill Inlet” or EVAP warning, and you should treat it as the first thing to check; tighten until the audible click, replace missing caps with OEM parts, and inspect threads for debris.
Sensors can falsely report leaks, so scan codes (P0457/P0455/P0456) if warning persists.
Damaged Gaskets Or Seals
After you’ve checked the gas cap, the next likely source of a “Check Fuel Fill Inlet” warning is a damaged gasket or seal around the filler neck and cap or within capless systems.
Gaskets age, harden, crack or swell from heat, UV, chemicals and vibration, and improper torque or impacts can deform seals.
Sensors can mimic leaks, so inspect seals, torque, and sensor function.
Debris Blocking Fill Inlet
Because dirt, leaves, sand and other small particles commonly collect in the fuel-filler opening, they can physically block the inlet or interfere with sealing and sensor function, so you should inspect this area whenever a “Check Fuel Fill Inlet” warning appears.
Look for visible debris, a loose or damaged gas cap gasket, or coated sensor leads; clean with compressed air, a soft brush, or non-conductive solvent.
Capless (Easy Fuel): How These Systems Fail
Inspect the capless (Easy Fuel) inlet regularly, since its convenience depends on several small parts that can fail in predictable ways. O-rings harden, sealing lips lose elasticity, and micro-gaps let vapors escape.
Debris, salt, or charcoal dust can block closure and jam hinges; springs fatigue and corrosion creates burrs.
Sensors may report pressure loss or false faults even after repairs.
Quick DIY Fixes for “Check Fuel Fill Inlet”
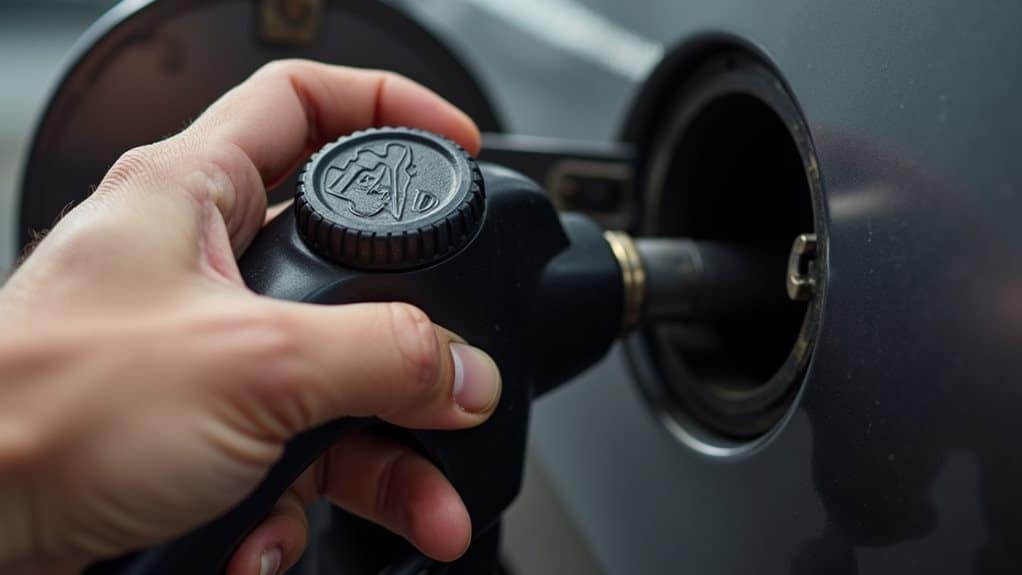
Start by checking the gas cap: remove it, inspect the rubber gasket for cracks or debris, and replace or retighten it until you hear multiple clicks to make sure a proper seal.
If the cap is intact but the warning persists, clean the capless inlet area with compressed air and a soft brush, then apply a light silicone lubricant to the rubber seal and work the spring-loaded flap open and closed several times to distribute the lubricant evenly.
After reassembling, reset the system with an OBD-II scan tool or a brief battery disconnect and drive normally to verify the fix.
If you frequently use fuels with varying ethanol content, note that ethanol blends can affect seals and fuel-system components over time.
Tighten Or Replace Cap
A loose or damaged fuel cap is one of the simplest causes of a “Check Fuel Fill Inlet” message, so you’ll want to remove and inspect the cap and mating surfaces before doing anything more complex.
Unscrew, check threads and gasket for wear, then reinstall until multiple clicks secure the seal.
If cracked or the gasket fails, replace with an OEM‑compatible cap using your VIN.
Clean And Lubricate Flap
If tightening or replacing the fuel cap didn’t clear the message, the next likely culprit is the capless system’s spring‑loaded flap and its rubber seal, which can collect dirt or become sticky and fail to close tightly; you’ll be cleaning and lubricating that flap to restore a proper vapor seal.
Use compressed air, a water‑based cleaner, cycle the funnel 10–15 times, wipe, then mist silicone spray on the seal and work it in.
Diagnosing It: OBD2, Visual Checks, and Tests
Several diagnostic steps will quickly narrow down why the “Check Fuel Fill Inlet” warning lit up, and you’ll want to work through them in a logical order.
Start with an OBD2 scan to read P0457 or related codes, then visually inspect the gas cap, gasket, and inlet for dirt, damage, or a stuck flap.
Test EVAP and tank pressure sensors, tighten or replace the cap, and clear codes to confirm.
Also check related systems like the EVAP canister and fuel pump for faults, and verify fuel pressure with a gauge to rule out fuel pressure problems.
Repair Options and When to See a Professional
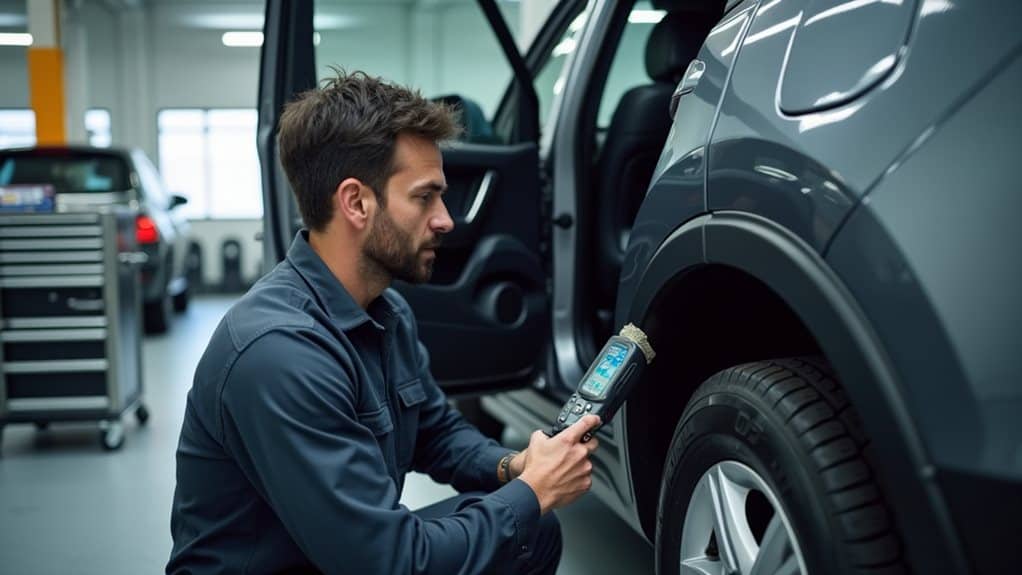
Now that you’ve worked through the basic diagnostics—OBD2 scans, visual checks, and simple tests—you can consider the repair options that usually fix a “Check Fuel Fill Inlet” message and when to call a professional.
Try capless fixes: cycle the spring lid, blow out debris, lubricate with silicone, repeat, then dry.
Replace cracked gas caps, reset EVAP codes, and seek a mechanic for leaks, persistent warnings, or sensor/EVAP repairs.
Wrapping Up
When your dashboard shows “Check Fuel Fill Inlet,” you should stop adding fuel and check the inlet, capless mechanism, and gas cap seal for damage, debris, or loose fit; a faulty seal, clogged flap, or sensor fault can trigger EVAP errors that affect emissions and drivability. Tighten or replace the cap, clear debris, and run an OBD2 scan for EVAP codes; if repairs or smoke tests are needed, have a technician fix seals, valves, or sensors.